

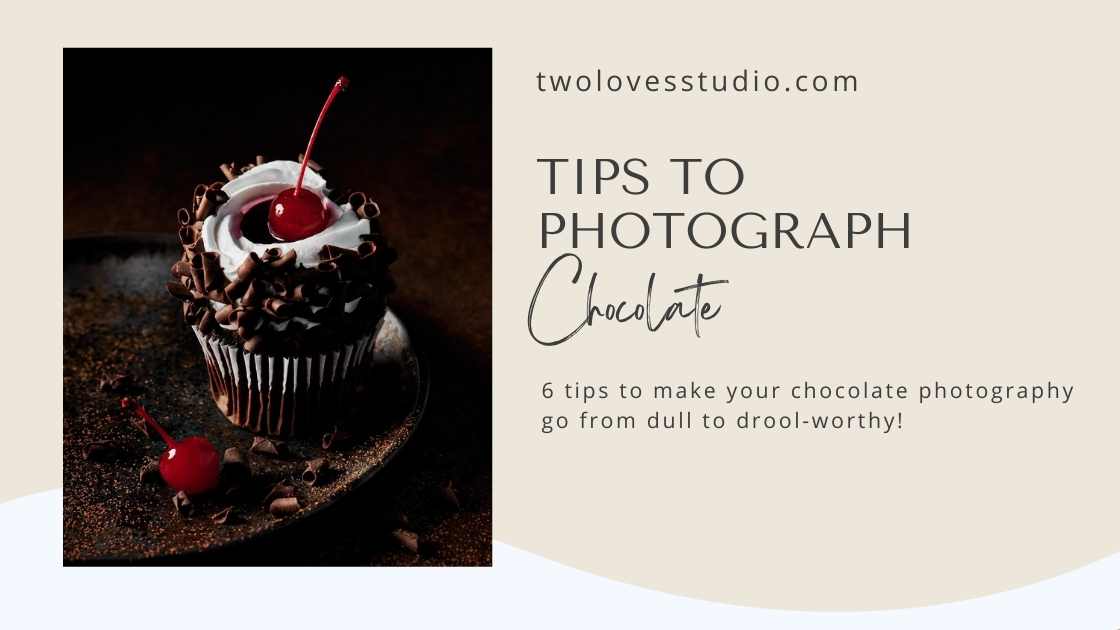

My favorite candy meals is chocolate. To me, dessert and chocolate are synonymous. If it’s not on a dessert menu, I’ll in all probability skip it.
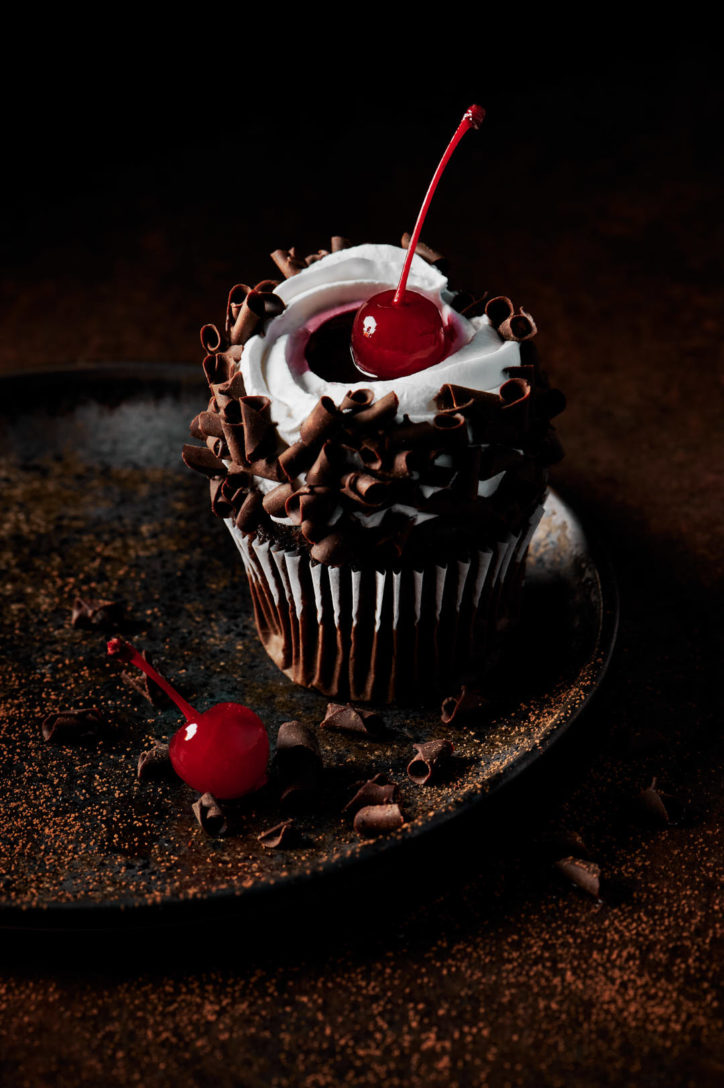
Chocolate Pictures is one thing each meals photographer will encounter, from cupcakes to macarons, to milkshakes with toppings and petit fours.
Chocolate appears straightforward to {photograph}, however it could actually have a thoughts of its personal. From trying uninteresting and selecting up all of the fingerprints and dirt on set, to being extraordinarily difficult to {photograph}.
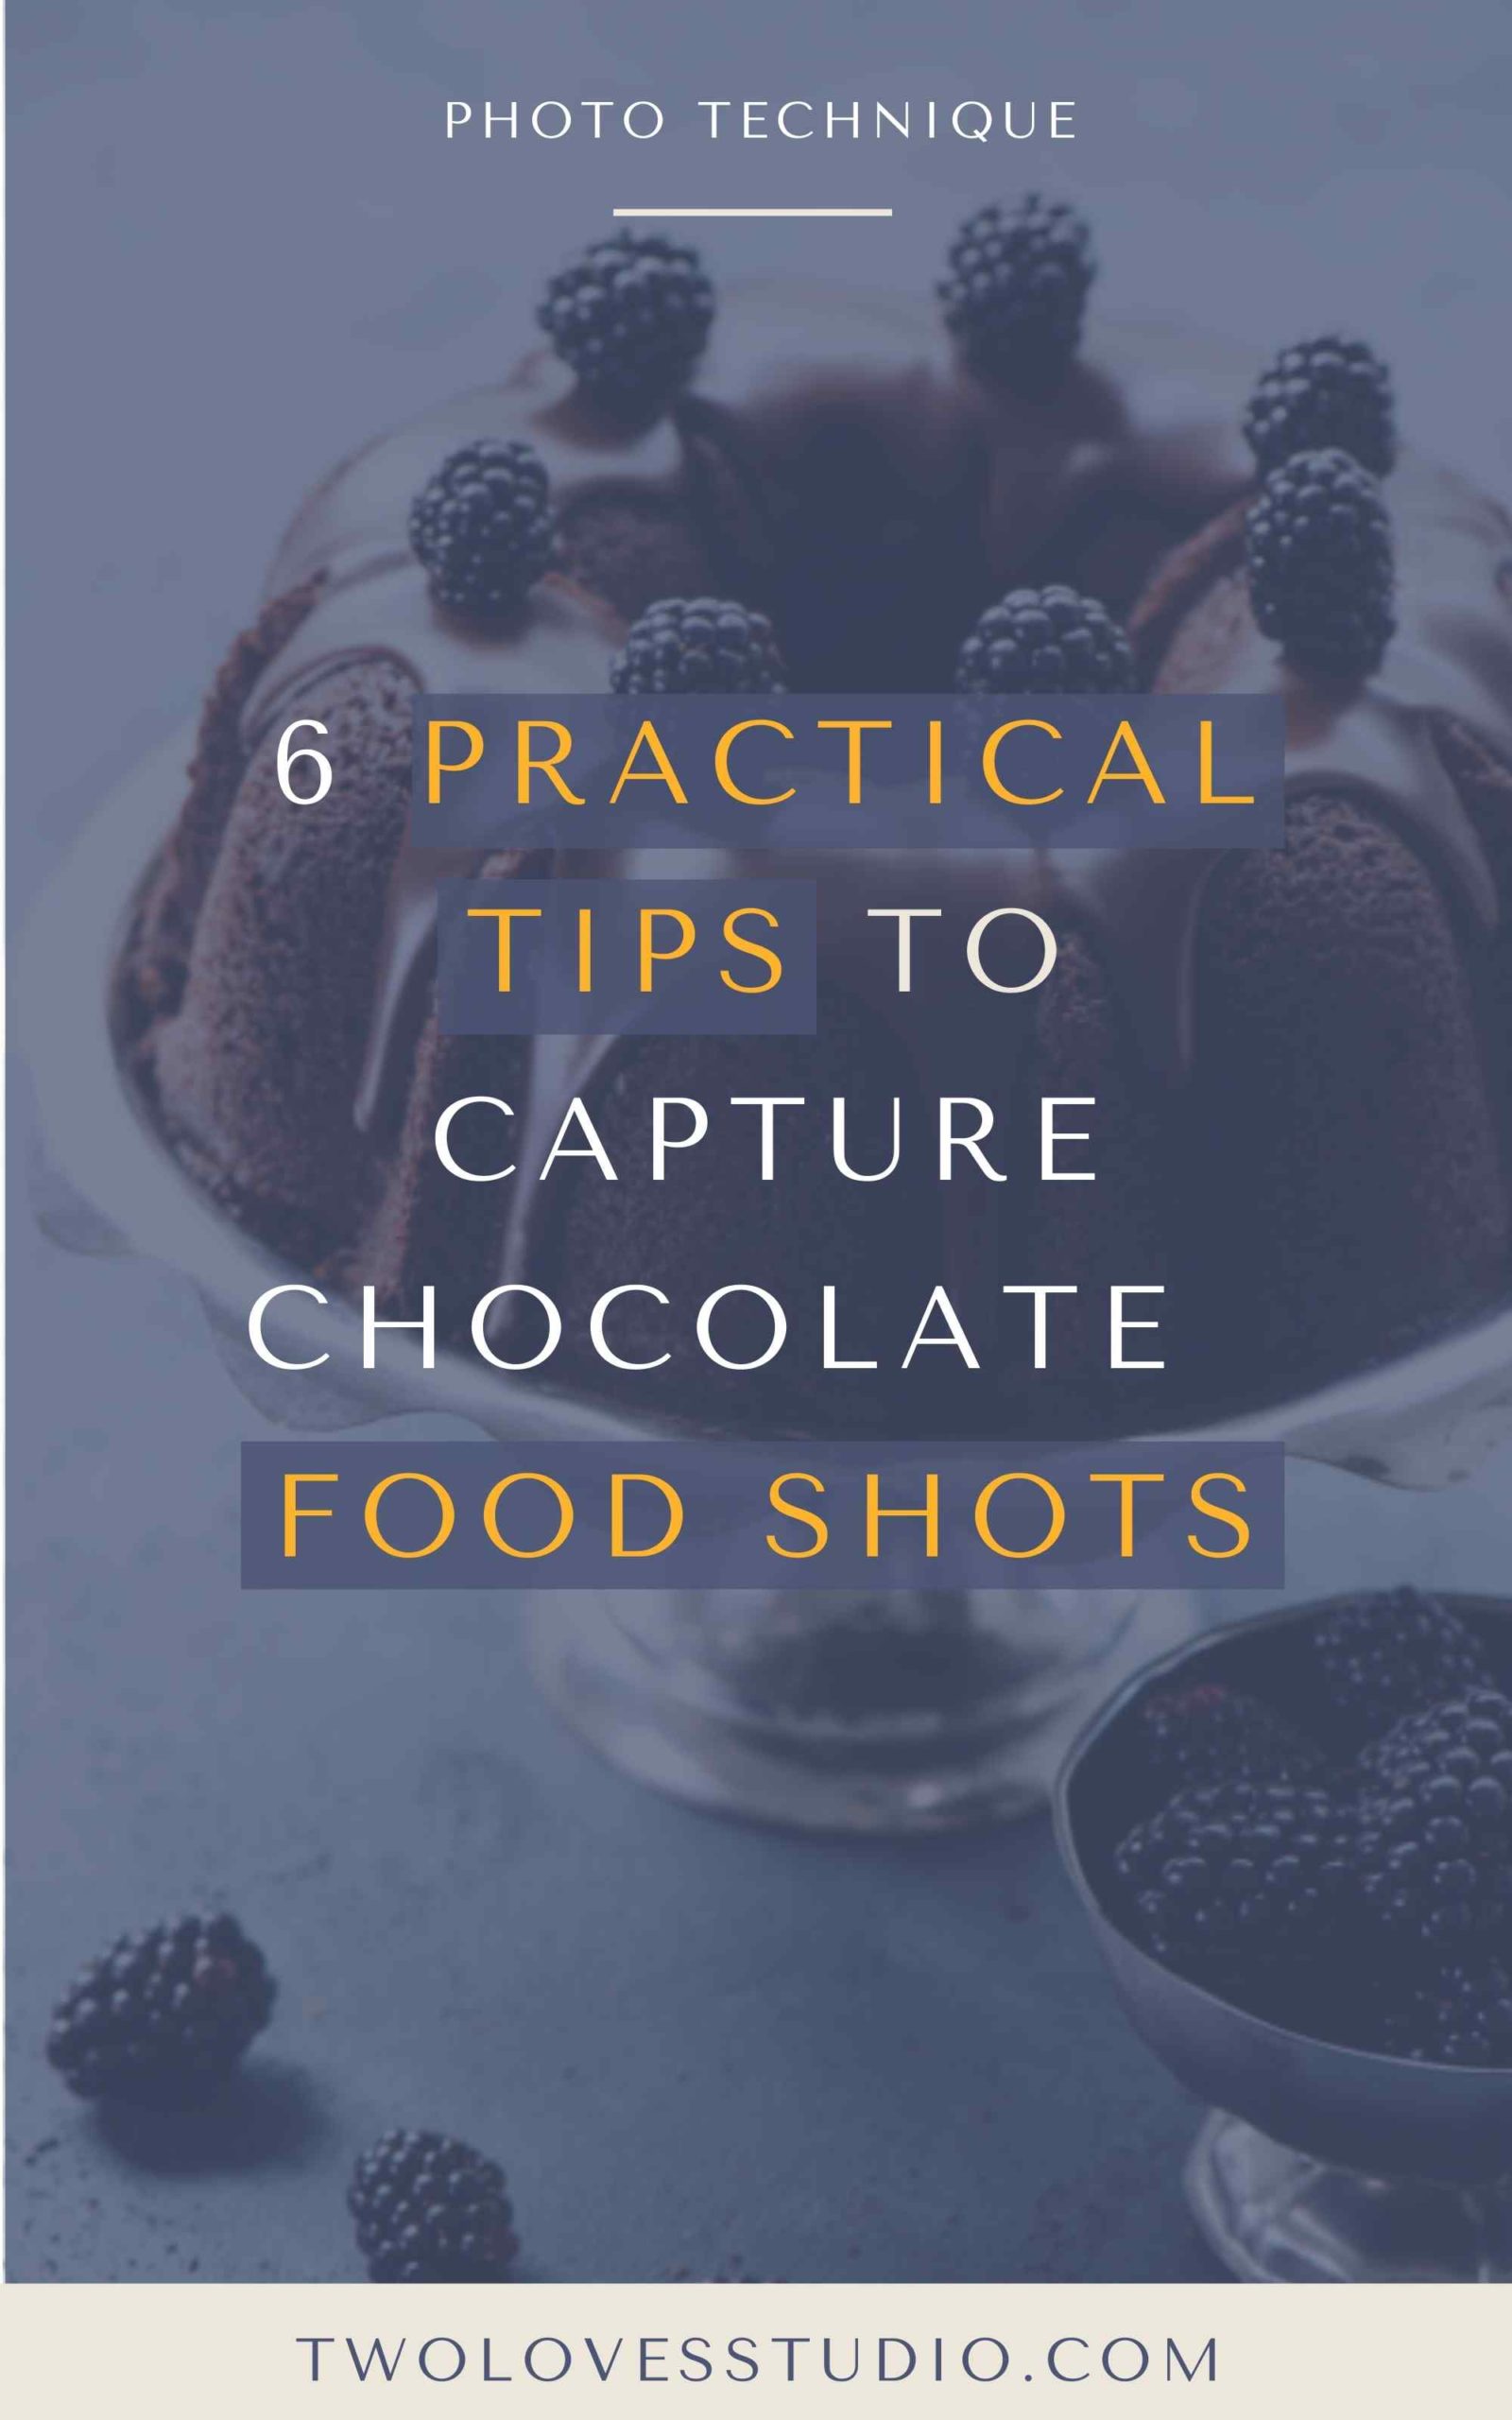
Listed below are six easy and sensible ideas I’ve realized through the years to make your chocolate go from uninteresting to drool-worthy!
Tip 1: Suppose — What Texture is Your Chocolate?
Earlier than we dive into the remainder of the guidelines for chocolate meals pictures, I feel that is an important. What sort of texture is your chocolate?
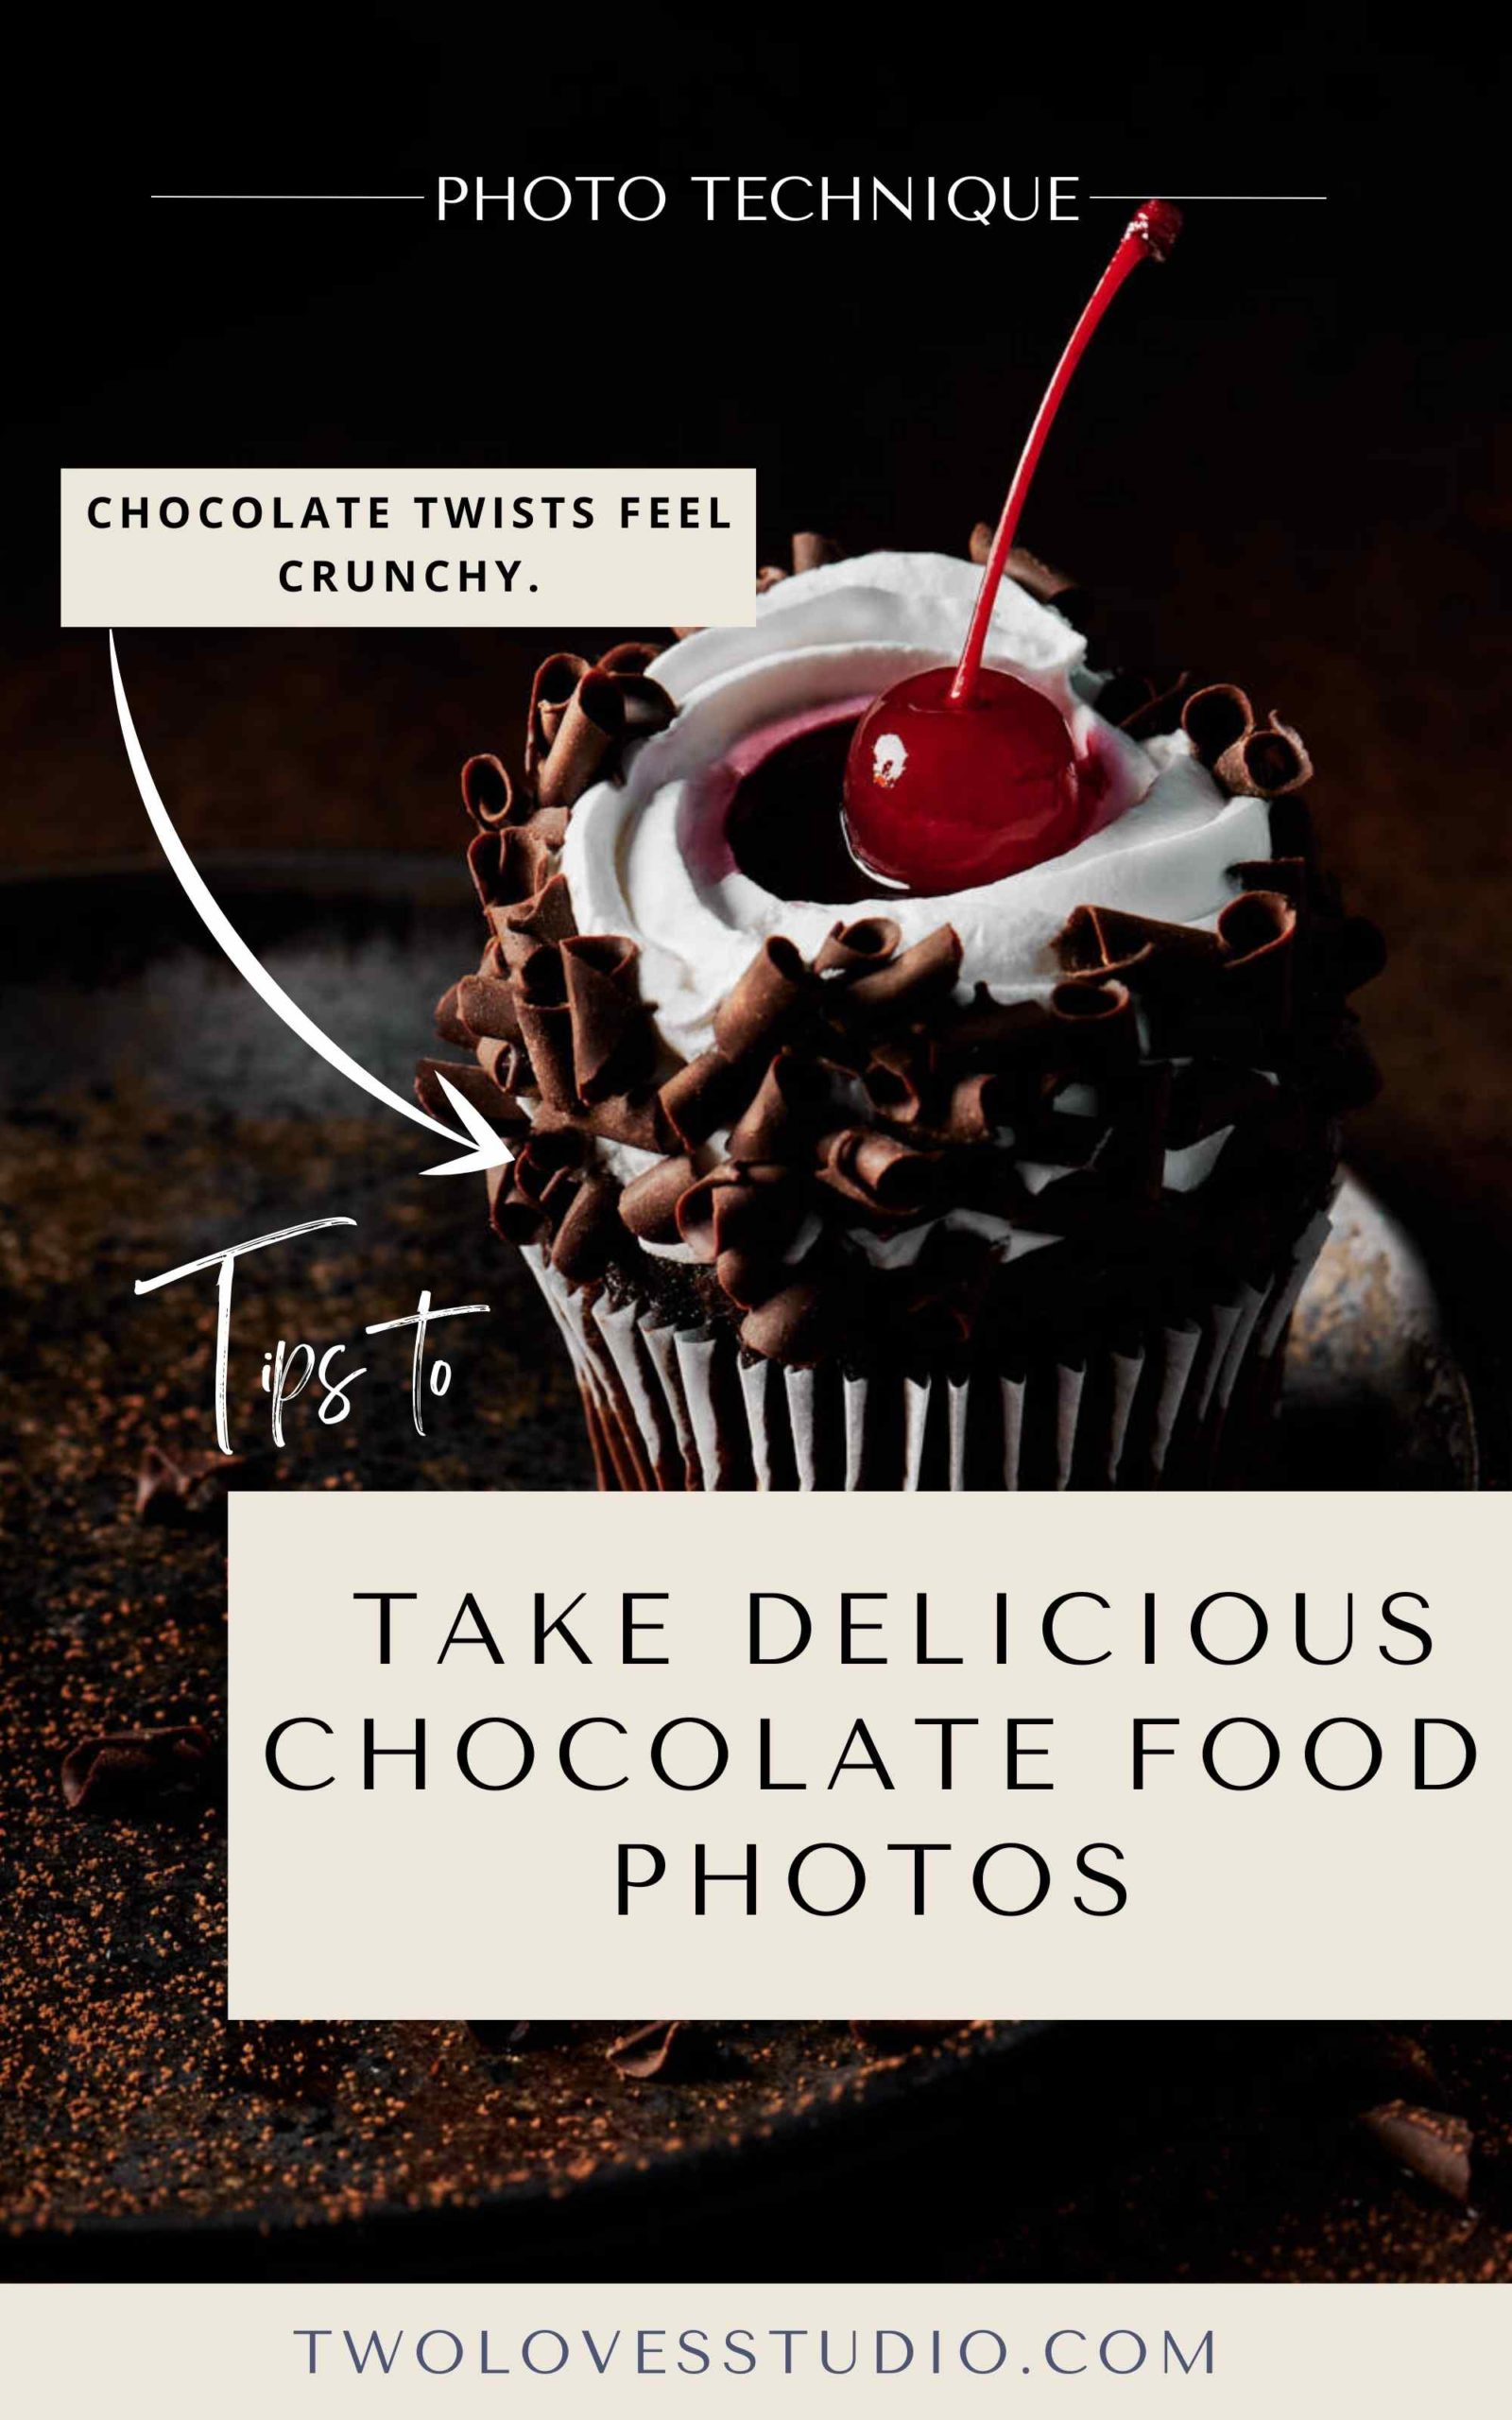
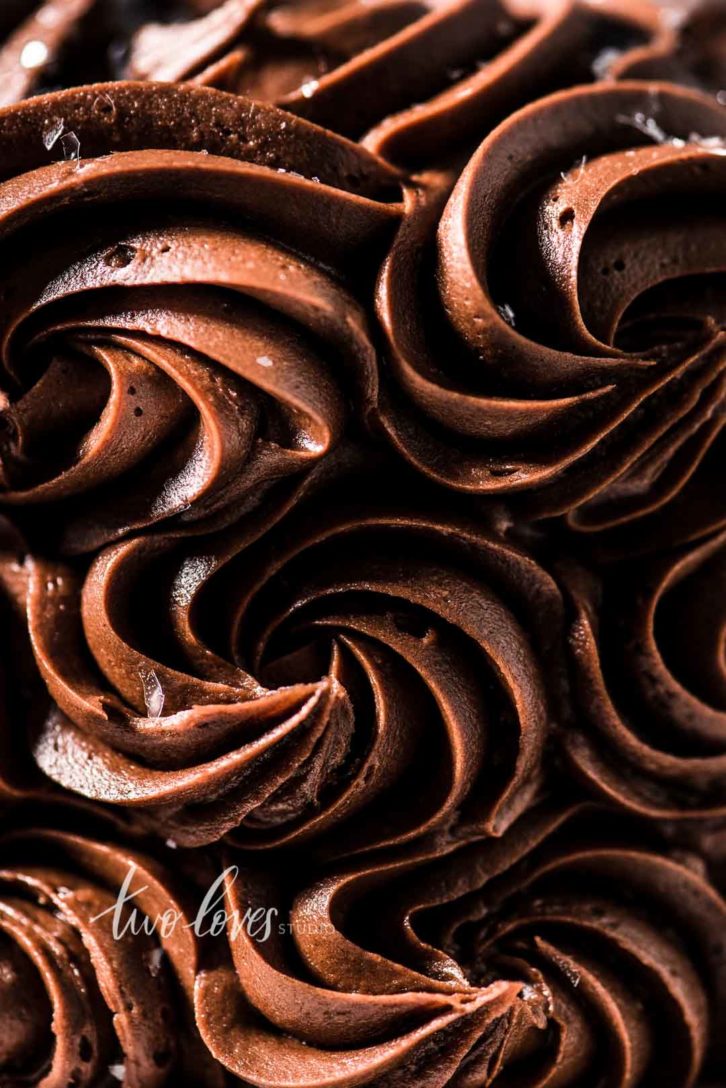
Chocolate might be thick, mild, tempered, crunchy, tender, moist, flaky…and so forth.
Every sort of chocolate may command a distinct method in relation to photographing. Lighting and enhancing for texture is an important factor you are able to do to make your chocolate mouth-watering.
Use tender mild and tender enhancing for tender and moist chocolate emotions.
For crunchy or flaky chocolate, play with shadows and go heavier in your readability edits.
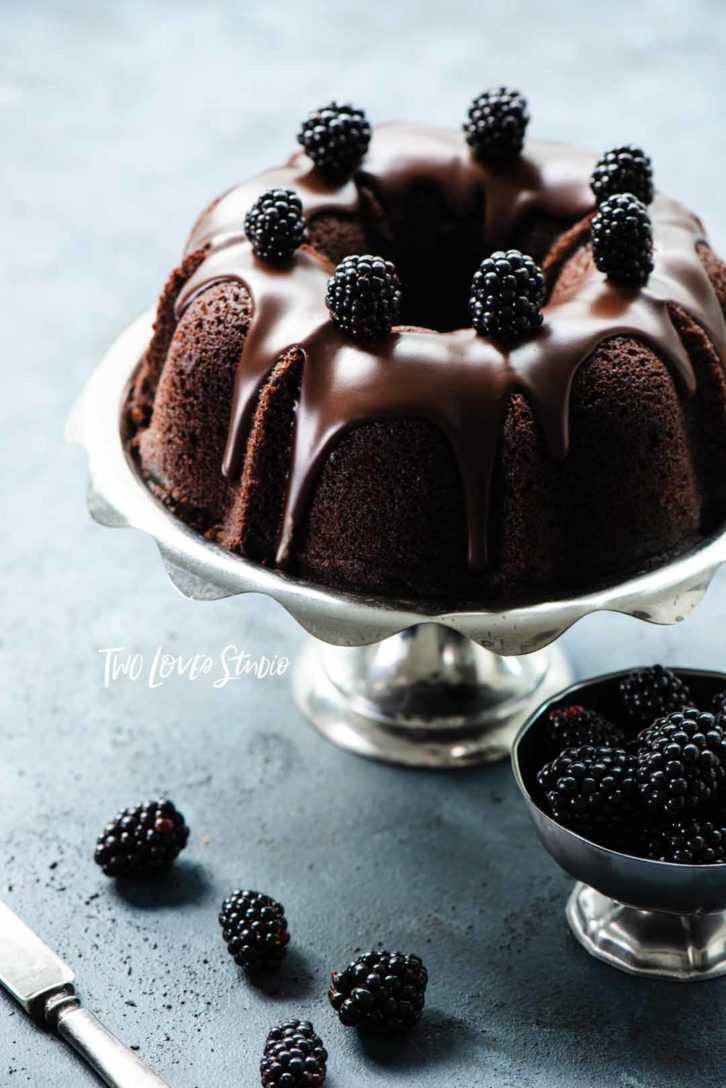
Tip 2: Use lighting that can create specular highlights
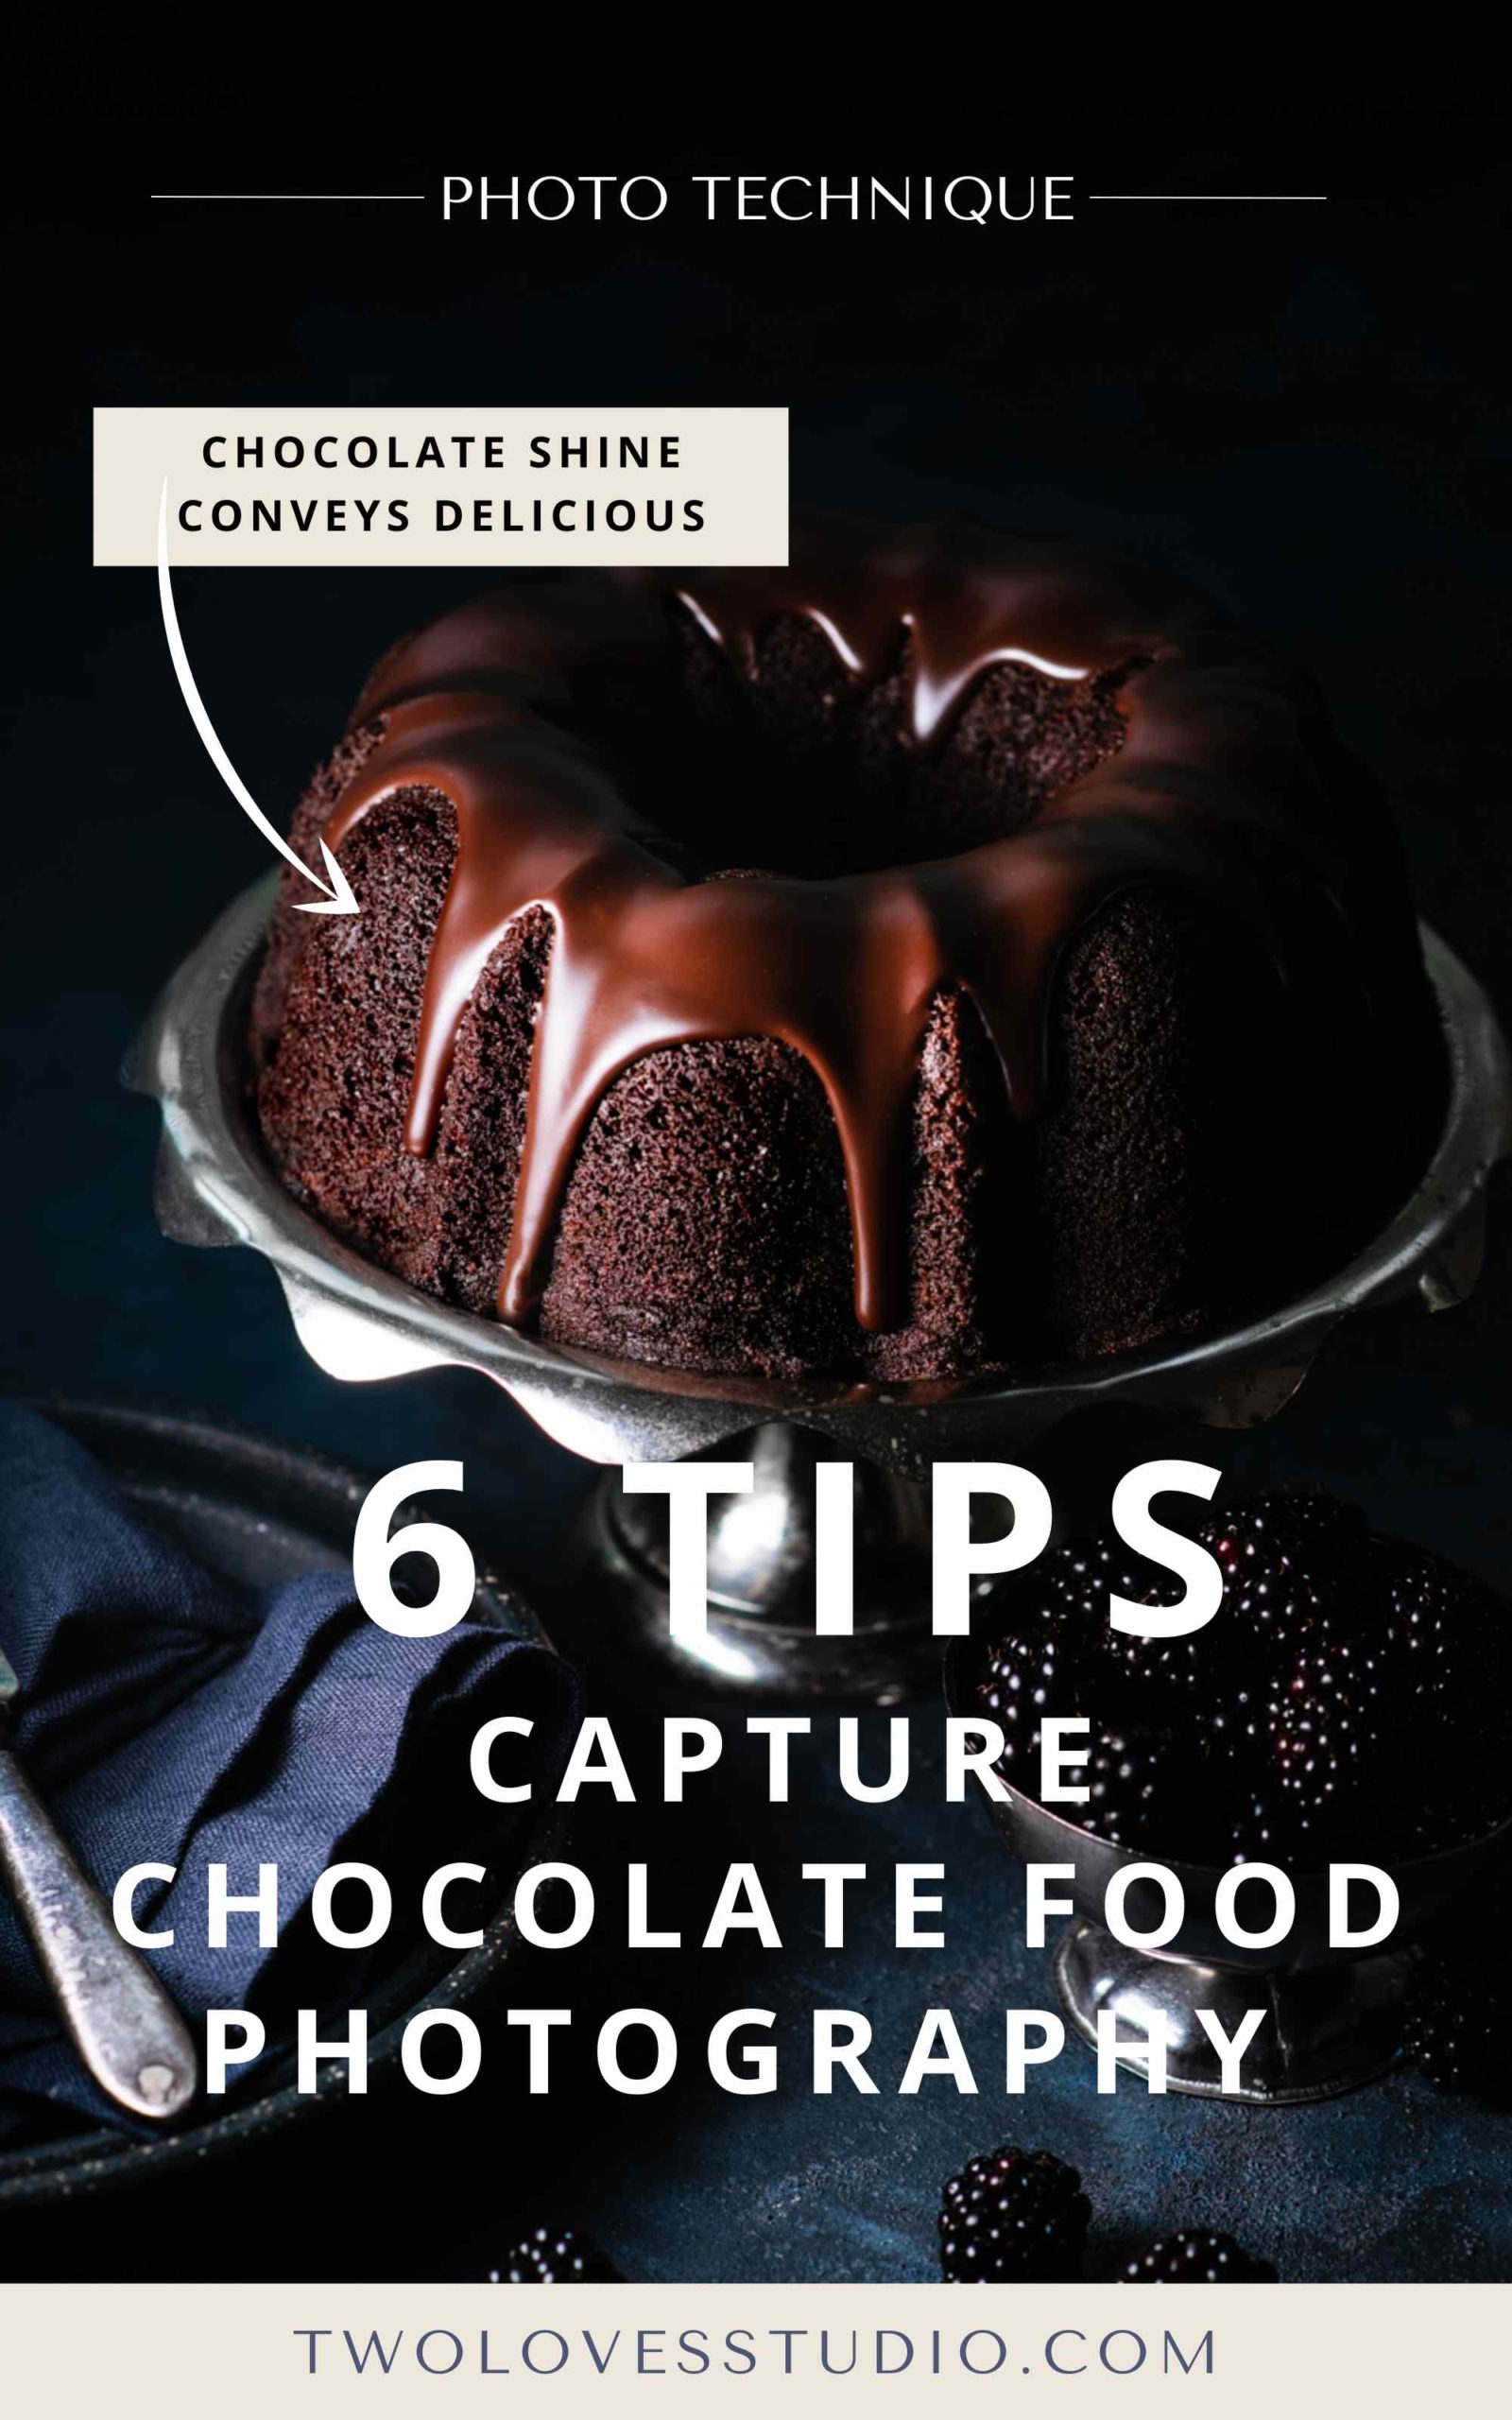
Once we consider chocolate, we principally go straight to the supply. Cue ideas (and tastes!) of these deliciously decadent chocolate fountains, oozing with melted chocolate.
Are you able to visualise it but? Good. Now take into consideration all the gorgeous specular highlights that chocolate picks up. It helps to inform the viewer how the chocolate would really feel in our mouth on our first chew.

Use lighting that captures specular highlights. Play with the dimensions of your mild supply and distance to the sunshine supply to attain this. For extra pure lighting ideas, take a look at my Artwork of Gentle e book.
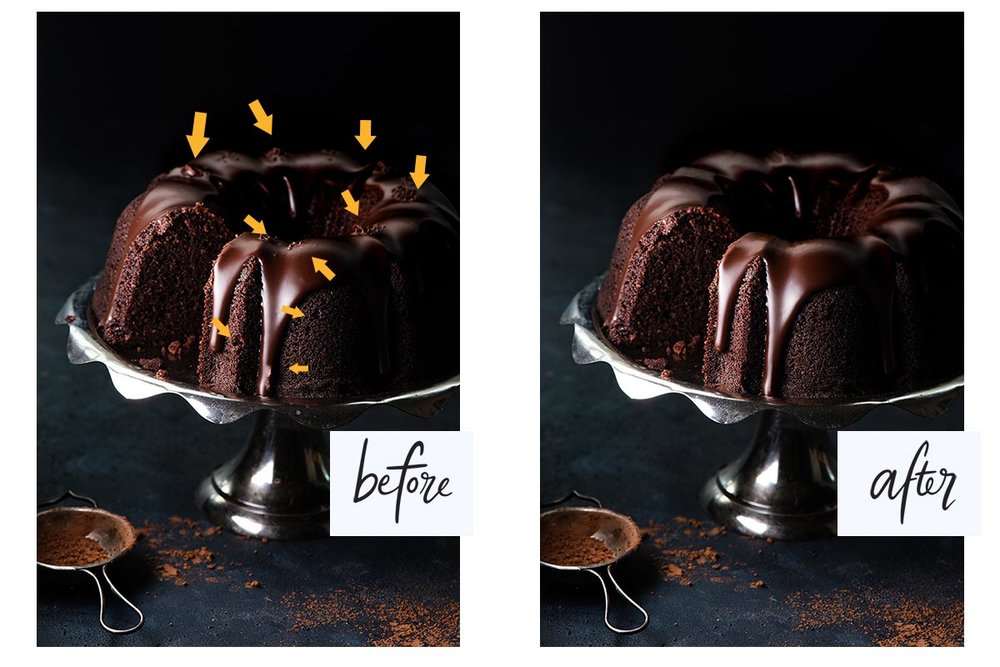
Tip 3: Use a Steamer to Create Shine in Chocolate Pictures
This tip will enable you obtain the above, as not all chocolate will naturally shine.
Have you ever ever purchased cooking chocolate and located it had this white or gray overlaying on the surface? It’s not very horny for meals photographs and there may be a simple strategy to do away with it.
You merely have to warmth the chocolate barely with a warmth gun or steam from an iron. (Tip: I’ve additionally used a hairdryer on low). My meals stylist good friend Gaye McLeod, makes use of a garments steamer – good!
Simply earlier than you’re able to take the photograph, gently use the steamer to heat the chocolate and provides it that good shine prepared for seize.
Tip 4: Keep away from Dealing with Chocolate with Your Fingers
I see this on a regular basis on social media — chocolate that has fingerprints on it! I’ve been there too. This is the reason it’s essential to have a styling package.
Attempt to use delicate tongs or tweezers (if attainable) to put chocolate on set. Silicone gloves can work, however in case you get marks in your chocolate there are two choices.
- You should utilize Photoshop, (find out how right here), to take away blemishes or
- You should utilize the tip above with the garments steamer.
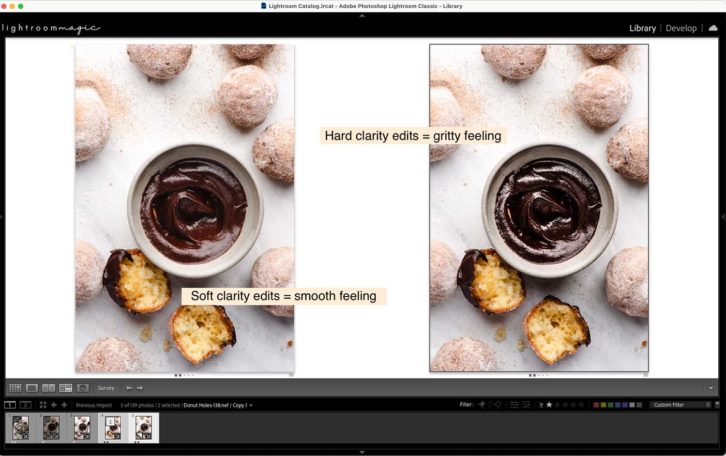
Tip 5: Steadiness Enhancing Changes for the Texture of Chocolate
As we’ve mentioned, chocolate can have many various kinds of textures. When you’ve thought of what texture your chocolate pictures dish has, you may simply work out how one can deliver out that texture in enhancing.
Steadiness your Texture and Readability changes (in Lightroom) or Readability and Construction changes in (Seize One) to deliver out your required texture. Clean chocolate may want extra minor changes than a gritty wealthy chocolate cookie.
You may even discover that you’ve got two various kinds of chocolate textures in the identical meals.
To be taught extra about how one can edit like a professional in Lightroom or Seize One, check out my signature enhancing courses.
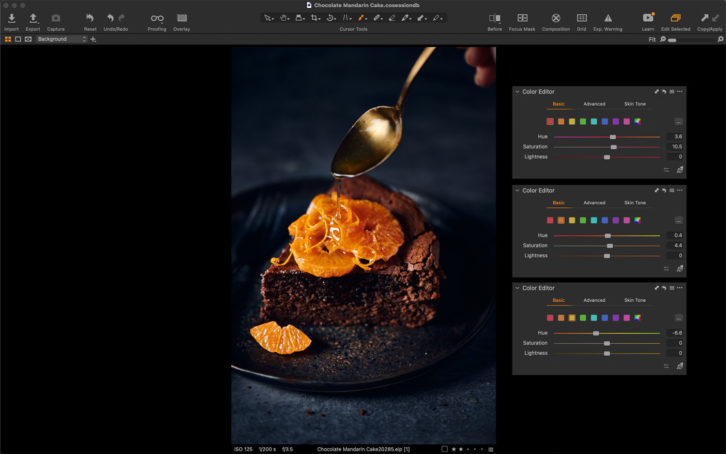
Tip 6: Color Right Your Chocolate Pictures- Brown is Made up of Many Colors!
You may at first look suppose that chocolate is brown, but it surely’s really made up of some colors. Principally reds, oranges and yellows. Typically even greens.
You’ll have to deliver your A-game in relation to color correcting chocolate to deliver out its wealthy and decadent colors.
I train you ways to do that precisely with chocolate in my Seize One Magic masterclass.
Are you hungry now enthusiastic about all this chocolate? I positive am.
I’d like to know which of the following pointers you’re desirous to attempt in your subsequent chocolate photoshoot. Drop me a remark beneath and let me know.
Brush up your pictures abilities by testing what programs are on supply to raise your subsequent photoshoot.