


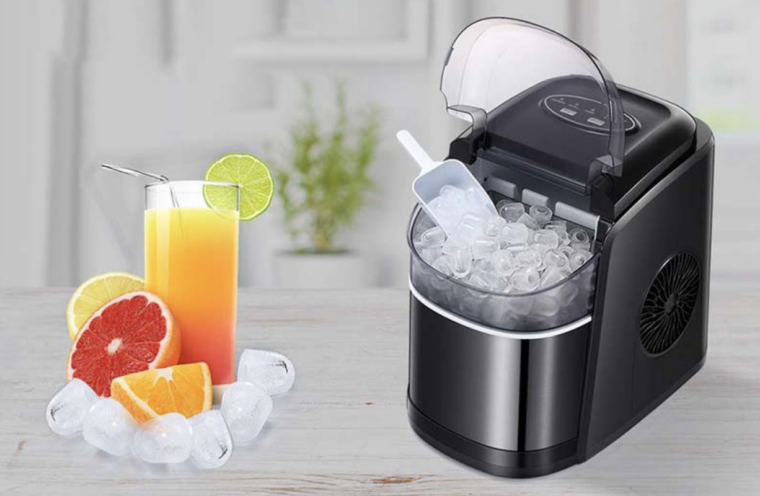
Is putting in an ice maker one thing you are able to do? I’ve outlined very detailed and straightforward steps to information you.
In my expertise, most newly bought fridges usually are not pre-installed with an ice maker. If yours is with out one, don’t sweat it.
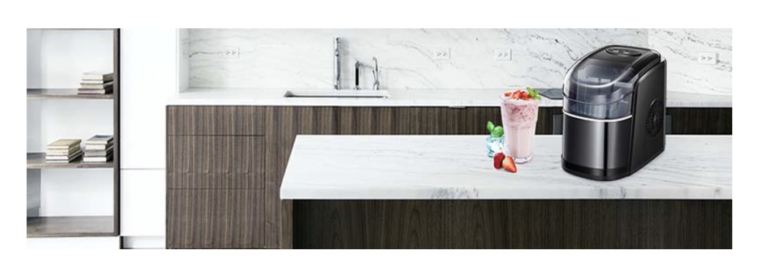
I’ll present you methods to get the proper under-the-counter mannequin in your fridge. And methods to set up it seamlessly, identical to I’ve achieved with a number of others.
Can you put in an ice maker in your fridge?
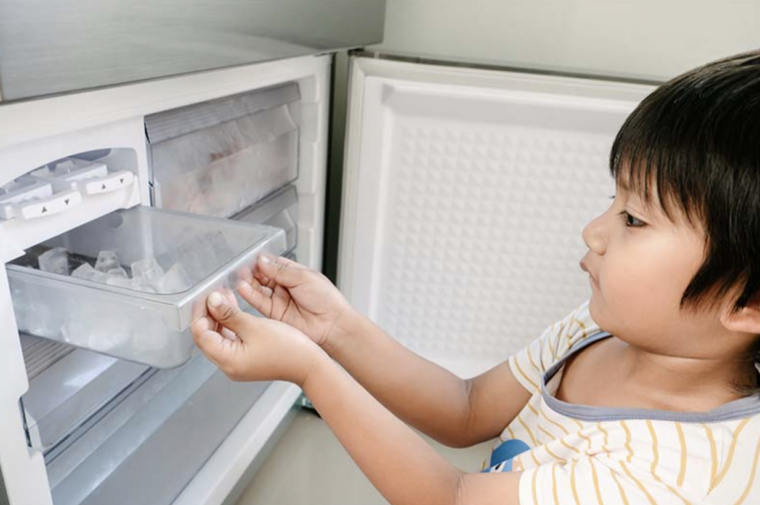
Earlier than we get into methods to set up an ice maker in your fridge, you will need to observe that not all fridges are designed to be fitted with an ice maker. On this case, an under-the-counter ice maker will do the job for you as an alternative.
Verify the equipment brochure of the fridge to make certain earlier than you go forward to buy an ice maker package.
Getting an acceptable ice maker in your fridge
Ice maker kits come in several sizes and fashions for various fridges. An ice maker not meant in your fridge is not going to match correctly into your freezer and can be very troublesome to put in. So, make sure you store for an ice maker package that can completely suit your fridge.
The simplest method to know a appropriate ice maker when procuring is by utilizing the fridge’s mannequin quantity. You’ll find it on the fridge’s door, wall, ceiling, or equipment brochure. Use the mannequin quantity to discover a appropriate one on producer web sites or house equipment sellers like Kismile firm.
An ice maker set up package normally contains the next elements:
- Ice maker unit
- Water provide tube
- Inlet water valve
- {Hardware} (screws, levelling bracket, clamps, and so forth.)
The ice maker wants an exterior water supply to work. Additionally, you will must get an ice maker water provide line lengthy sufficient to go from the chilly water supply to the fridge.
Simple Steps for Putting in an Ice Maker
You have to the next instruments for set up.
- Screwdrivers (slot and Phillips)
- Putty knife
- Needle nostril pliers
- Work gloves.
Step 1: Prep the fridge for set up
Minimize the fridge energy provide by unplugging it from the wall.
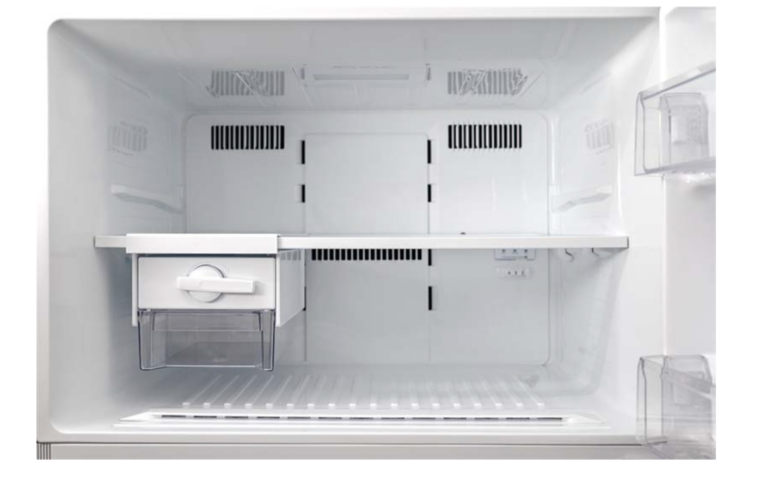
Subsequent, take away the shelf within the freezer. Begin by eradicating the plastic spacer hooked up after which pull it out.
Contained in the freezer compartment, you can see two plastic plugs and a plastic cowl on the aspect and again wall, respectively.
Pry out the 2 plastic plugs utilizing both the putty knife or the plier to disclose the mounting holes for the screws.
Stick your flathead screwdriver into the slot on the prime of the plastic cowl ensuring it’s above the tab. Push the tab all the best way down by tilting the screwdriver upwards. This may launch the grip on the plastic cowl, which can come proper off, revealing the fill tube opening and wire harness connector.
Find the uncommon compartment beneath the fridge. Unscrew the compartment cowl and pull it off.
On the compartment cowl, punch out the cutout by which the water provide line will move.
Nonetheless behind the fridge, find the sticker label on the prime proper nook overlaying the water line opening. Use the putty knife to chop an x on it. You possibly can comply with the directions on the sticker on methods to lower it open.
After opening the sticker, pull the insulating foam out of the water line opening to show the inlet tube.
Insert the plastic water provide tube into the inlet tube and push it in.
Cowl the water inlet tube threads with the tube seal and push it in place.
Join the plastic water tubing (the one that can join the ice maker to the water valve) with the water inlet tube. Tighten the compression nut. You need to use a wrench however don’t over-tighten it.
Step 2: Mount the Ice Maker
Screw within the adjustable levelling bracket beneath the ice maker with the mounting screws. Don’t tighten the screws but so you may make levelling changes later.
Screw the ice maker mountain screws into the mounting screws on the freezer aspect wall. Depart sufficient area for the ice maker bracket to hold on the screws.
Plug the ice maker wire harness into the port on the freezer’s again wall. Cowl the harness with the plastic wire harness cowl into the wall.
Now, hold the ice maker over the mounting screws and tighten the screws. Make sure the water fill tube, coming by the again wall of the freezer, sits contained in the ice maker fill cup.
Regulate the levelling bracket in order that the area between the ice maker and the freezer wall is equal on all sides. Tighten it in place.
Reinstall the freezer shelf. Place it within the decrease place to have sufficient area for the ice bucket.
Set the ice bucket onto the shelf immediately underneath the Ice maker.
Step 3: Join the water provide
Insert the ice maker water provide line (the plastic tubing earlier related to the inlet tube)
into the water valve outlet becoming.
Join the water valve to the wire harness on the uncommon backside compartment.
Utilizing screws, mount the water valve to the body of the fridge.
Clear and totally dry an space on the again of the fridge. Stick the availability clamps to the floor and maintain the plastic water tubing in place.
Screw the rear compartment cowl again in place. The water valve ought to stick out by the cutout made on it.
On the higher a part of the water valve, take away the water cap from the becoming for the water provide line. Connect your water provide line (the quarter-inch compression hose) tightly to the availability line becoming. Hyperlink the opposite finish to any exterior water outlet shut by.
Verify for potential leaks by opening the water provide cut-off valve. If there are any, tighten them accordingly.
Now plug the fridge again into energy, and your ice maker is prepared to be used.
Conclusion
Plumbing is crucial for the ice maker to work as water is required to make the ice. When you don’t have a simple water provide outlet to hook up with, you’ll need knowledgeable to do it for you.