


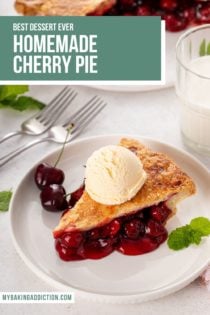
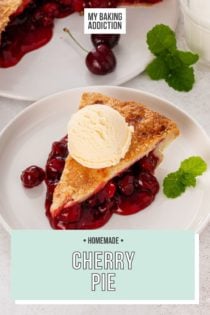
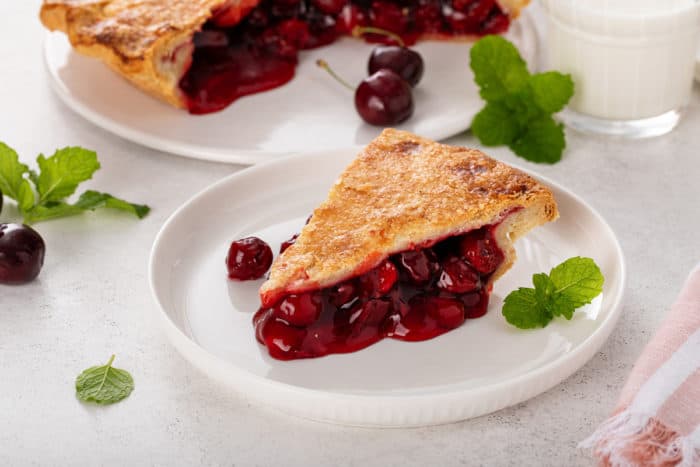
Cherry pie is a traditional for a motive! With a crisp, flaky crust and juicy, candy cherries, this pie is one you’ll crave all 12 months spherical.
I do know we solely have a couple of extra weeks of summer season. Relying on the place you reside, some children already headed again to highschool this week.
So let’s take in each final drop of summer season that we are able to. In any case, the farmer’s markets are nonetheless bursting with recent summer season fruits and veggies!
Nothing is extra classically summer season than a recent, do-it-yourself cherry pie. It’s one factor you’ll want to make earlier than the autumn climate blows in.
MY FAVORITE CHERRY PIE
I’ve been sharing my scrumptious do-it-yourself cherry pie filling with you all for years now. And I’m not the one one who thinks it’s scrumptious – it has tons of of feedback and evaluations saying so, too!
However I noticed one thing earlier this summer season: I’ve by no means talked to you about easy methods to truly make a do-it-yourself cherry pie utilizing the filling.
Certain, you need to use the cherry pie filling to make every kind of different issues: cherry turnovers, cherry hand pies, cherry crisp, and cherry cheesecake are only a small handful of examples. However is there something extra traditional than a fresh-from-the-oven cherry pie?
I don’t suppose so.
And that filling makes the very best do-it-yourself cherry pie. There’s no have to over-complicate issues when you can also make one thing extremely scrumptious that’s additionally very easy!
I do know that double-crust pies may be extra intimidating than single-crust pies like traditional pecan pie and apple crumb pie, however I’m going to stroll you thru the method and offer you some shortcut choices alongside the best way.
HOW TO MAKE HOMEMADE CHERRY PIE
Like I stated, do-it-yourself cherry pie doesn’t must be sophisticated. When you’ve got ever made my cherry pie filling, you already understand how straightforward and scrumptious it’s – and also you’re already midway to pie!
Crust choices
You’ve two important choices relating to pie crust: make it your self, or go the refrigerated pie crust route.
I’ve a buddy who virtually at all times makes her personal do-it-yourself pie crust, and that’s one thing that you just’re welcome to do!
However I additionally suppose that should you’re making your individual pie filling, it’s okay should you take a little bit shortcut and use a pre-made pie crust.
Since this can be a double-crust cherry pie, it would be best to seize one of many refrigerated pie crusts that come two in a bundle. Pillsbury is a very dependable model and normally the one which I purchase.
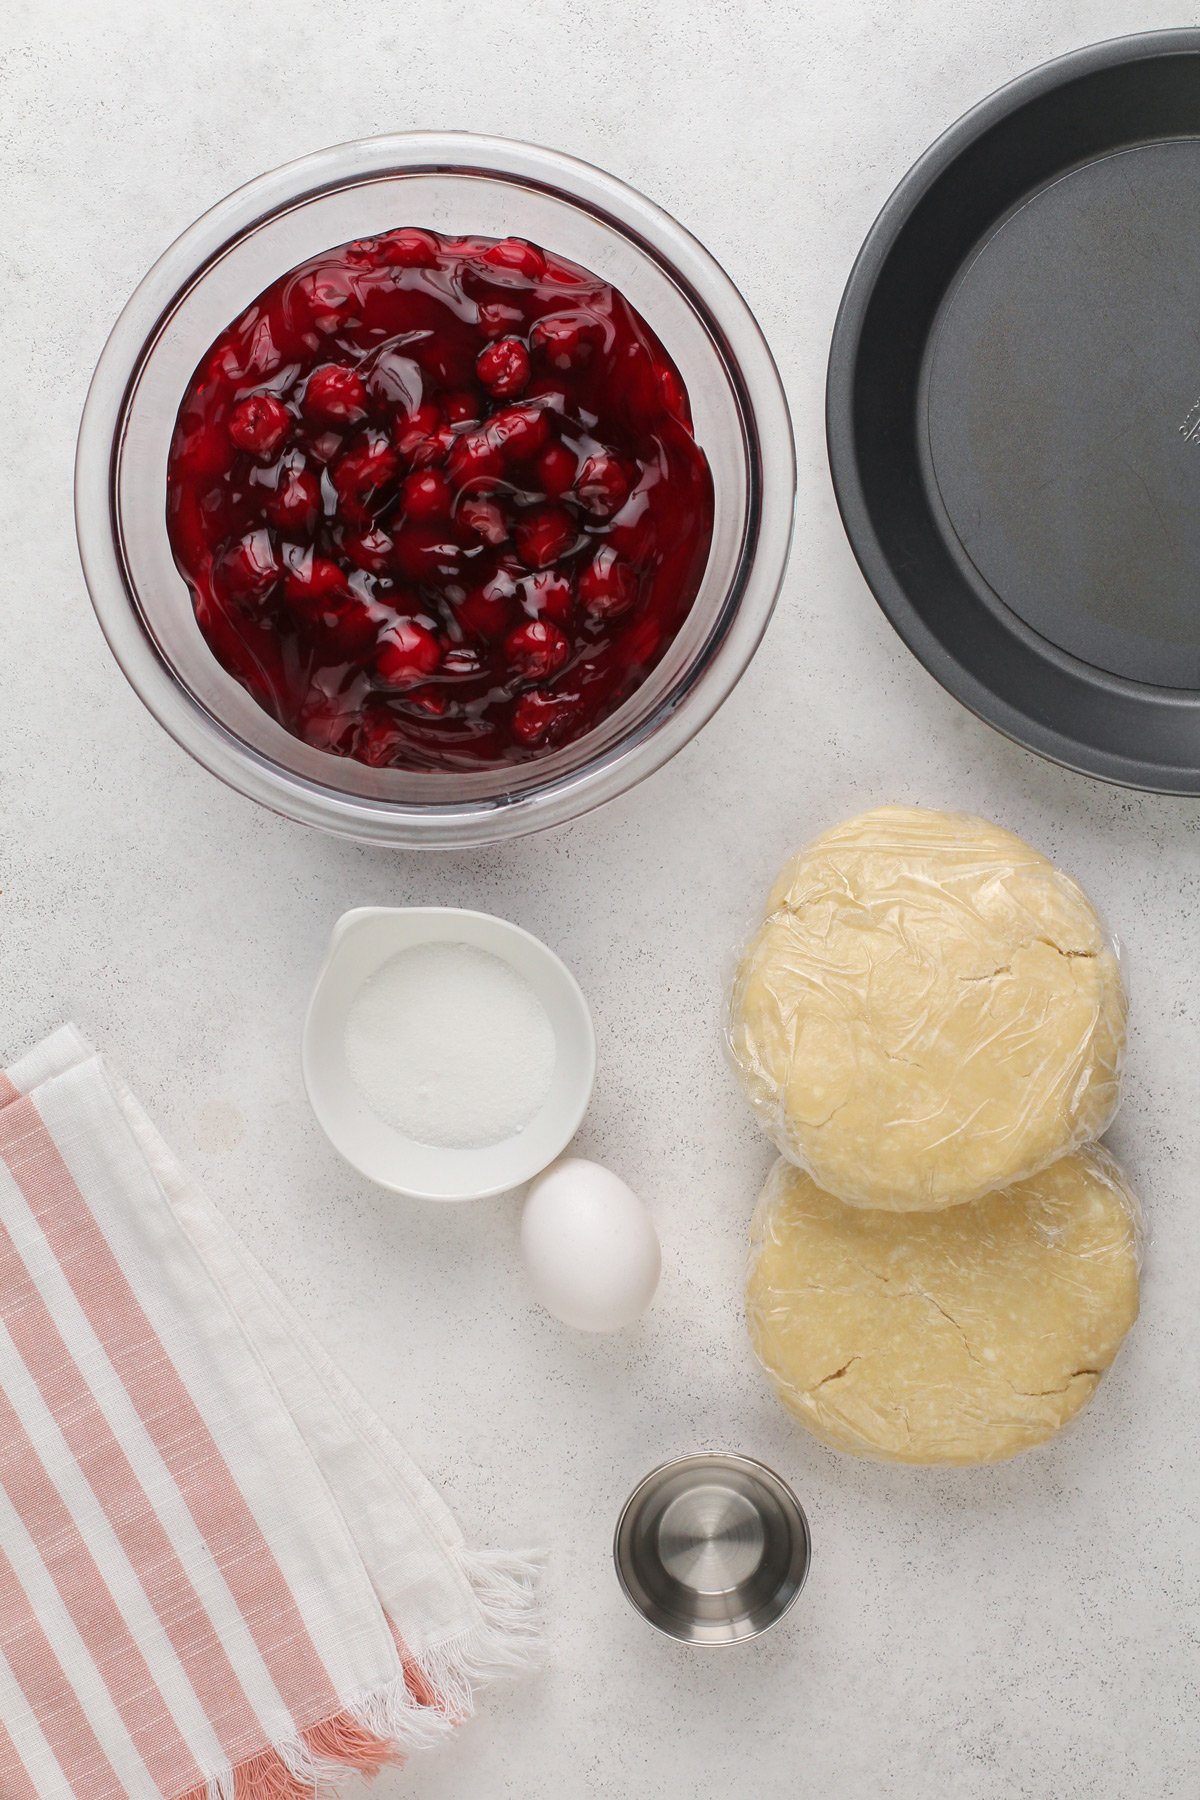
Different components you’ll want
After you have your pie crust and your pie filling, additionally, you will want:
- 1 egg
- 1 tablespoon of water
- Granulated sugar or coarse sugar
These three components are for making the pie crust look actually fairly as soon as it’s baked. They’ll add that particular completion that make for a very spectacular pie, even when that is your first time making a do-it-yourself cherry pie.
Making cherry pie
Preheat the oven to 400°F and let it come to temperature when you assemble the pie.
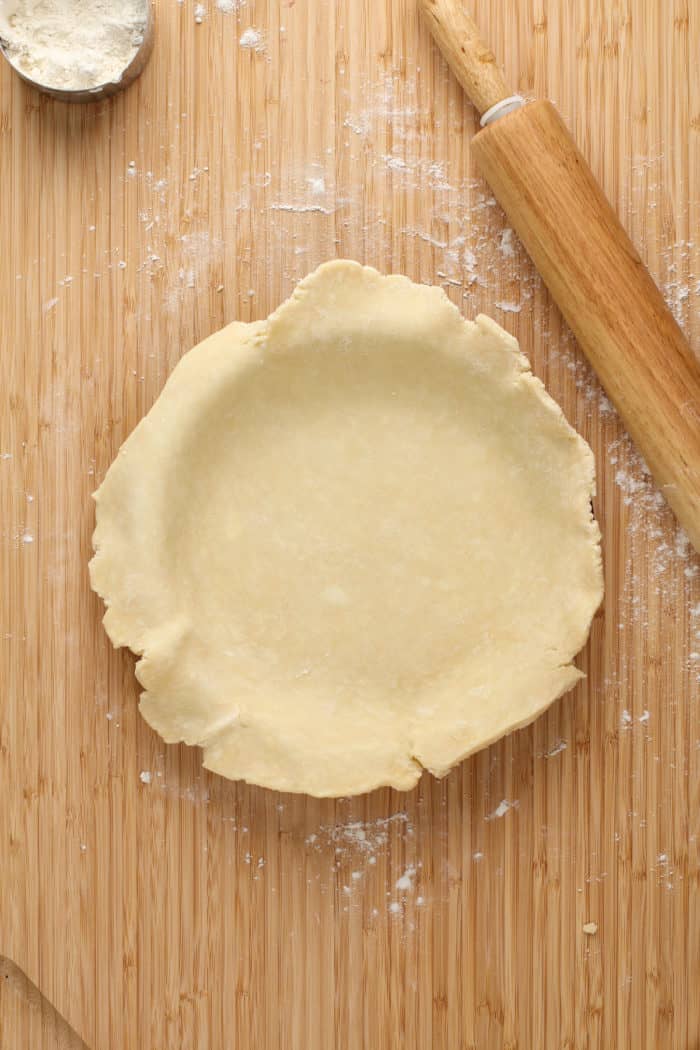
On a evenly floured floor, roll out half of the pie dough. To ensure it’s large enough, seize a 9-inch pie plate and maintain it over the circle of dough. For the underside crust, ensure that the circle extends a minimum of 1 inch previous the sting of the pie plate.
Use your rolling pin to select up the pie dough by gently rolling the pie dough onto the rolling pin. Raise the rolling pin, and gently place the dough into the pie plate.
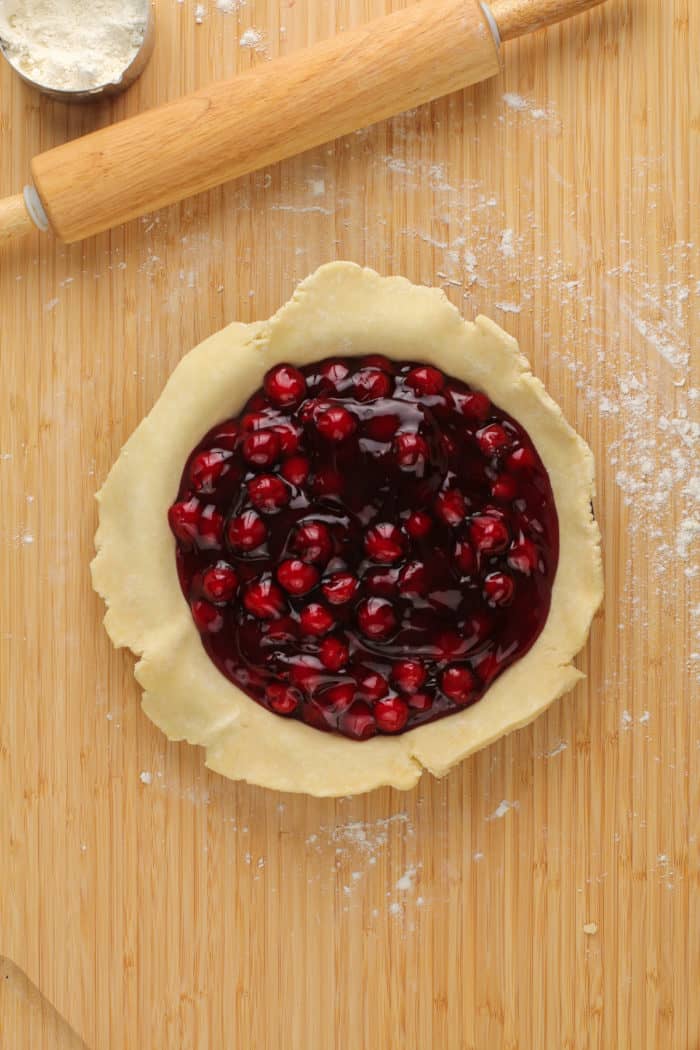
Add the cooled do-it-yourself cherry pie filling, spreading it out evenly within the pie plate. Set this apart.

Roll out the second half of the crust, ensuring it’s simply barely greater than the sting of your pie plate. Utilizing the identical rolling pin methodology, gently place the pie dough on prime of the pie, overlaying the filling.
Trim the sides as wanted and/or tuck extra pie crust beneath on the edges, then use your fingers or a fork to crimp and seal the sides of the pie.
You have to a method for steam to flee, so use a pointy paring knife to chop slits into the highest of the crust. I usually do a easy “X” on the highest, however you may get extra inventive should you’d like (see “recipe FAQs” beneath).
Whisk collectively the egg and tablespoon of water and brush this evenly excessive of the pie. Sprinkle with some sugar – coarse sugar makes for a wonderful sparkle and crunch, however even granulated sugar will work effectively.
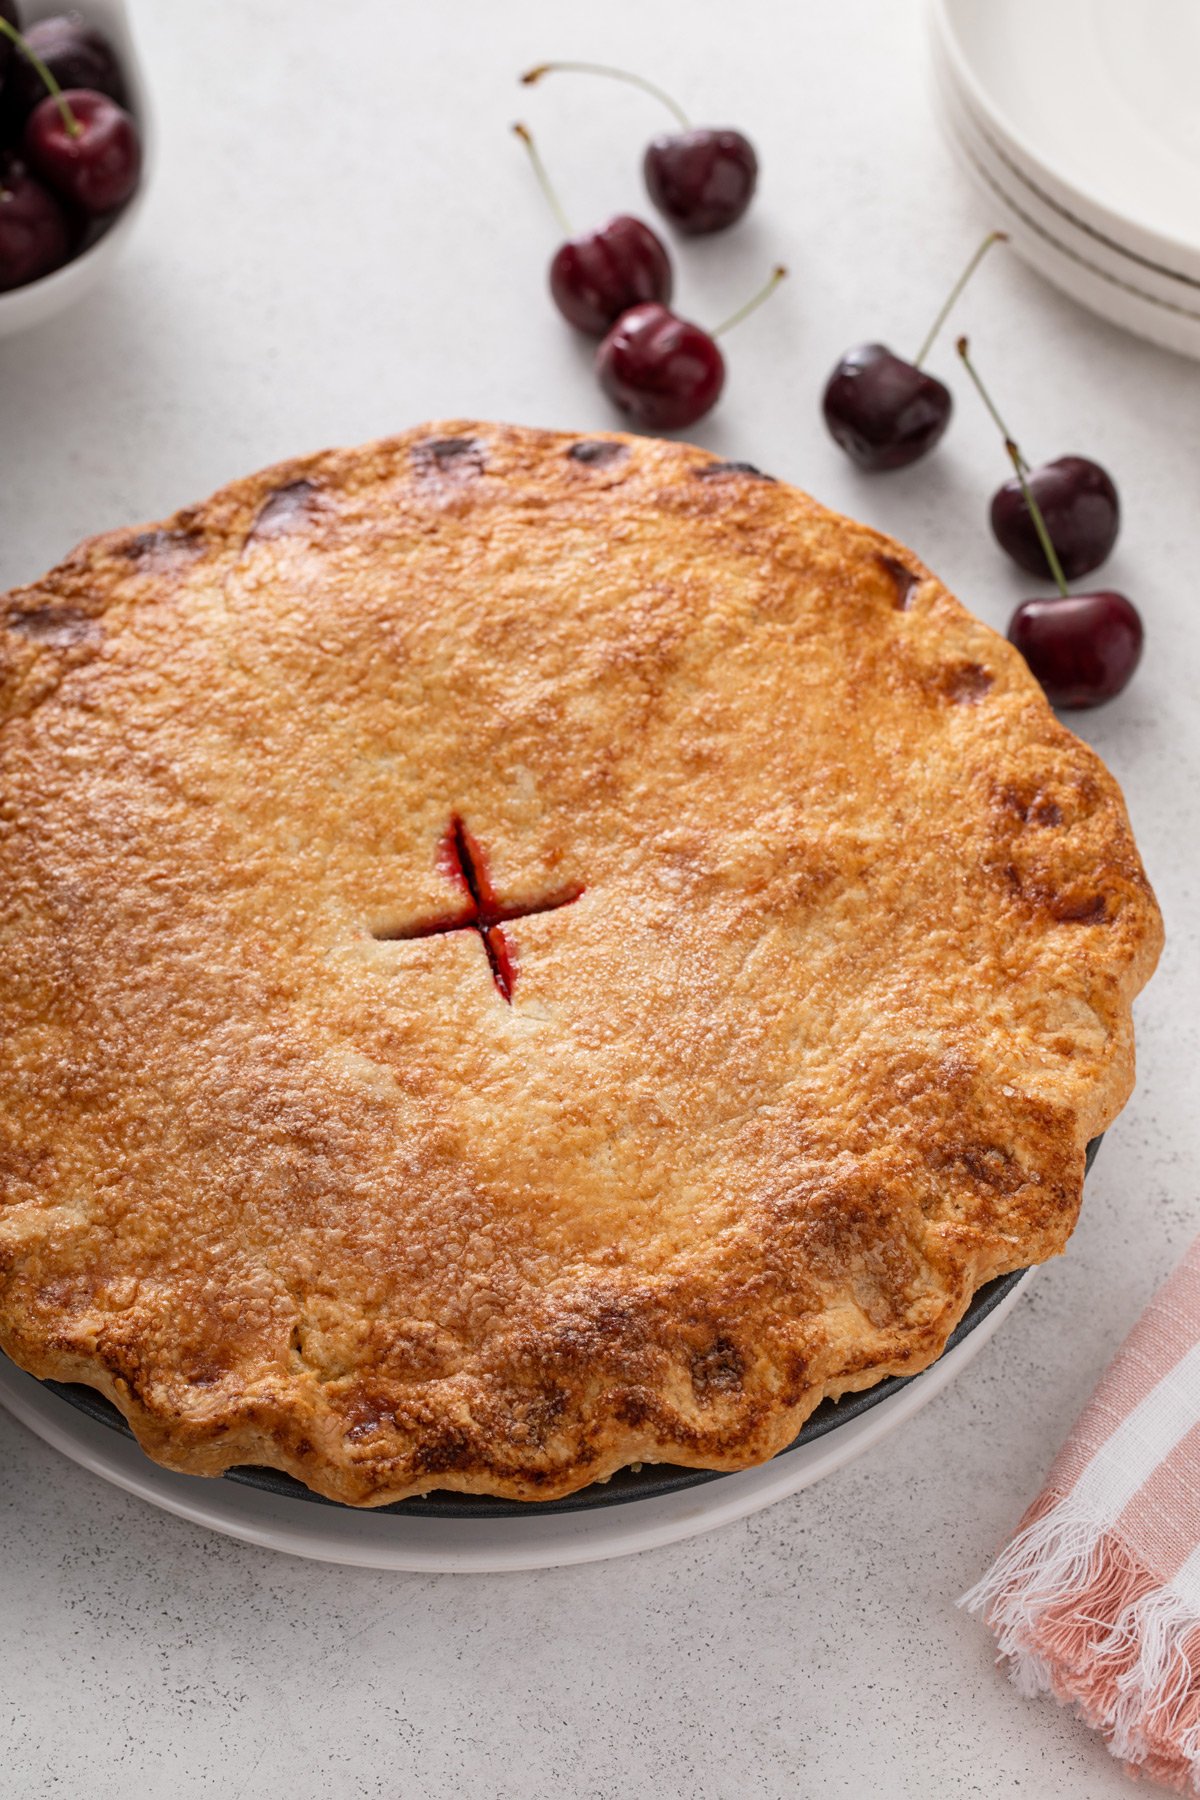
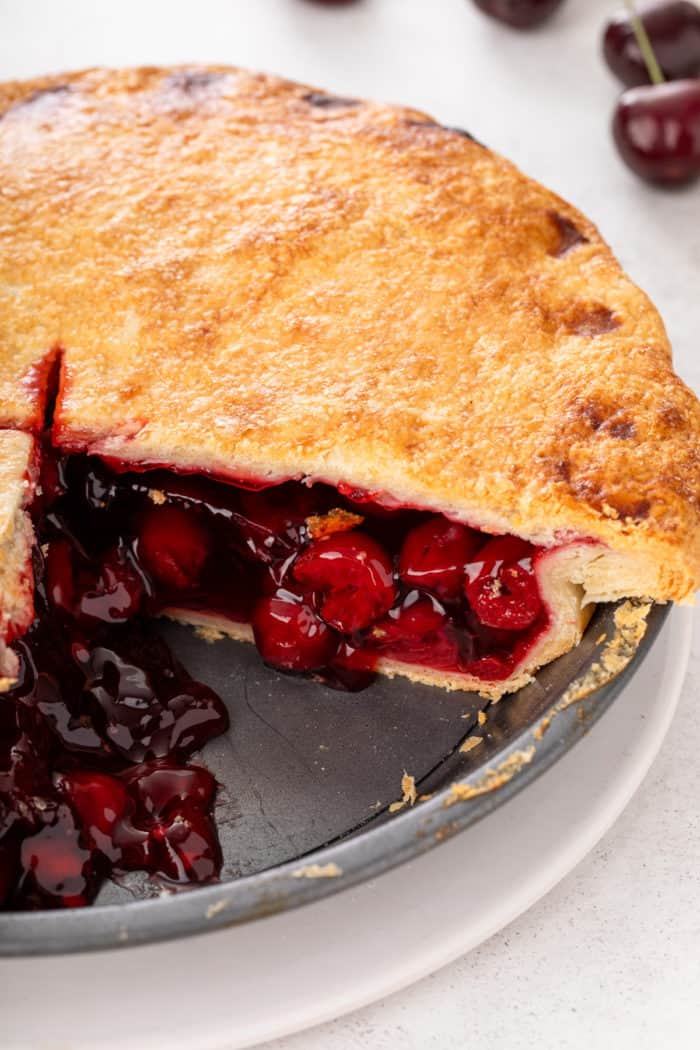
Bake the pie on a rimmed baking sheet for 40-45 minutes or till the crust is properly golden.
Test the pie across the 20-25 minute mark simply to verify the sides are browning too shortly. If they’re, gently cowl the sides with foil or a pie guard.
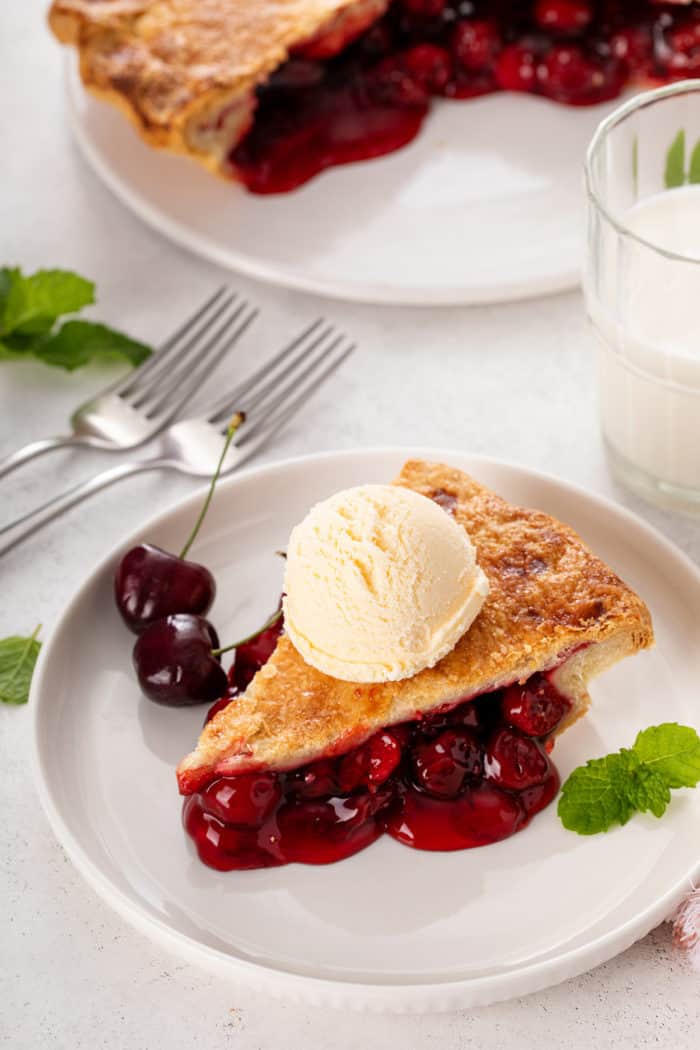
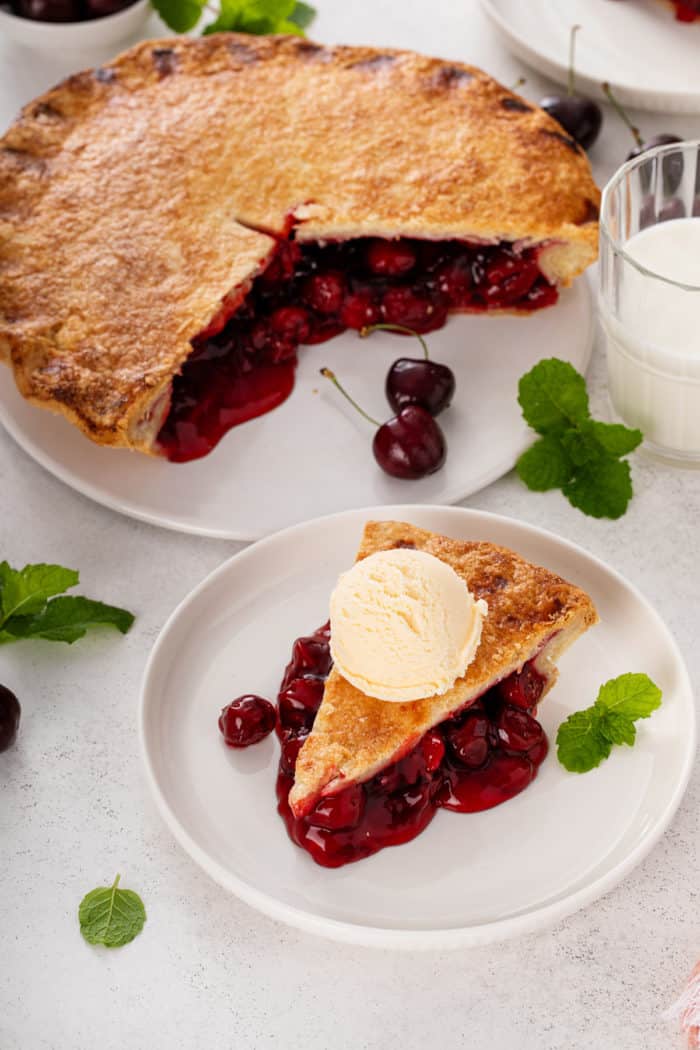
As tough as will probably be, attempt to let the cherry pie cool earlier than chopping and serving. This may enable the filling to set again up and never run in all places while you slice and serve the pie.
Attempt topping every slice with a scoop of vanilla ice cream for the dreamiest dessert.
STORAGE
Should you plan to serve the pie inside the day, be at liberty to go away it at room temperature. In any other case, it may be saved, lined, within the fridge for as much as 3 days.
You may rewarm slices within the microwave for 30-60 seconds should you’d like.
RECIPE FAQS
What sort of cherries does this pie use?
It is a candy cherry pie recipe, so it makes use of candy cherries (comparable to bing cherries). You may adapt the filling recipe to make use of bitter cherries, however you’ll need so as to add extra sugar to the filling.
Candy cherries are usually simpler to seek out year-round (particularly frozen), so I favor them to bitter cherries for baking.
Can I exploit frozen cherries as a substitute of recent?
Don’t stress if it’s not the center of summer season and you’ll’t discover recent cherries at your retailer. You may positively use frozen cherries to make the filling and the ultimate cherry pie.
There is no such thing as a have to thaw the frozen cherries earlier than making the filling. It’ll additionally prevent from the work of pitting them, so it’s a quicker course of general!
What are some methods to make an ornamental prime crust for this cherry pie?
If you wish to go extra ornamental along with your pie crust than what you see in these images, I’ve a couple of ideas, starting from tremendous straightforward to tougher.
- Tremendous straightforward: When chopping the slits within the prime of the crust, use the paring knife to chop a 6- or 8-pointed star design within the middle. It’s also possible to use the knife to chop a extra intricate design should you like.
- Barely tougher: Roll out the highest crust. Earlier than inserting it on the pie, use a cookie cutter – comparable to a heart-shaped cutter – to chop shapes out of the crust. It can save you the items you narrow out and “glue” them alongside the sides of the pie utilizing the egg wash should you like, or go away them off completely.
- Harder: Roll out the highest crust then reduce it into strips. Place half of the strips on prime of the pie, leaving area between them. Weave the remaining strips going throughout the pie within the different path. You could find an in depth put up on easy methods to make a lattice pie crust.
How do you stop the sides of the pie from burning?
The perimeters of a pie are inclined to brown faster than the remainder of the crust, so that you need to ensure that they don’t burn earlier than the cherry pie has absolutely baked.
I prefer to test on the pie periodically beginning across the 20-30 minute mark. Should you see that the sides are fantastically browned, however the remainder of the pie is just not, you need to cowl these edges.
You need to use strips of foil and gently wrap them across the edges, or you should buy a pie guard/pie defend and gently place that over the pie.
This may enable the remainder of the cherry pie to complete baking whereas stopping the sides from getting too darkish.

-
Preheat oven to 400°F.
-
Roll out the underside pie crust and gently place it right into a 9-inch pie plate. Add the do-it-yourself cherry pie filling, spreading out evenly into the pie plate.
-
Roll out the highest crust giant sufficient to cowl the pie with a little bit of overhang. Gently place the crust over the pie. Trim the sides as wanted and/or tuck extra pie crust beneath, then use your fingers to crimp and seal the sides of the pie. Use a pointy paring knife to chop slits into the highest crust.
-
Alternatively, you possibly can reduce the highest crust into strips to create a lattice crust on your pie.
-
Whisk collectively the egg and water. Evenly brush excessive crust. Sprinkle with granulated or coarse sugar.
-
Place on a rimmed baking sheet and bake for 40-45 minutes, or till the crust is golden. I like to recommend checking the pie after 20-25 minutes and tenting it with foil whether it is getting too golden too early. If solely the sides are getting darkish, you possibly can gently cowl the sides with foil or a pie guard.
-
Let cool earlier than serving.
Serving: 1slice | Energy: 287kcal | Carbohydrates: 41g | Protein: 4g | Fats: 12g | Saturated Fats: 4g | Polyunsaturated Fats: 1g | Monounsaturated Fats: 5g | Trans Fats: 0.003g | Ldl cholesterol: 20mg | Sodium: 195mg | Potassium: 127mg | Fiber: 2g | Sugar: 0.02g | Vitamin A: 182IU | Vitamin C: 3mg | Calcium: 19mg | Iron: 1mg