

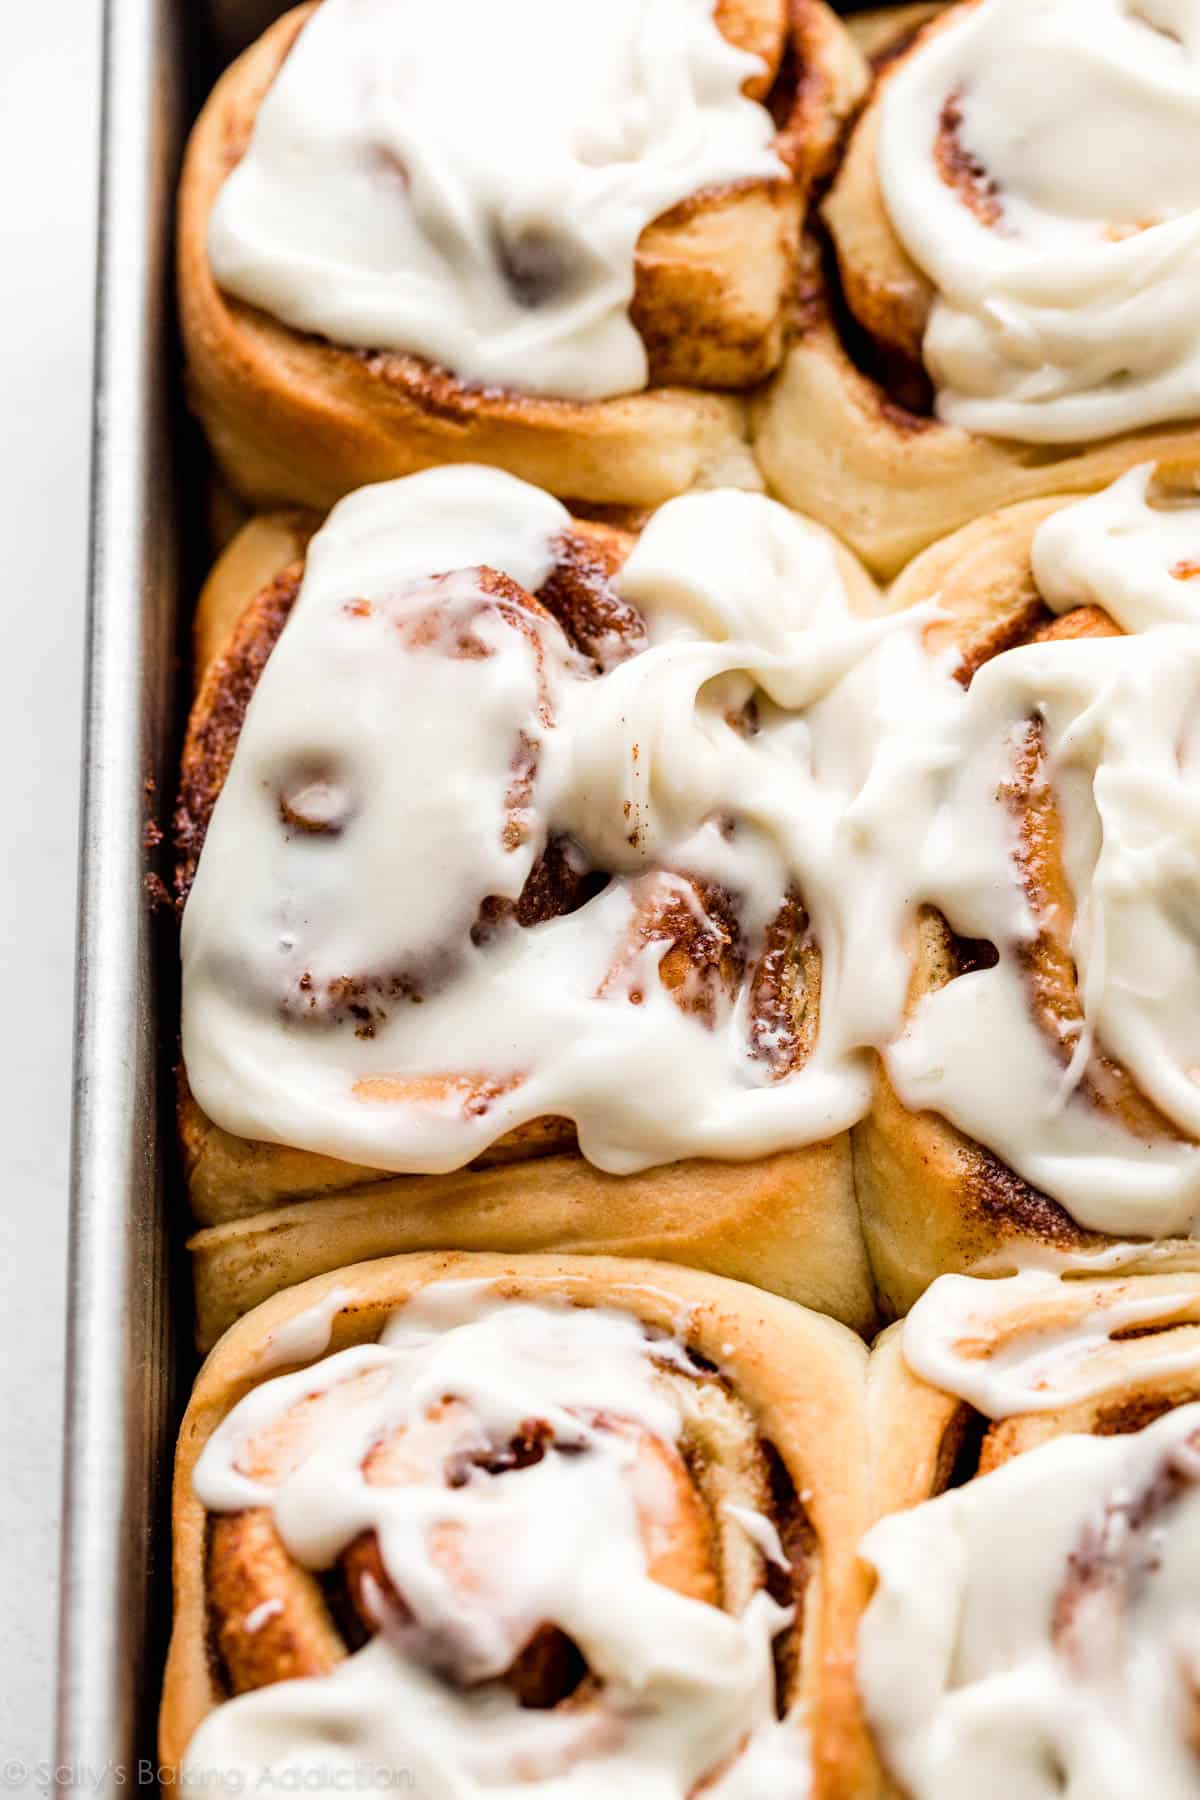
This recipe yields a pan of buttery gentle, gooey cinnamon candy, and additional fluffy home made cinnamon rolls topped with tangy cream cheese icing. It’s been a reader favourite recipe for years and I adore it a lot that I turned this wealthy dough into apple cinnamon rolls, pecan sticky buns, maple cinnamon rolls, and even a cinnamon roll wreath. You can also make the cinnamon rolls inside a couple of hours or get began the evening earlier than utilizing the in a single day preparation choice.
This recipe is dropped at you in partnership with Crimson Star Yeast.
This cinnamon rolls recipe has lived on the positioning since 2014. After making numerous extra batches since I revealed the recipe plus answering readers’ feedback and questions, I believed it could be helpful to replace the submit with extra useful data and success suggestions. Do-it-yourself cinnamon rolls are a preferred breakfast selection, so I need to ensure you have all of the sources you want for this traditional recipe.
By the best way, in case you love this dough, make sure you attempt it as raspberry candy rolls or strawberry candy rolls with lemon glaze subsequent. Or for a sprinkle loaded deal with, my birthday cake cinnamon rolls use the identical dough, too!
Inform Me About These Do-it-yourself In a single day Cinnamon Rolls
- Texture: That is one in every of my richest home made doughs, so that you’re already promised a gentle, springy, and fluffy texture. I normally use all-purpose flour, however in case you use the non-compulsory bread flour, your rolls shall be somewhat chewier. I discover that these home made cinnamon rolls are even fluffier than my simple 1 rise cinnamon rolls (and that’s as a result of there’s the extra rise right here!).
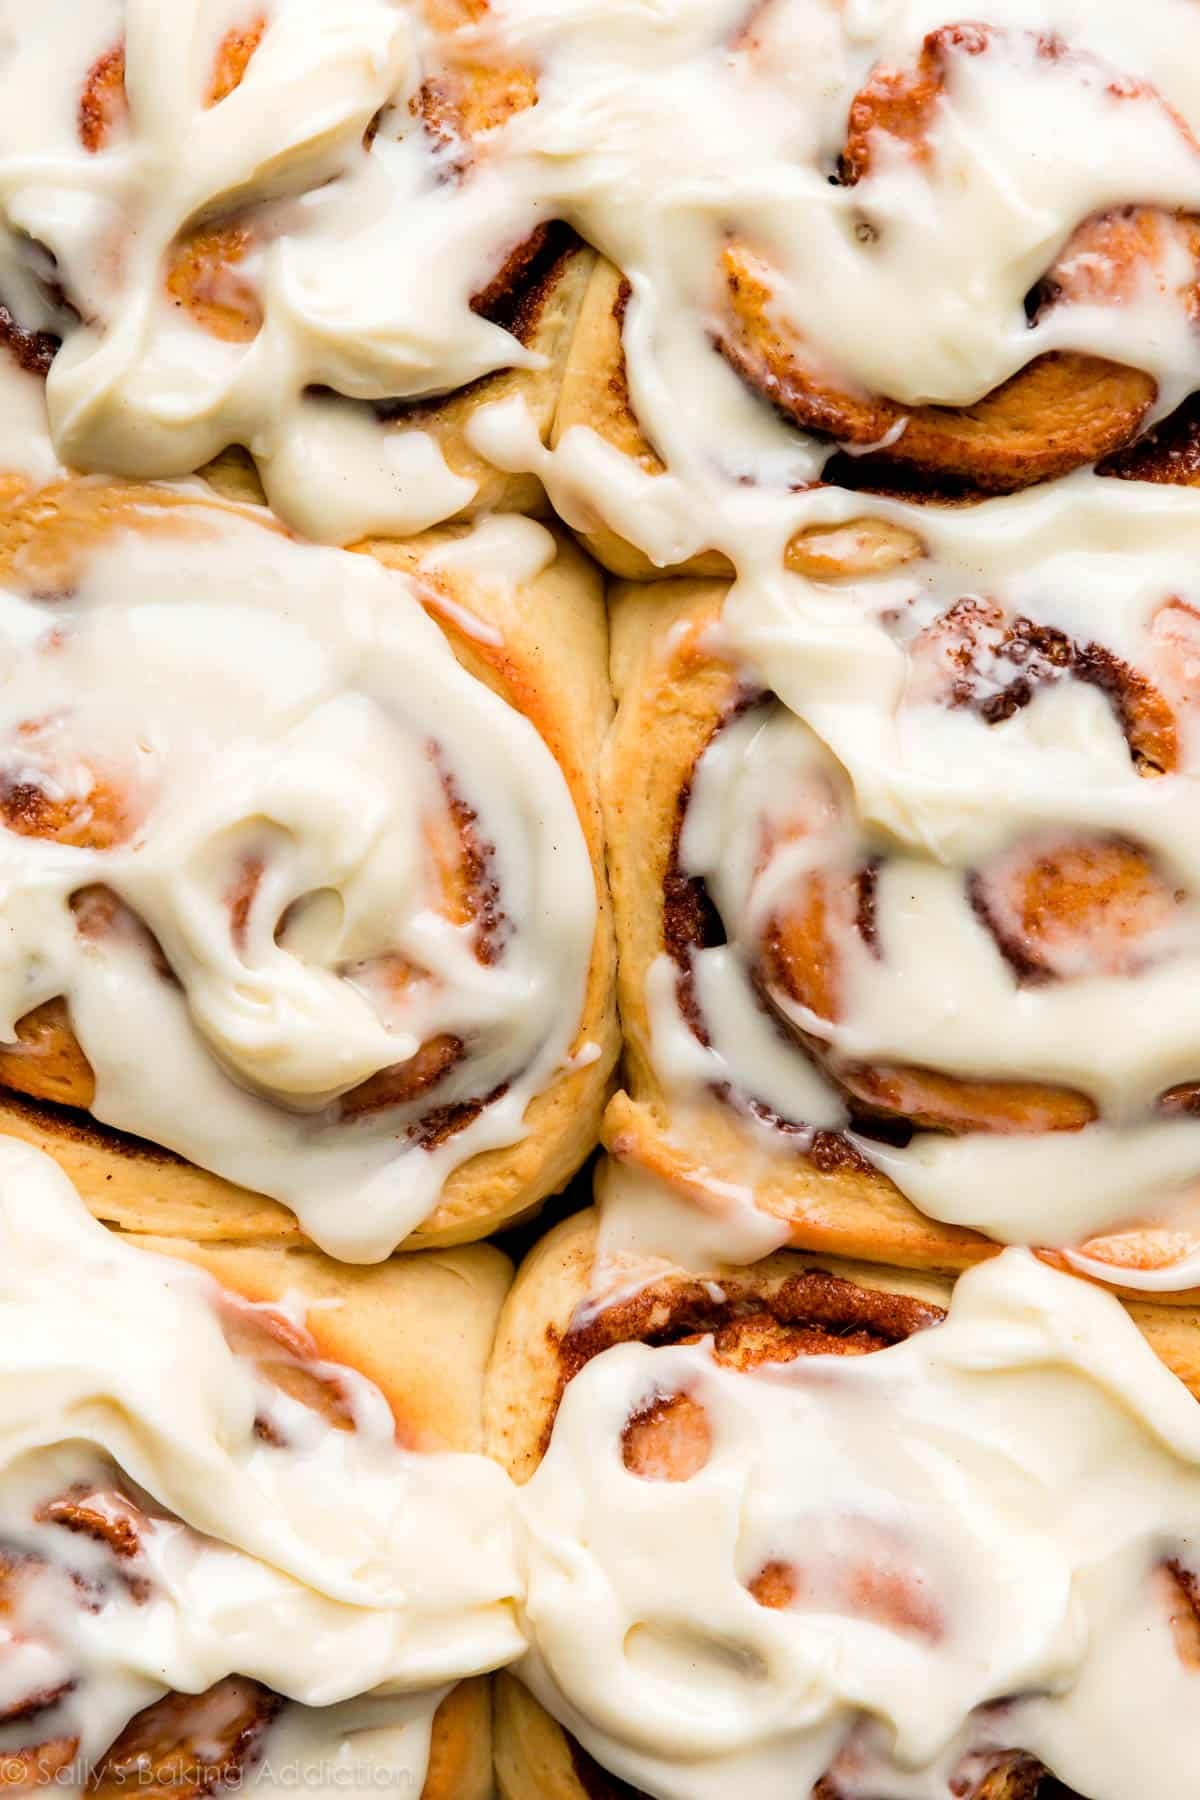
- Taste: The scent of heat cinnamon rolls is oh-so-irresistible and alluring. As soon as you’re taking that first chunk, you’ll get pleasure from a recent home made dough that’s swirled with limitless pockets of (Cinnabon model!) candy and gooey cinnamon.
- Ease: Do-it-yourself dough and formed breads require extra precision and energy than making say, a espresso cake. However the dough is fairly simple and easy to form, so long as you’ve sufficient flour close by on your arms, work floor, and rolling pin.
- Time: This dough requires 2 rises. When you perceive the meeting course of, the prep strikes fairly shortly. Put aside at the least 4-5 hours from begin to end or divide between 2 days with the in a single day choice. Whichever methodology you select, take into account most of that point is arms off because the dough rises.
In case you are craving cinnamon rolls proper now, and simply can’t await dough to rise, attempt these no yeast cinnamon rolls!
What Readers are Saying:
“I HAD to come back and go away this rave overview. I simply baked and iced these cinnamon rolls ay 9:05 am. It’s now 10:55 am in a family of solely 3 folks solely two are left. This recipe is the most effective I’ve ever tried. ★★★★★” – Chelsea
“Scrumptious and simple to observe! This was my first time cooking with yeast and my first time making home made cinnamon rolls and this was an awesome recipe to begin with. Everybody at brunch was blown away. ★★★★★” – Hannah
“Scrumptious! I’ve tried many cinnamon roll recipes, and that is my new favourite. I choose a roll that’s massive, extra fluffy than dense/gooey, and buttery with out being overly candy. This match the invoice! ★★★★★” – Brice
Are You a Yeast Newbie?
This Baking with Yeast Information is an excellent place to begin for newcomers. I reply many widespread yeast FAQs in easy-to-understand explanations, so you may be taught the fundamentals earlier than starting.
7 Essential Elements in These Do-it-yourself Cinnamon Rolls
Be at liberty to skip straight to the recipe. However in case you’re new to creating bread, the next explanations are factors that I’ve discovered through the years and shall be massively useful.
- Complete milk: Complete milk is good for the richest tasting cinnamon rolls. Buttermilk works simply as properly with none adjustments to the recipe. Many readers have efficiently substituted nondairy milks. In a pinch, you need to use 2% or 1% milk, however don’t use nonfat milk.
- Sugar: You want 2/3 cup of white granulated sugar within the dough. Use 2 Tablespoons in step 1 under (the proofing step), then add the remainder in step 2.
- Yeast: You should use lively dry or on the spot yeast. Observe the instructions precisely as written no matter which you select. You’ll nonetheless proof the yeast in heat milk with some sugar even in case you use on the spot yeast. This step ensures that the yeast is lively and never expired. Most yeast today is already lively, however it’s a fast 5-10 minute step that forestalls you from losing your time simply in case the yeast has expired. If utilizing lively dry yeast, the rise occasions shall be somewhat longer. For the previous 10+ years, my go-to model has been Crimson Star Yeast. I all the time advocate Platinum Yeast from Crimson Star.
- Butter: This can be a wealthy dough, which means it has fats to assist assure softness. Use 1/2 cup of softened butter and to assist it mix simpler, minimize it into 4 items earlier than including.
- Eggs: Like butter, eggs promise a softer, richer dough.
- Salt: Dough is bland with out salt.
- Flour: Flour is the construction of the dough. You should use both all-purpose flour or bread flour. You’ll discover the rolls are somewhat chewier in case you use bread flour. It’s not an enormous distinction, so don’t fear in case you solely have all-purpose flour. (That’s what I normally use!)
Be aware: You’ll discover that I exploit extra yeast on this recipe in comparison with my simple cinnamon rolls. Why? These are a lot fluffier and bigger—about twice the scale.
Step-by-Step Pictures
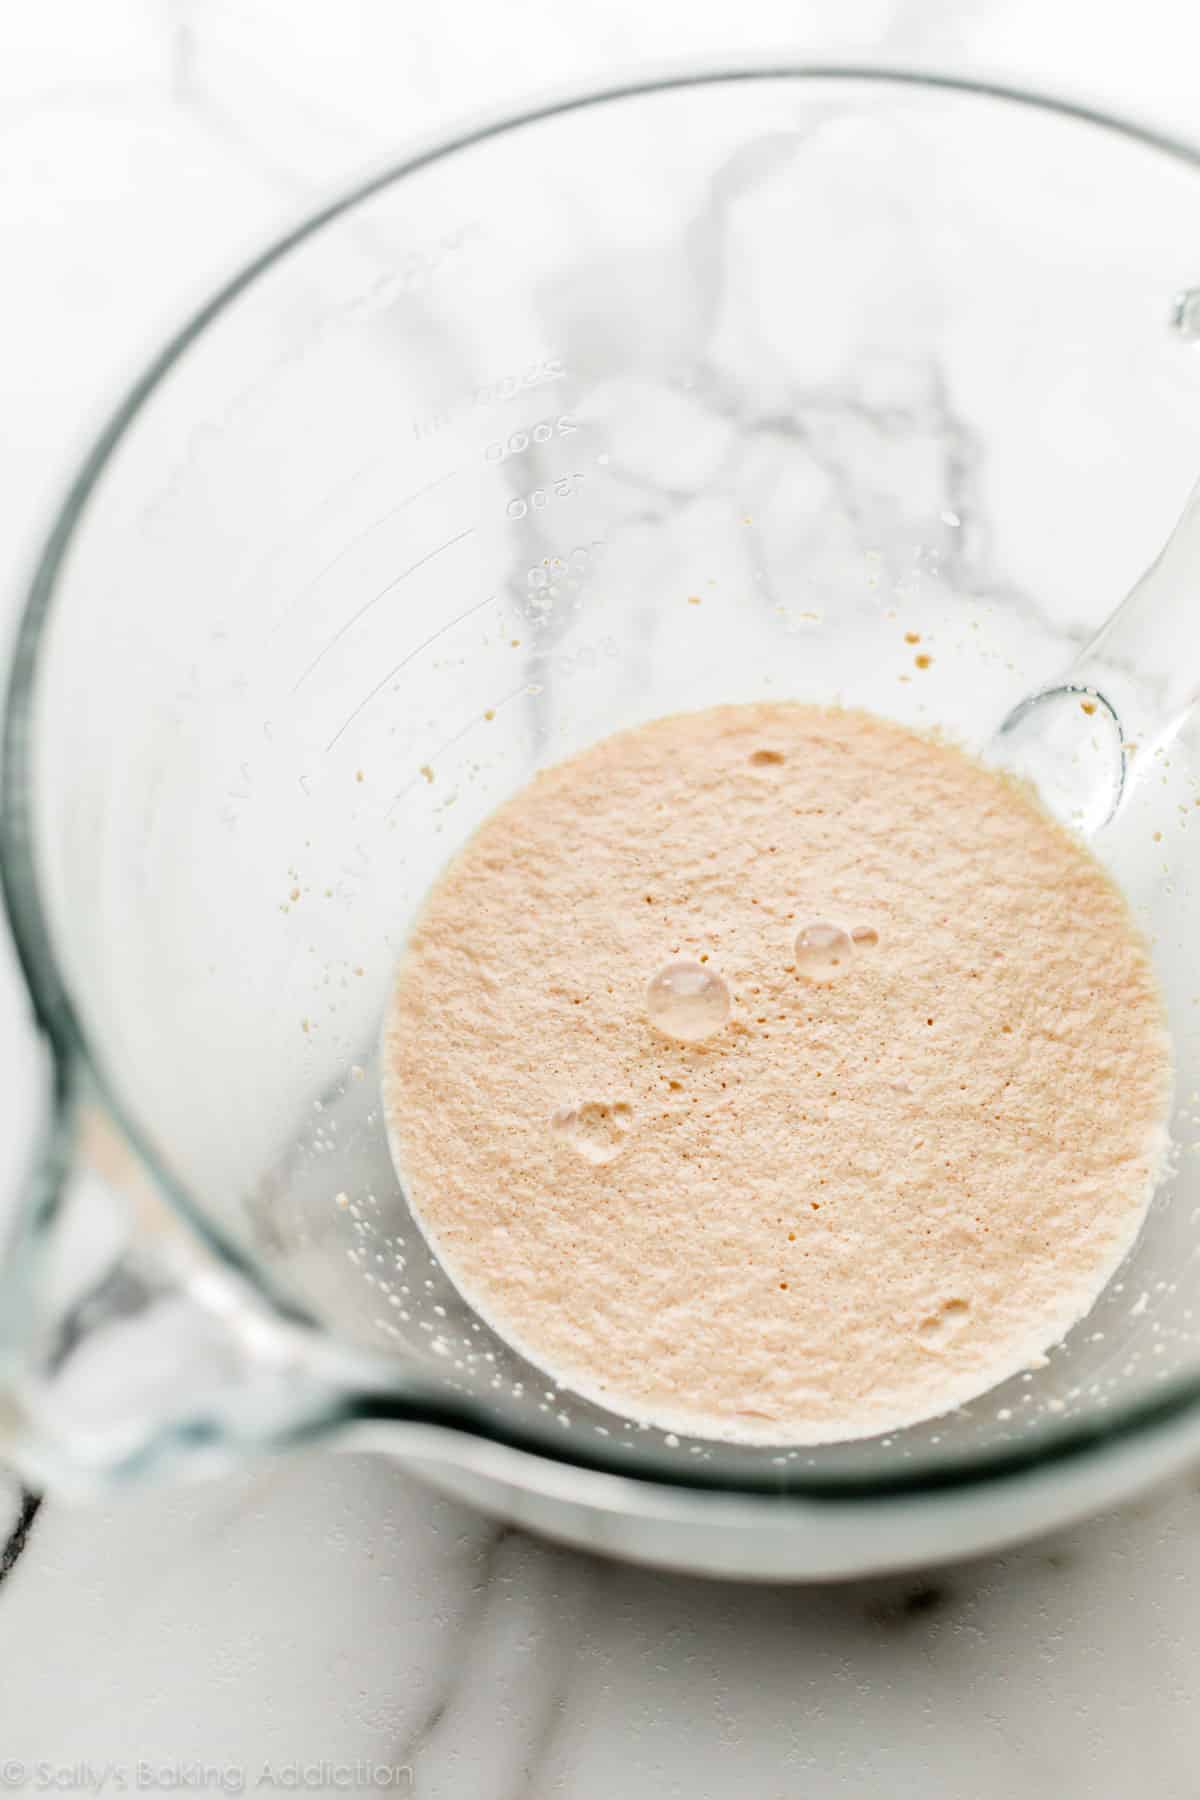
Right here’s what you’re on the lookout for after you let the nice and cozy milk, a few of the sugar, and yeast sit for about 5-10 minutes. The highest shall be somewhat foamy:
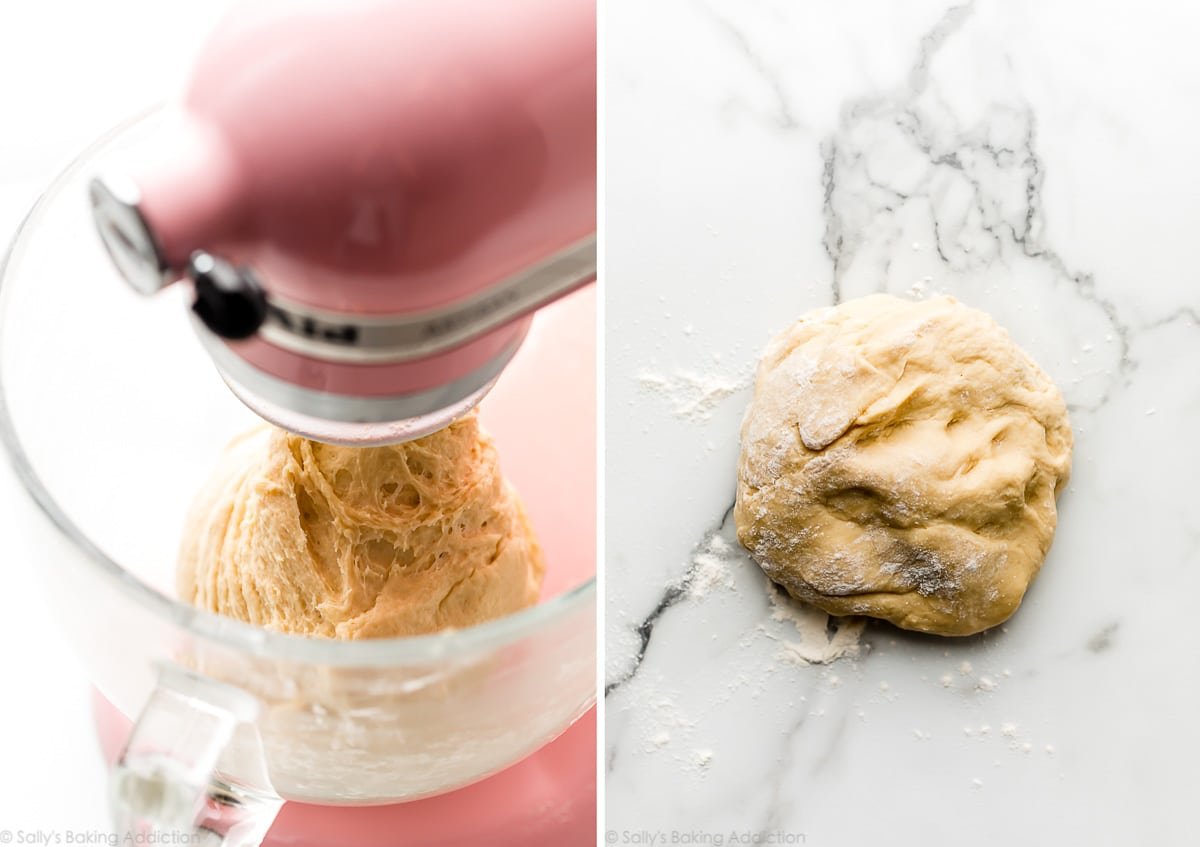
After the dough comes collectively, it will likely be somewhat gentle and sticky—that’s regular. As defined in step 3 under, knead the dough on a floured counter or preserve it within the mixer for kneading.
What If I Don’t Have a Stand Mixer? If you don’t personal a mixer, you may combine the dough along with a big wood spoon/rubber spatula. It can take a little bit of arm muscle. A hand mixer works, however the sticky dough repeatedly will get caught within the beaters. Mixing by hand with a wood spoon or rubber spatula is a more sensible choice.
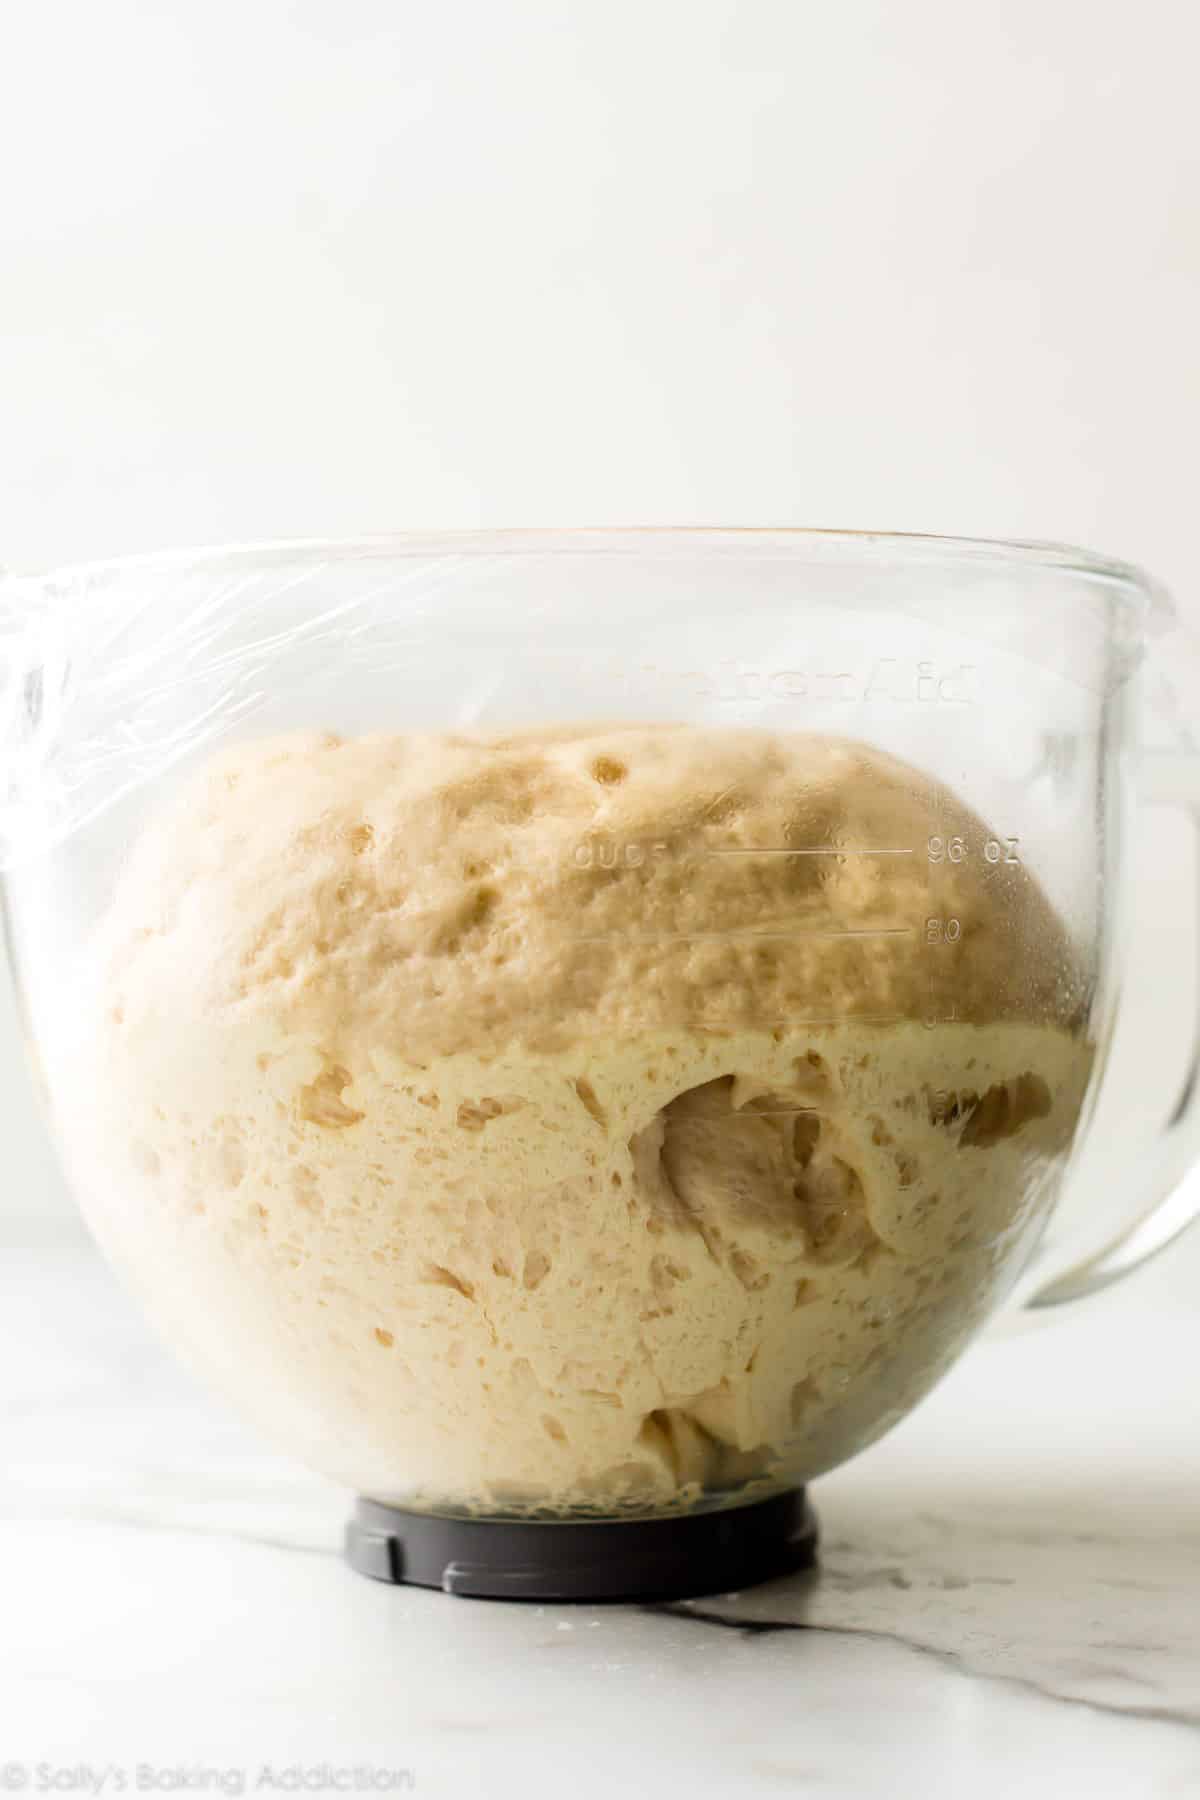
Let the dough rise till doubled in measurement:
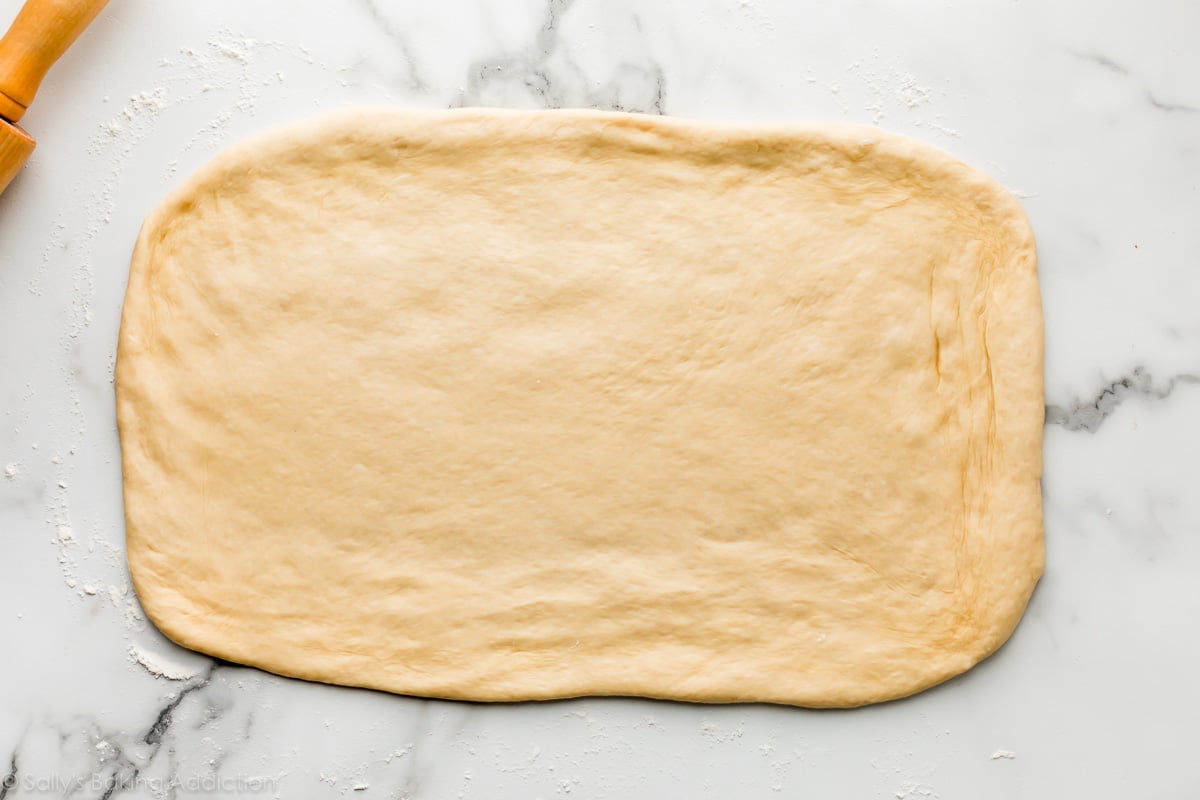
Punch the risen dough down and roll it out.
Baker’s Tip: If the dough retains shrinking as you roll it out, cease what you’re doing, cowl it calmly, and let it relaxation for 10 minutes to loosen up the gluten. Whenever you return to the dough, it ought to stretch out a lot simpler.
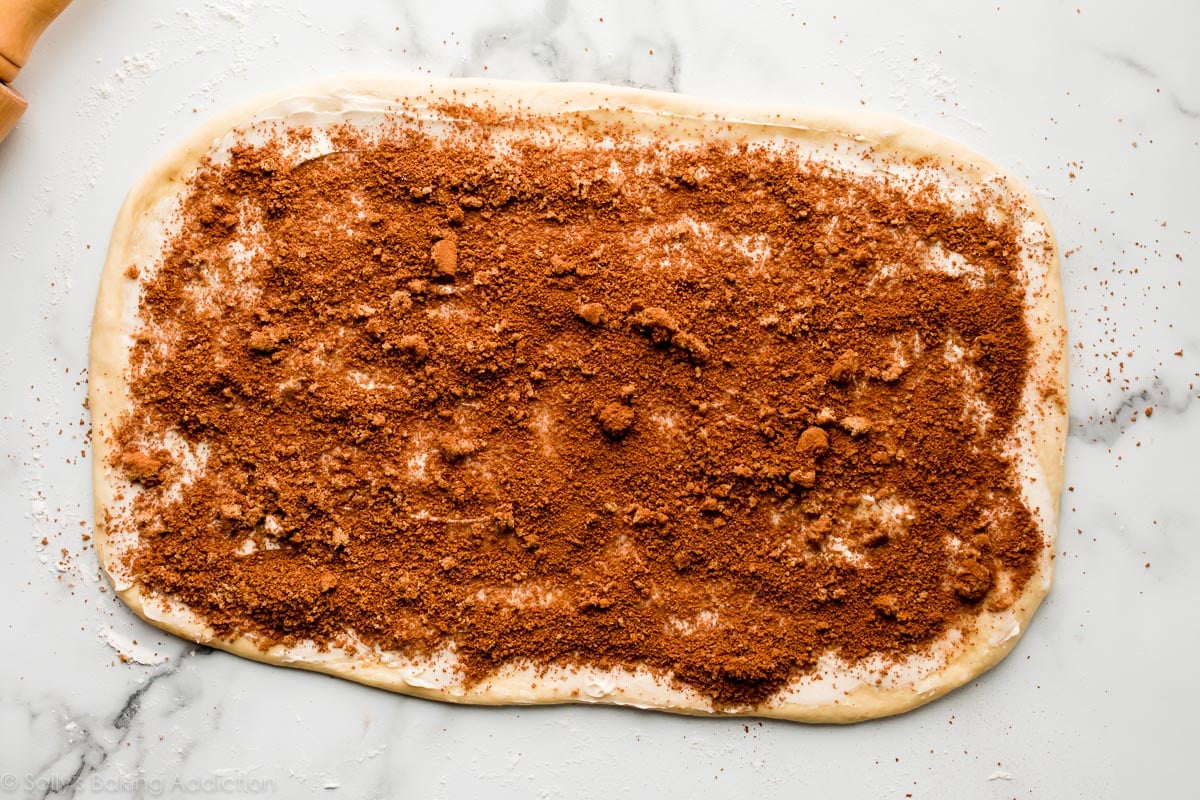
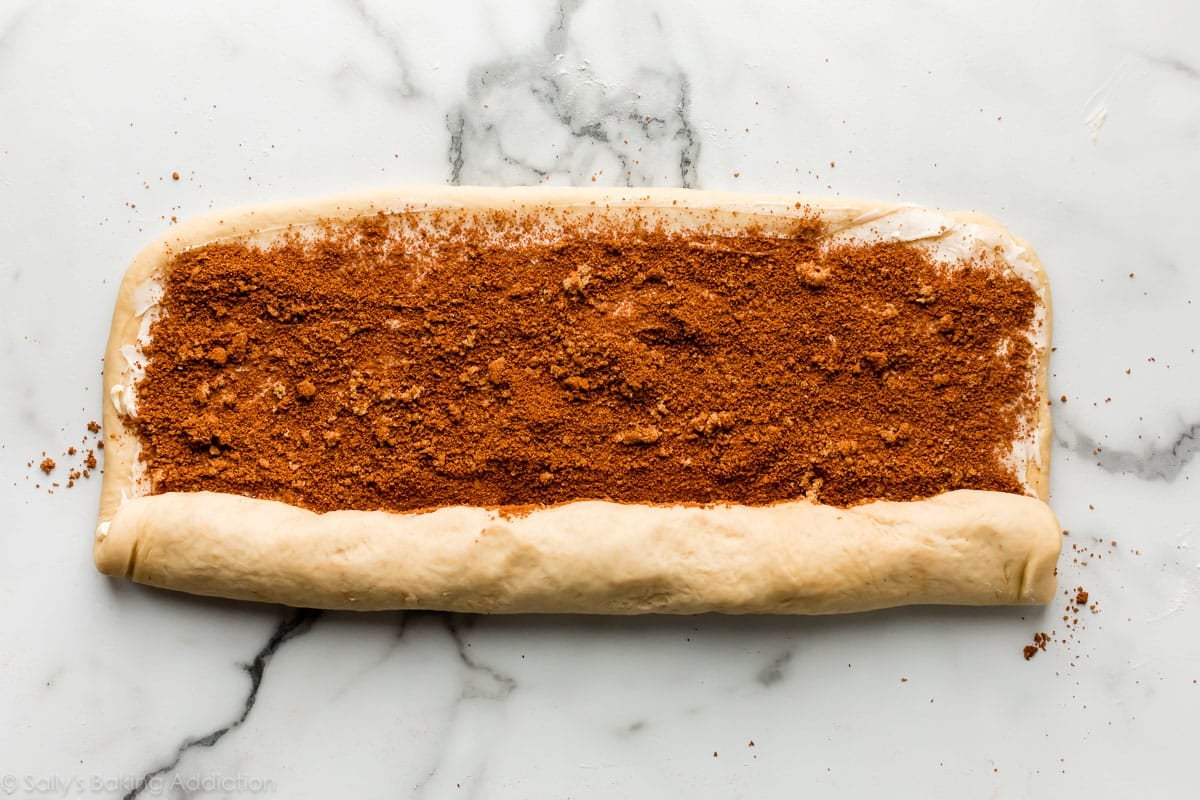
Unfold softened butter on prime, then sprinkle on a combination of cinnamon and sugar (brown sugar or white granulated sugar).
Roll it up:
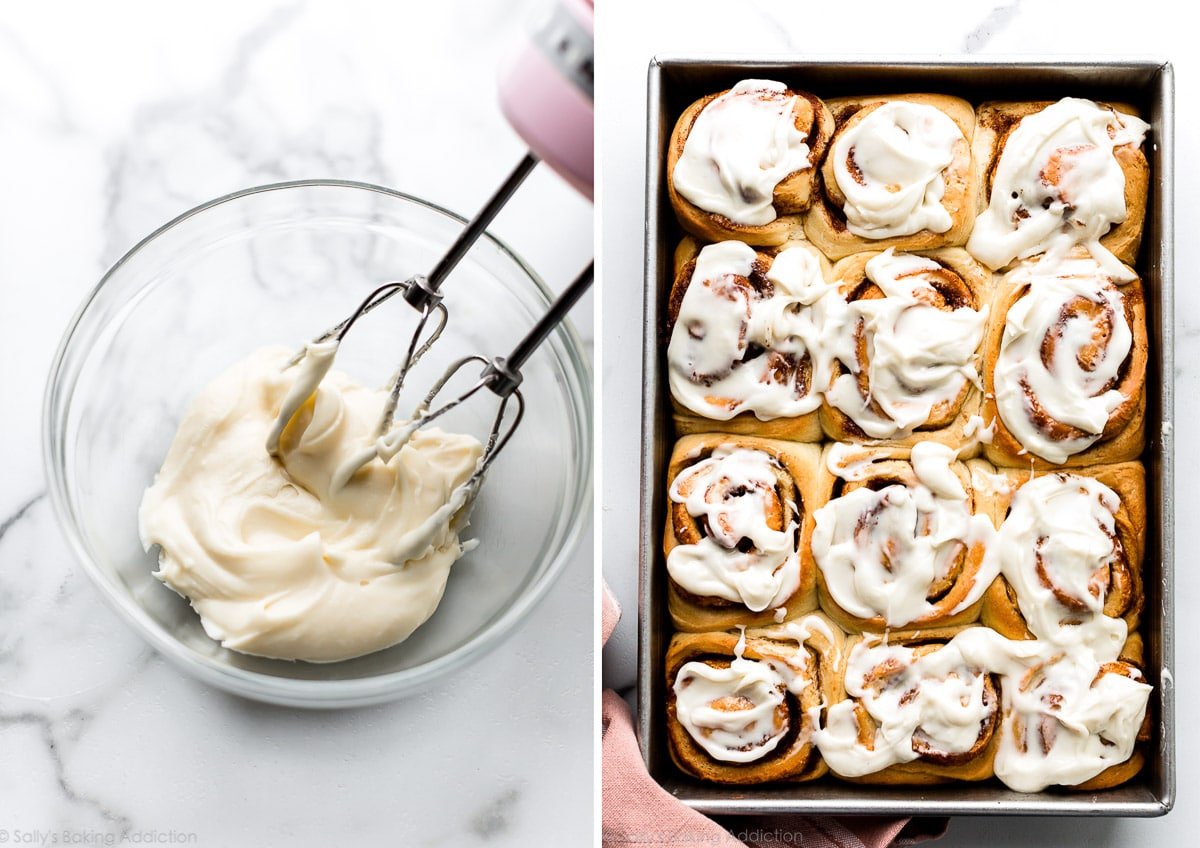
Use a really sharp knife to chop the roll into 12 rolls, every about 1.5 inches. Prepare in your greased baking pan, cowl, then let the rolls rise till doubled in measurement and puffy, normally about 1 hour. The left picture is earlier than rising and the correct picture is after rising:

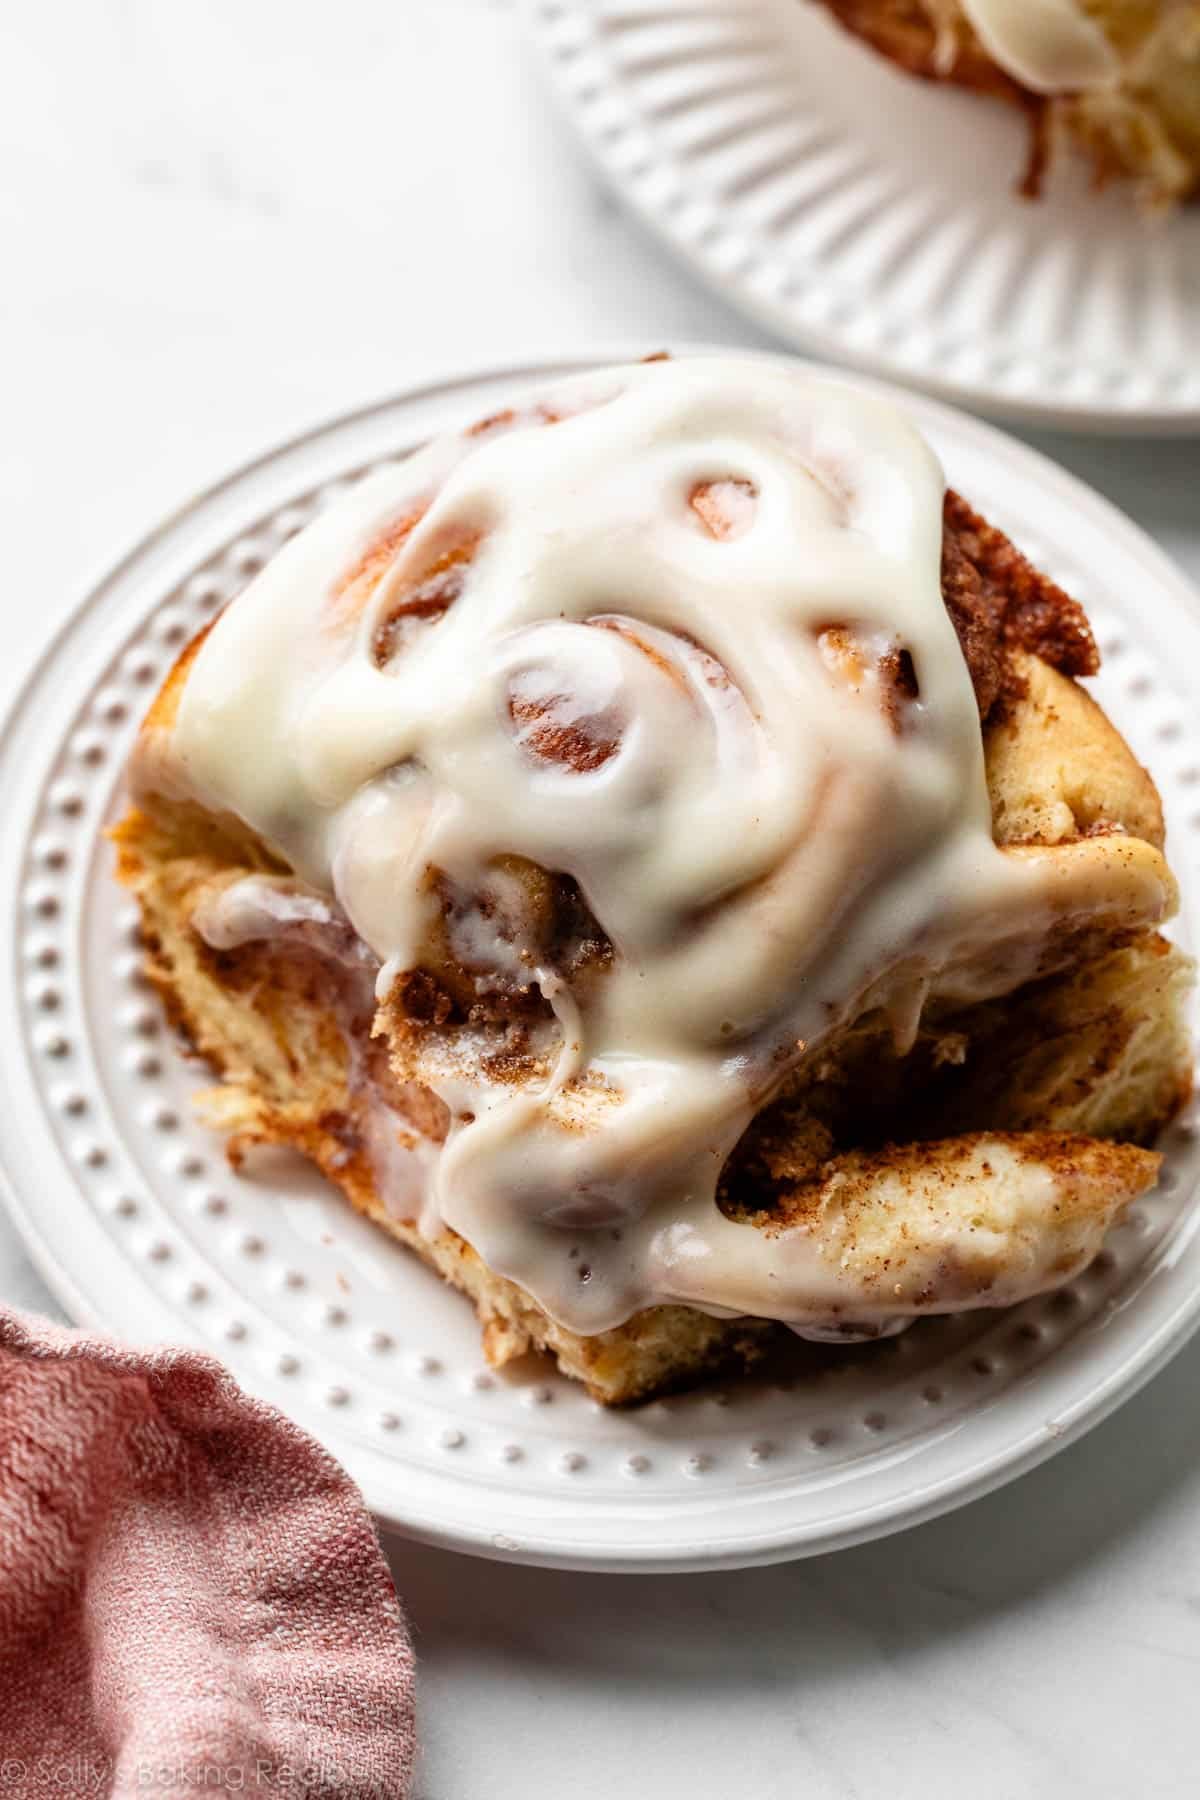
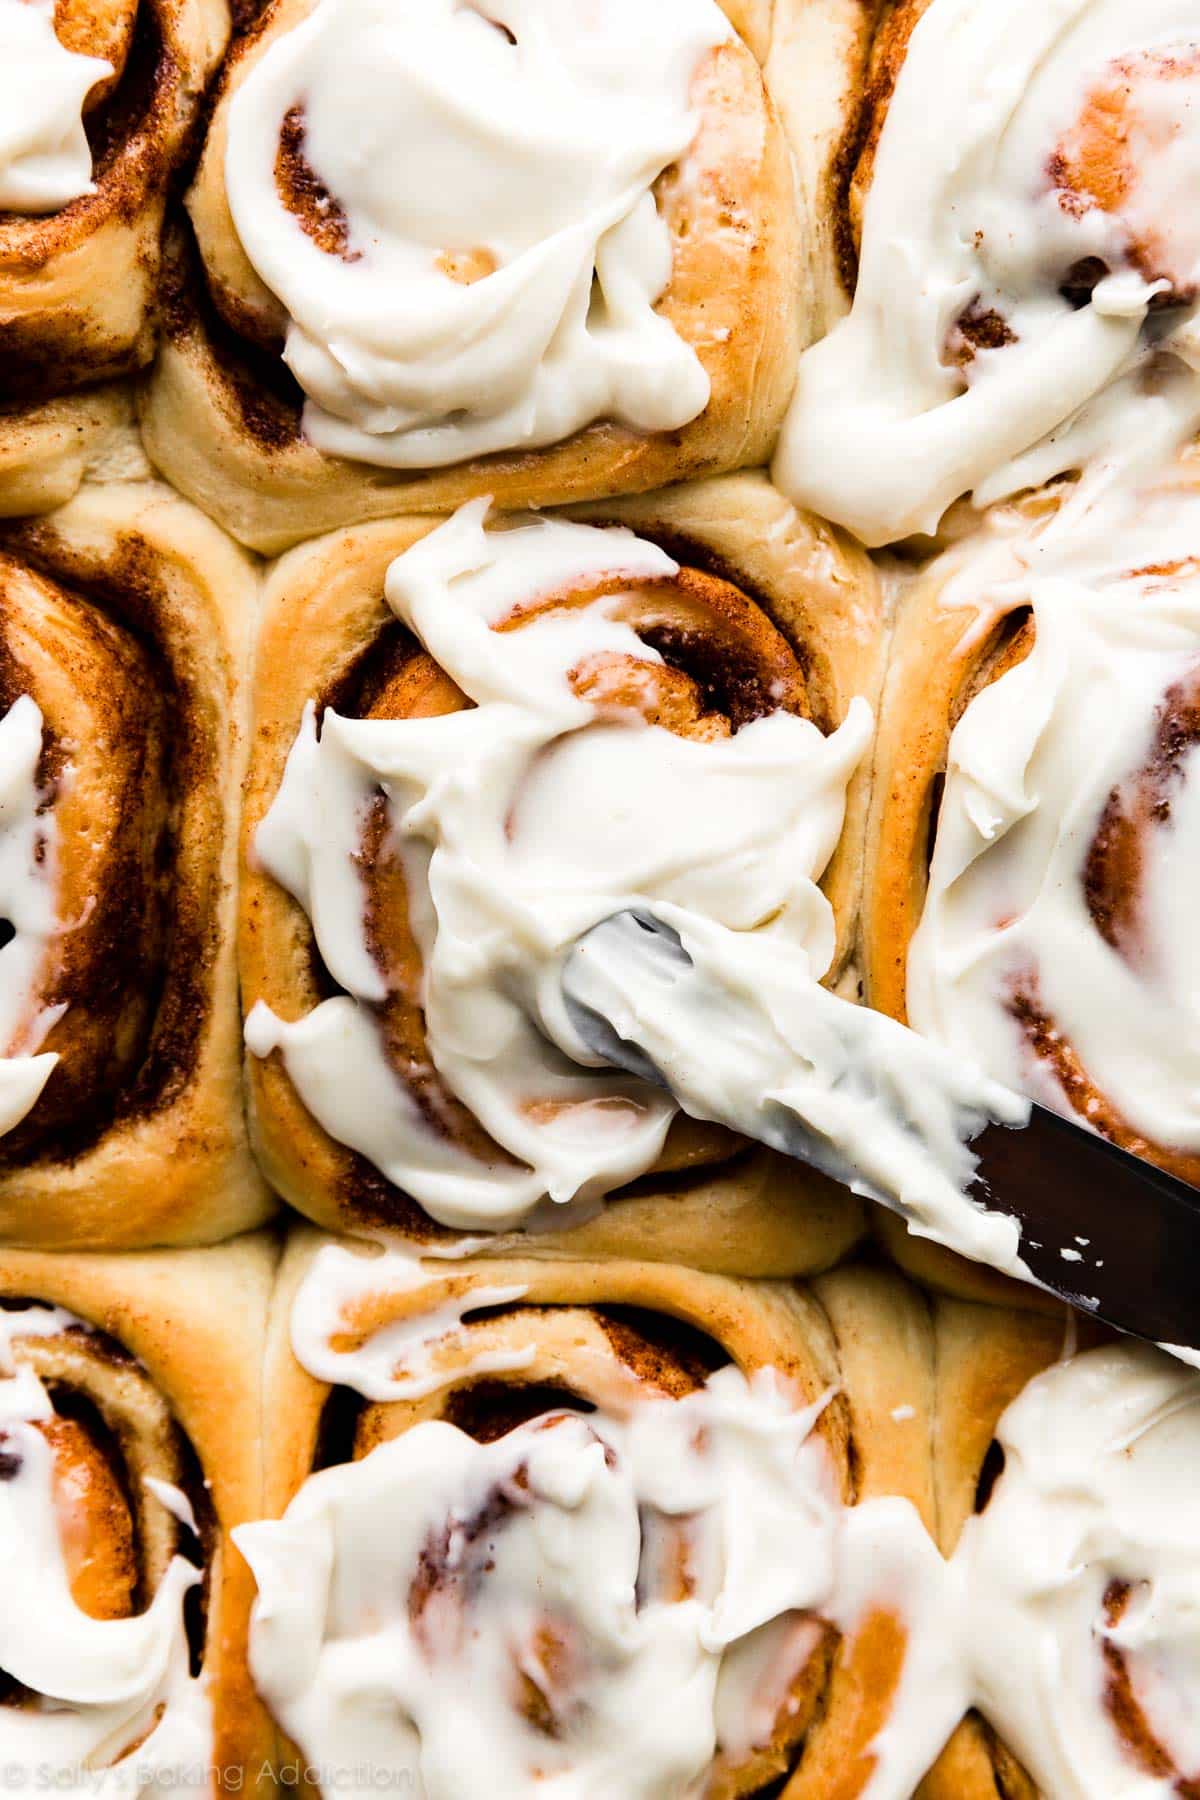
Bake the rolls after which make the tangy cream cheese icing to smother on prime. If cream cheese isn’t your favourite, you can prime the rolls with vanilla icing, the brown sugar icing from these pumpkin donuts, maple icing from maple cinnamon rolls, and even the caramel icing from apple cinnamon rolls. A number of choices!
5 Success Ideas
- Use brown sugar or granulated sugar within the filling: I used to make use of granulated sugar within the cinnamon sugar filling, however lately switched to brown sugar for further taste. Brown sugar doesn’t essentially make the filling extra moist—there’s a lot butter, so it’s moist and gooey both manner. Use whichever sugar you favor.
- Finest pan to make use of: I like to recommend a 9×13-inch glass pan or steel pan. Keep away from ceramic pans. For those who should use ceramic, needless to say the rolls will probably take longer to bake by means of.
- Evenly baked cinnamon rolls: These are further huge and fluffy cinnamon rolls, so to assist assure the facilities AND tops cook dinner evenly, tent a bit of aluminum foil over the rolls after about quarter-hour within the oven. This can shield the tops from browning too shortly earlier than the facilities can cook dinner.
- Don’t have all morning to spend on this dough? Be at liberty to prep the dough the evening earlier than. This can be a fantastic strategy to save time within the morning so you may get up and eat sooner. See my make-ahead/in a single day directions within the written recipe under.
Tips on how to Freeze Do-it-yourself Cinnamon Rolls So They Nonetheless Style Contemporary
Let me share a tip I’ve discovered after working with this dough for a number of years. You possibly can prep the rolls and freeze them forward of time so that they nonetheless style recent.
- Right here’s how: Bake the rolls in step 9 for under about 10 minutes. Cool utterly, then cowl and freeze. To serve, take the rolls out of the freezer and place within the fridge in a single day to thaw. As soon as thawed, end baking them for about 15-20 minutes.
I typically use this methodology after I reward cinnamon rolls to others—simply copy/paste or write these freezing directions down. This methodology can be useful you probably have firm over, need to minimize down on time, or are entertaining. I wish to make these cinnamon rolls forward after I’m internet hosting holidays like Easter. See extra Easter brunch recipes, like savory quiche and frittata, to finish your menu.

Do-it-yourself In a single day Cinnamon Rolls
Prep Time: 3 hours, half-hour (consists of rises)
Prepare dinner Time: 25 minutes
Whole Time: 4 hours (or in a single day)
Yield: 12 rolls
Class: Breakfast
Technique: Baking
Delicacies: American
Description
This recipe yields a pan of buttery gentle, gooey cinnamon candy, and additional fluffy home made cinnamon rolls topped with tangy cream cheese icing. You can also make the cinnamon rolls inside a couple of hours or get began the evening earlier than utilizing the in a single day preparation choice.
Dough
Filling
Cream Cheese Icing
Directions
- Put together the dough: Whisk the nice and cozy milk, 2 Tablespoons sugar, and the yeast collectively within the bowl of your stand mixer fitted with a dough hook or paddle attachment. Cowl and permit combination to sit down for about 5 minutes or till foamy on prime. *If you don’t personal a mixer, you are able to do this in a big mixing bowl and within the subsequent step, combine the dough along with a big wood spoon/rubber spatula. It can take a little bit of arm muscle. A hand mixer works, however the sticky dough repeatedly will get caught within the beaters. Mixing by hand with a wood spoon or rubber spatula is a more sensible choice.*
- On medium pace, beat within the remaining sugar (which needs to be 1/2 cup/100g) and the softened butter till it’s barely damaged up. Add the eggs and salt and beat on medium pace till mixed. The butter gained’t actually be mixing into the combination, so don’t be alarmed if it stays in items. Swap the mixer all the way down to low pace and with it working, add 1 cup of flour at a time, ensuring it’s totally included earlier than including the following. Cease the mixer and scrape down the perimeters of the bowl as wanted. After 4 cups have been added, add the final 1/2 cup and beat till the dough comes collectively and pulls away from the perimeters of the bowl, about 3 minutes. Dough shall be gentle.
- Knead the dough: Preserve the dough within the mixer (and change to the dough hook in case you used the paddle) and beat on low pace for an extra 5 minutes OR knead by hand on a calmly floured floor for five minutes. If kneading by hand, preserve a small bowl of flour close by to repeatedly flour your arms, because the dough might be fairly sticky. After kneading, poke the dough along with your finger—if it slowly bounces again, your dough is able to rise. If not, preserve kneading.
- 1st Rise: Flippantly grease a big bowl with oil or use nonstick spray. Place the dough within the bowl, turning it to coat all sides within the oil. Cowl the bowl with aluminum foil, plastic wrap, or a clear kitchen towel. Enable the dough to rise in a comparatively heat atmosphere for two hours or till double in measurement. (I all the time let it rise on the counter and it takes about 2 hours. For a tiny discount in rise time, see my reply to The place Ought to Dough Rise? in my Baking with Yeast Information.)
- Grease the underside and sides of a steel or glass 9×13-inch baking dish or line with parchment paper.
- Roll out the dough: Punch down the dough to launch the air. Place dough on a calmly floured work floor and utilizing a calmly floured rolling pin, roll dough right into a 12×18-inch rectangle. Make certain the dough is easy and evenly thick. If the dough retains shrinking as you roll it out, cease what you’re doing, cowl it calmly, and let it relaxation for 10 minutes to loosen up the gluten. Whenever you return to the dough, it ought to stretch out a lot simpler.
- For the filling: Unfold the softened butter all around the dough. The softer the butter is, the simpler it’s to unfold on this step. (Microwave it for a couple of seconds to melt if wanted.) In a small bowl, combine the sugar and cinnamon collectively. Sprinkle evenly over the butter. Tightly roll up the dough to type an 18-inch-long log. If some filling spills out, sprinkle it on prime of the roll. With an additional sharp knife, minimize into 12 even rolls, about 1.5 inches every. Prepare within the ready baking pan.
- 2nd Rise: Cowl the rolls tightly and permit to rise till puffy, about 1 hour. (Or use the in a single day choice within the Notes under.)
- Preheat the oven to 350°F (177°C).
- Bake for about 25–28 minutes or till they’re calmly browned on prime. After about quarter-hour, tent a bit of aluminum foil excessive of the pan to stop the tops from browning too shortly. Take away pan from the oven and place pan on a wire rack for about 10 minutes as you make the icing.
- Make the icing: In a medium bowl utilizing a handheld or stand mixer fitted with a paddle or whisk attachment, beat the cream cheese on medium pace till easy and creamy. Add the confectioners’ sugar, cream/milk, and vanilla. Beat on low pace for 30 seconds, then change to excessive pace and beat for 1 minute. Unfold the icing over the nice and cozy rolls and serve instantly.
- Cowl leftover frosted or unfrosted rolls tightly and retailer at room temperature for as much as 2 days or within the fridge for as much as 5 days.
Notes
- Make Forward Directions – In a single day: To organize the evening earlier than serving, put together the rolls by means of step 7. Cowl the rolls tightly and refrigerate for 8–12 hours. (16 hours max. 8–12 hours is greatest, however 16 hours is OK if completely wanted. Don’t exceed 16 hours.) The following morning, take away from the fridge and permit to rise on the counter for 1–2 hours earlier than persevering with with step 9.
- Make Forward Directions – Freezing: Baked rolls might be frozen for as much as 3 months. Thaw in a single day within the fridge and heat up earlier than having fun with. It’s also possible to freeze the unbaked rolls and right here’s how: bake the rolls in step 9 for under about 10 minutes. Cool utterly, then cowl tightly and freeze. To serve, take the rolls out of the freezer and place within the fridge in a single day to thaw. As soon as thawed, end baking them for about 15–20 minutes.
- Particular Instruments (affiliate hyperlinks): Stand Mixer | Rolling Pin | 9×13-Inch Glass Baking Pan or Steel Baking Pan | Glass Mixing Bowls
- Milk: I like to recommend utilizing entire milk for the most effective, richest-tasting dough. You could possibly additionally use buttermilk. Decreased-fat, low-fat, or nondairy milk works in a pinch. Don’t use nonfat milk.
- Yeast: You should use lively dry or on the spot yeast on this recipe. Observe all the similar directions. If utilizing lively dry yeast, the rise occasions are normally barely longer. Reference my Baking with Yeast Information for solutions to widespread yeast FAQs.
- Different Icing Choices: As an alternative of cream cheese icing, you may prime the nice and cozy rolls with vanilla icing, the brown sugar icing from these pumpkin donuts, maple icing from maple cinnamon rolls, and even the caramel icing from apple cinnamon rolls.
- Gluten Free: We have now not examined this recipe with gluten-free flour, so we’re not sure of the outcomes.
Key phrases: in a single day cinnamon rolls, home made cinnamon rolls