

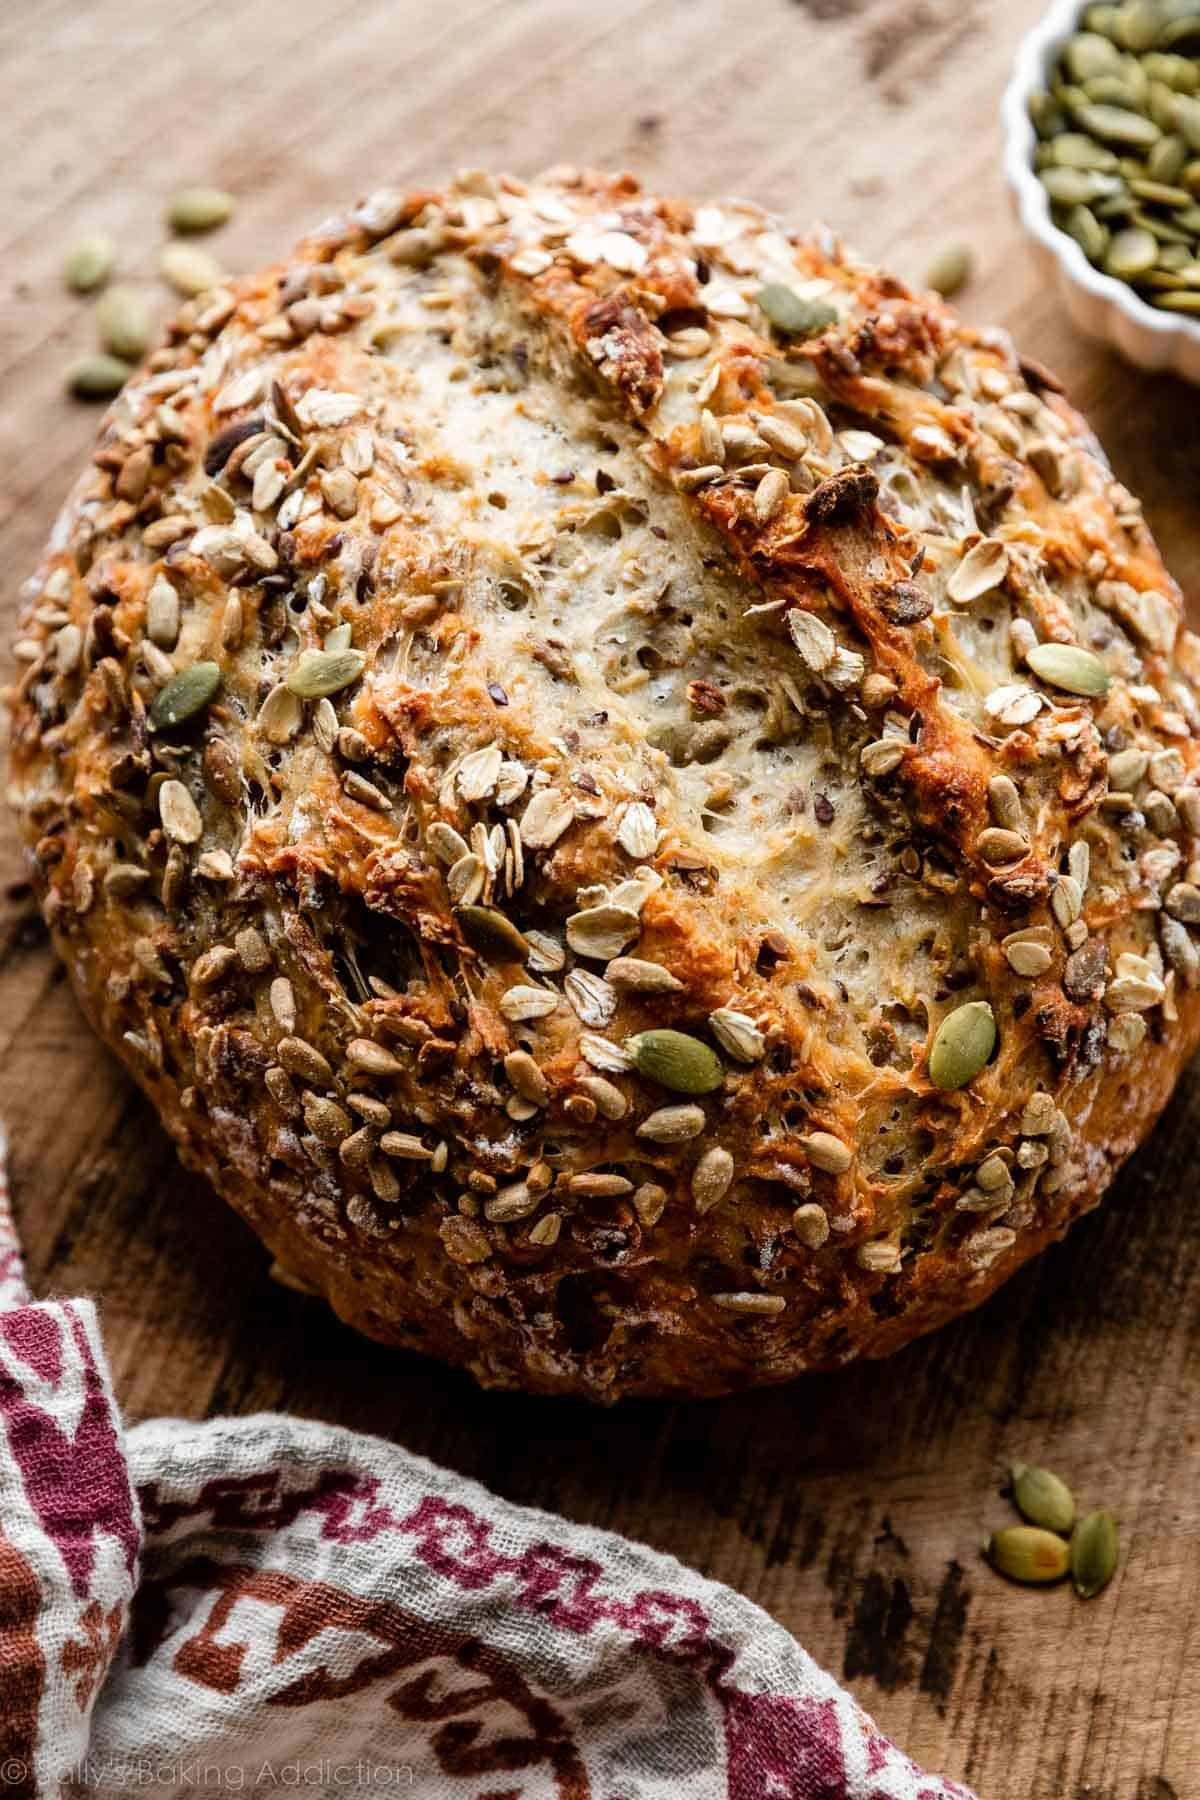
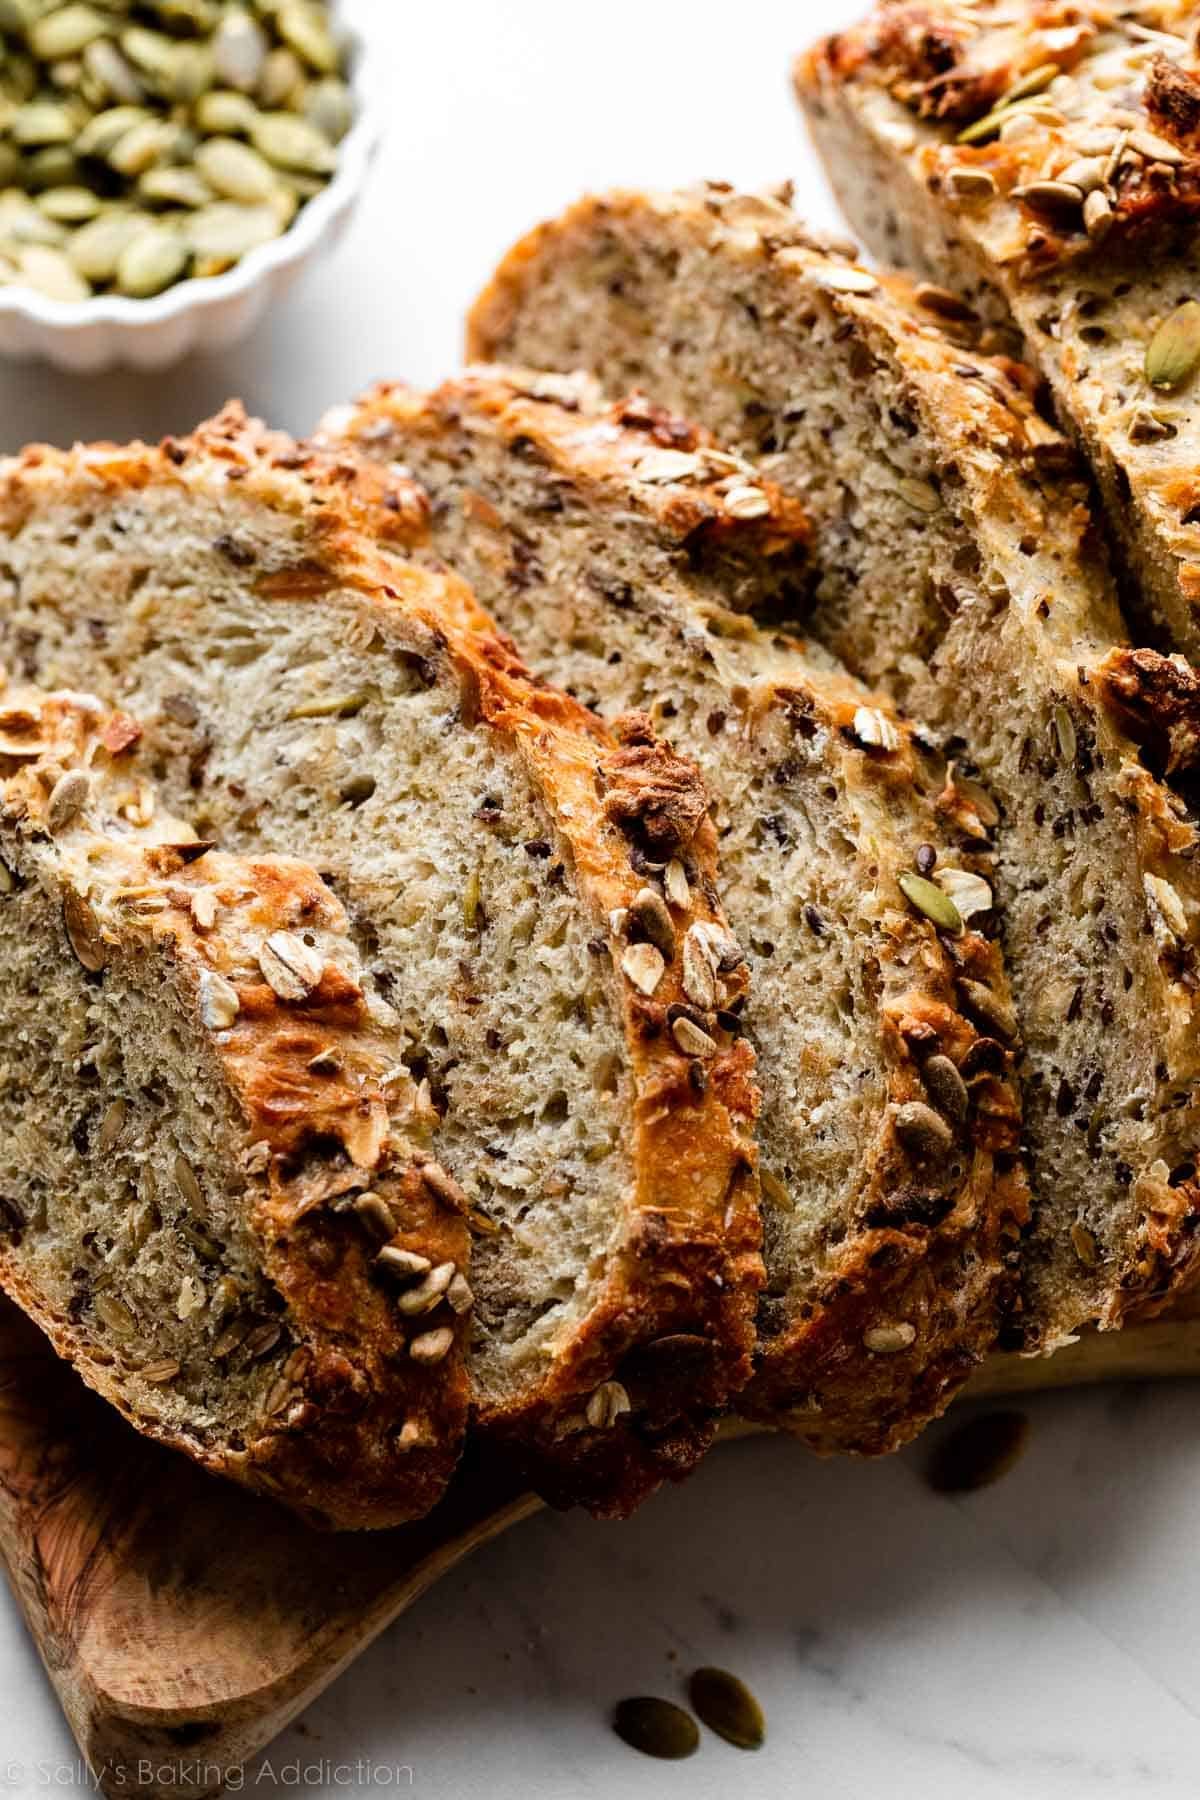
This seeded oat bread is crusty on the skin, chewy on the within, and has probably the most scrumptious crunch in each chunk, due to all of the seeds. It is a hearty loaf that may stand as much as any meal, from thick and chunky stews to delicate poached eggs. You’ll use a straightforward no-knead technique to make this yeast bread, which produces a ravishing home made loaf with minimal hands-on work.
This recipe is dropped at you in partnership with Crimson Star Yeast.
You realize these beautiful seed-encrusted loaves of bread you see in bakery home windows?
The sort that appear to be they took ages to make, and also you marvel how a lot kneading, shaping, and work went into simply 1 loaf? Properly, you may make those self same lovely seeded loaves proper at dwelling, with hardly any work concerned. No kneading, no advanced shaping, no mixer wanted.
Sure, this crusty, chewy, golden brown, seed-speckled oat bread doesn’t require any sophisticated work.
This bread, like my home made cranberry nut bread and olive bread, will persuade anybody that you just both purchased it from a bakery or spent all day within the kitchen making it—which in fact you didn’t. Don’t really feel like you need to allow them to in on our little secret. 😉
Hearty Selfmade Bread for Inexperienced persons
This texture-lover’s seeded oat bread recipe is predicated off of my home made artisan bread, a splendidly straightforward and extensively in style no-knead bread that’s utilized by each novices and specialists.
For those who’re nervous to strive home made bread, this recipe is a superb introduction. Though the recipe is straightforward, the bread does NOT skimp on taste. It’s only a easy approach of baking home made bread impressed by the no-knead approach originating from bread skilled Jim Lahey.
Right here’s why it’s so easy:
- Solely 7 components (together with water!)
- Completely no kneading (similar to home made English muffins!)
- Zero sophisticated shaping
- No mixer required
- 90% of the time is completely arms off
- Dough can relaxation within the fridge for as much as 3 days—an excellent make-ahead recipe
- Can bake in a dutch oven or on a baking sheet
The trick is giving the risen dough a relaxation within the fridge. The cool air slows the fermentation course of and helps develop higher taste.
Seize These Components:
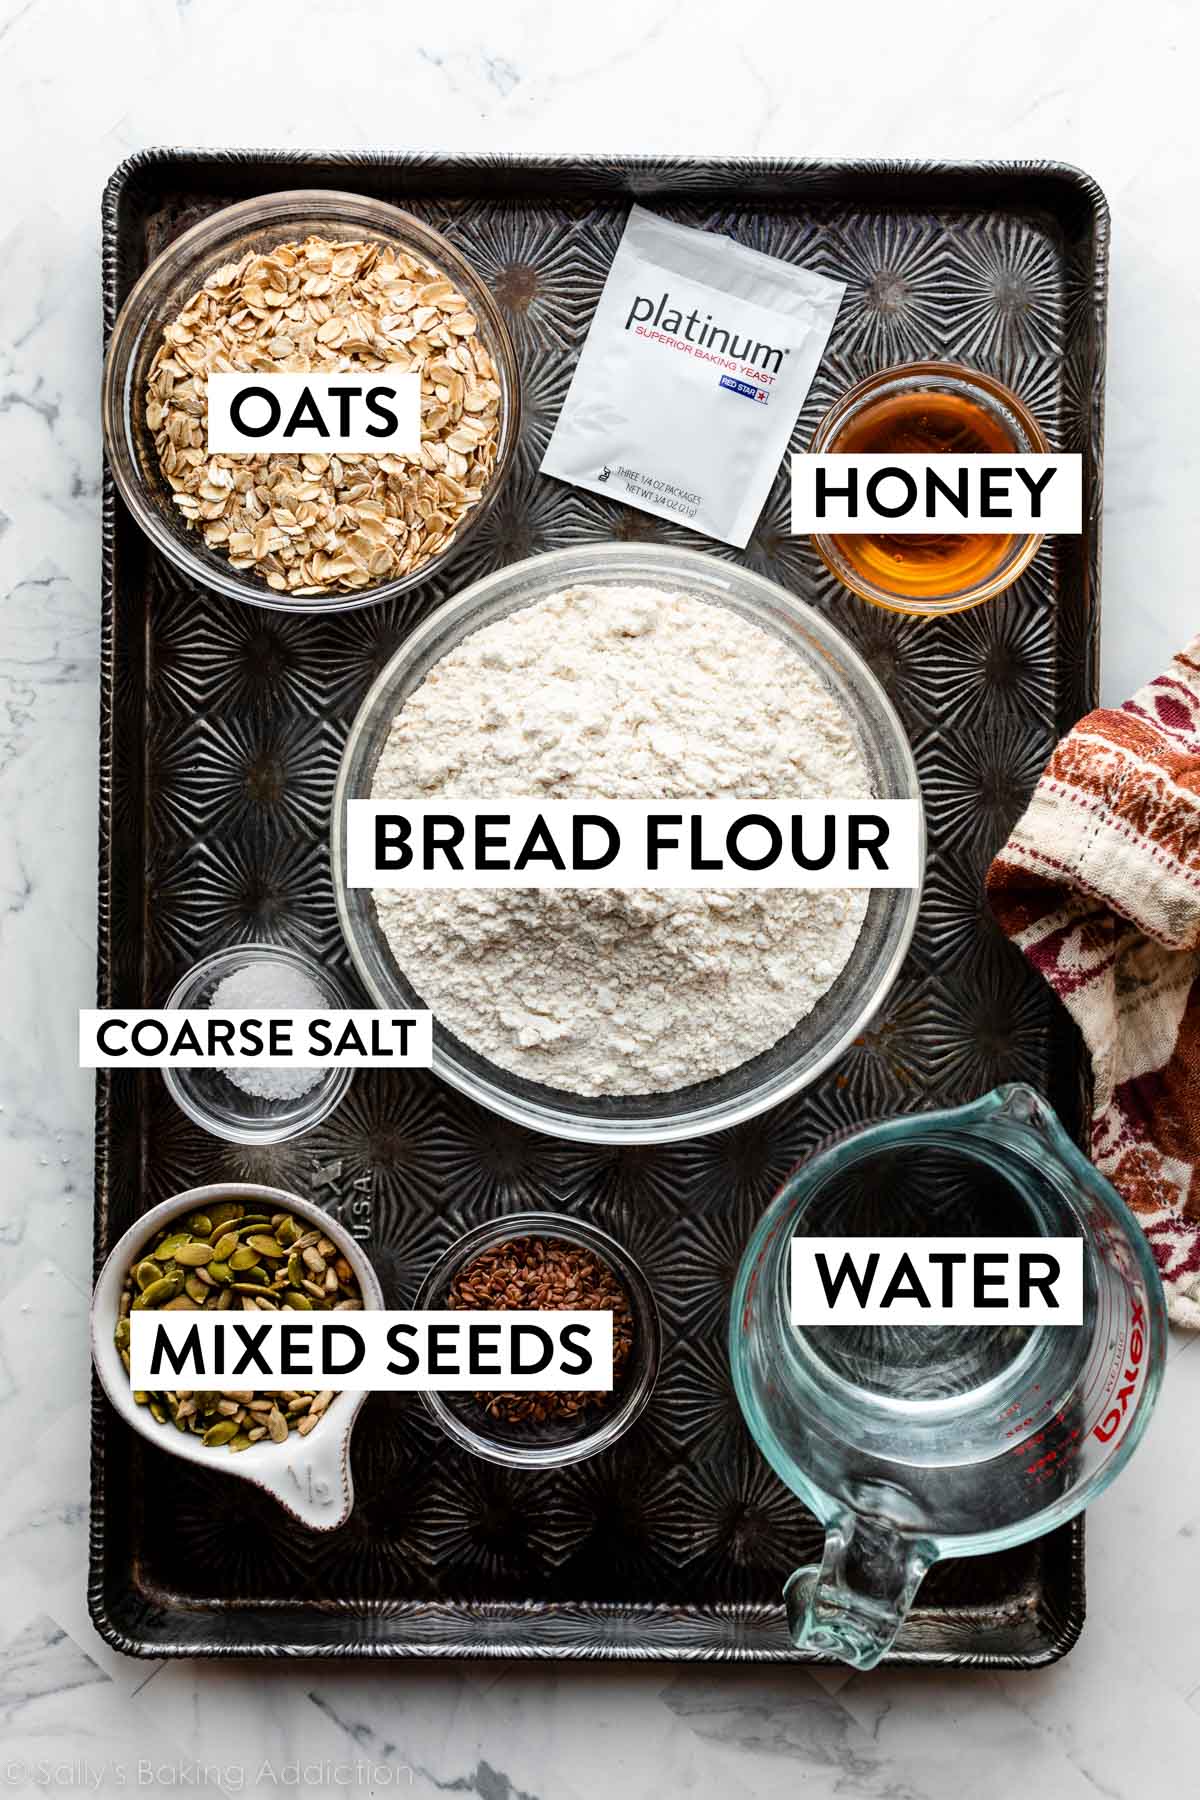
Right here’s why every ingredient is so vital:
- Bread Flour: Whilst you may use all-purpose flour on this recipe, I strongly advocate utilizing bread flour. Bread flour produces a stronger, chewier bread and that makes a giant distinction in an artisan-style loaf like this oat bread.
- Oats: Oats present a bit healthful texture. Because the dough rises, the oats absorb some moisture and increase. Entire rolled oats are finest, however you should use fast oats if wanted.
- Salt: I like to recommend utilizing coarse sea salt as a result of I discover the bread’s taste missing with common desk salt.
- On the spot Yeast: I at all times use Platinum Yeast by Crimson Star, which is an instantaneous yeast (aka “fast rise” yeast). 1 and 1/2 teaspoons is rather less than 1 customary packet. (If utilizing energetic dry yeast, there are not any modifications wanted to the recipe. The rise time could take barely longer.)
- Seeds: Pumpkin, sunflower, and flax seeds are all extremely nutritious—they’re just about superfoods. I like that these 3 sorts of seeds range a lot in dimension and texture, however in case you’d like to vary up the sorts of seeds on this combination, go for it. I exploit a medley of seeds on this multigrain bread, too.
- Honey: Honey helps give this bread a springy, spongey texture. It additionally provides a bit sweetness, however we’re utilizing half as a lot honey right here than in my honey oat bread recipe, so the bread isn’t tremendous candy.
- Water: You’ll additionally want a bit heat water to carry all of the components collectively.
Let Me Present You How one can Make This Seeded Bread
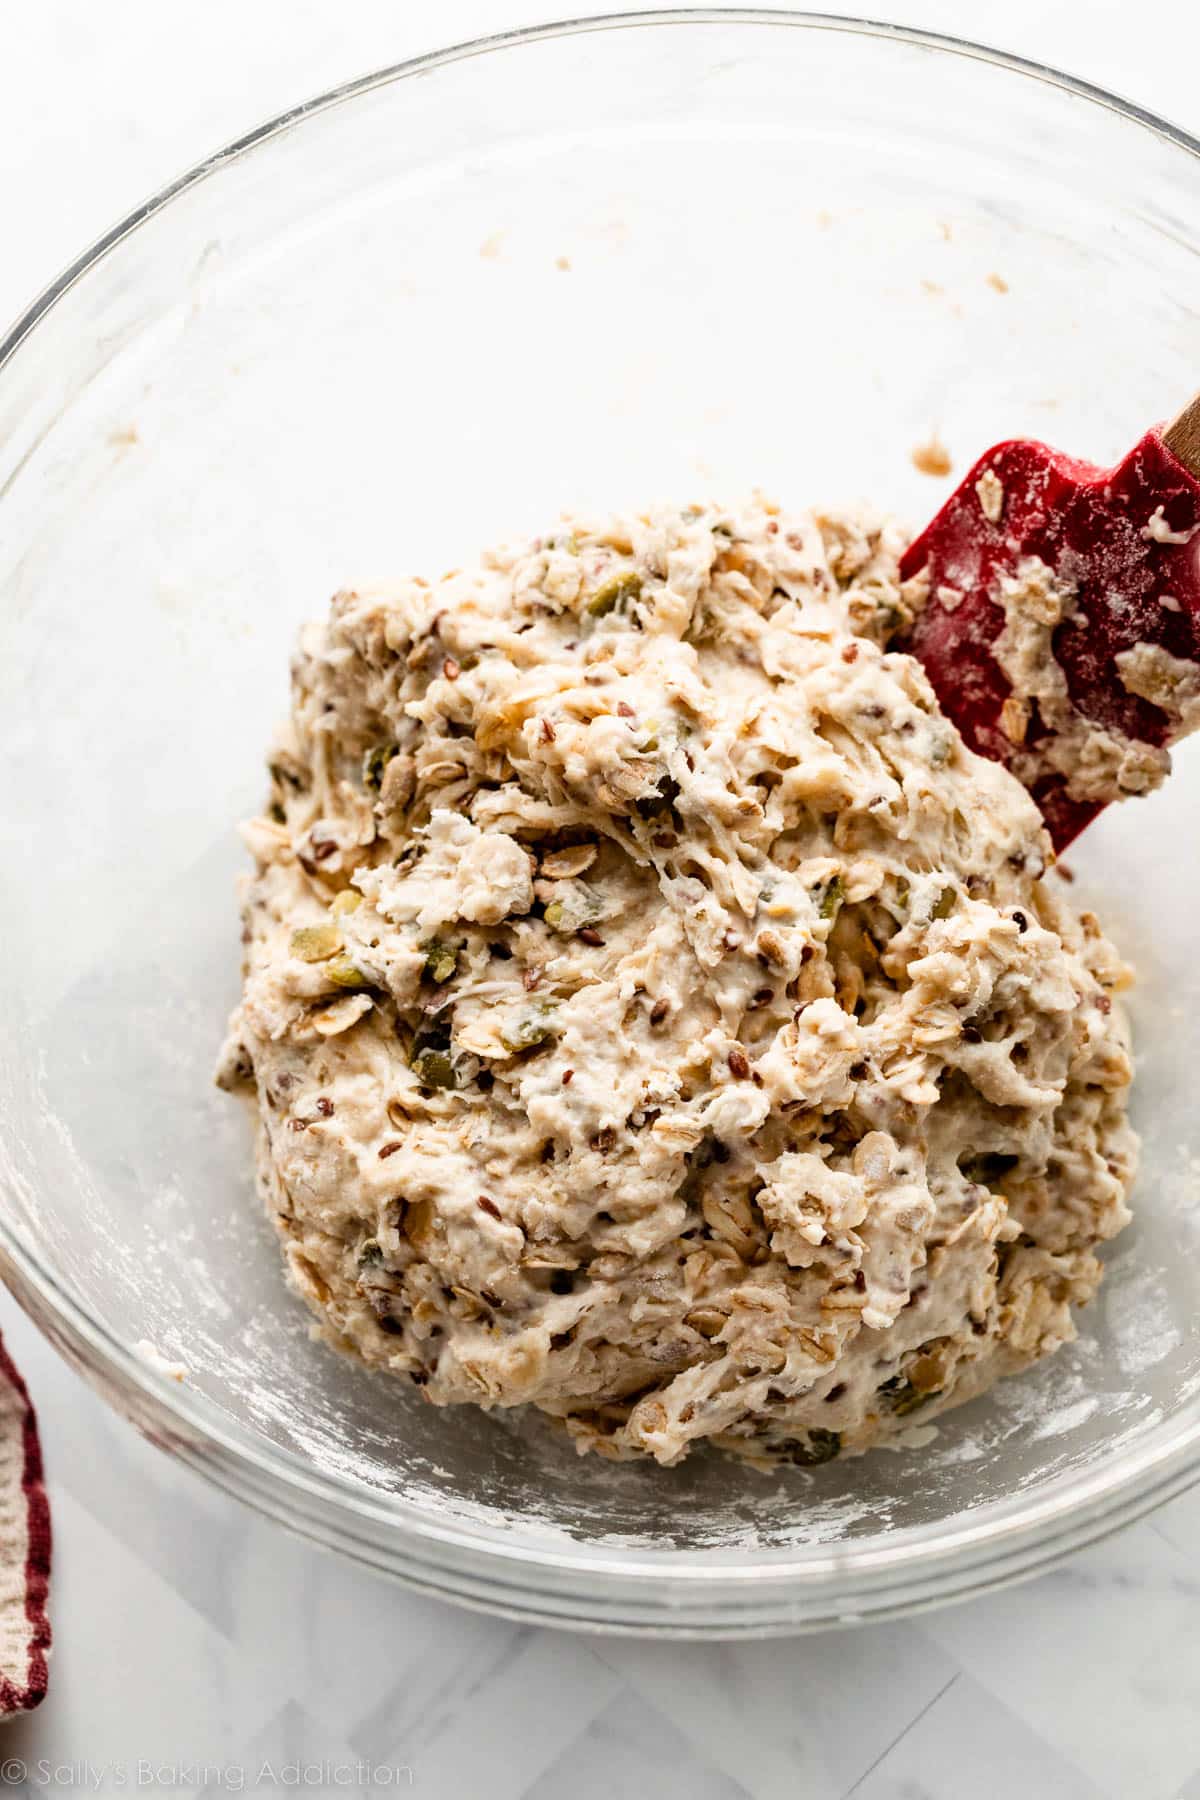
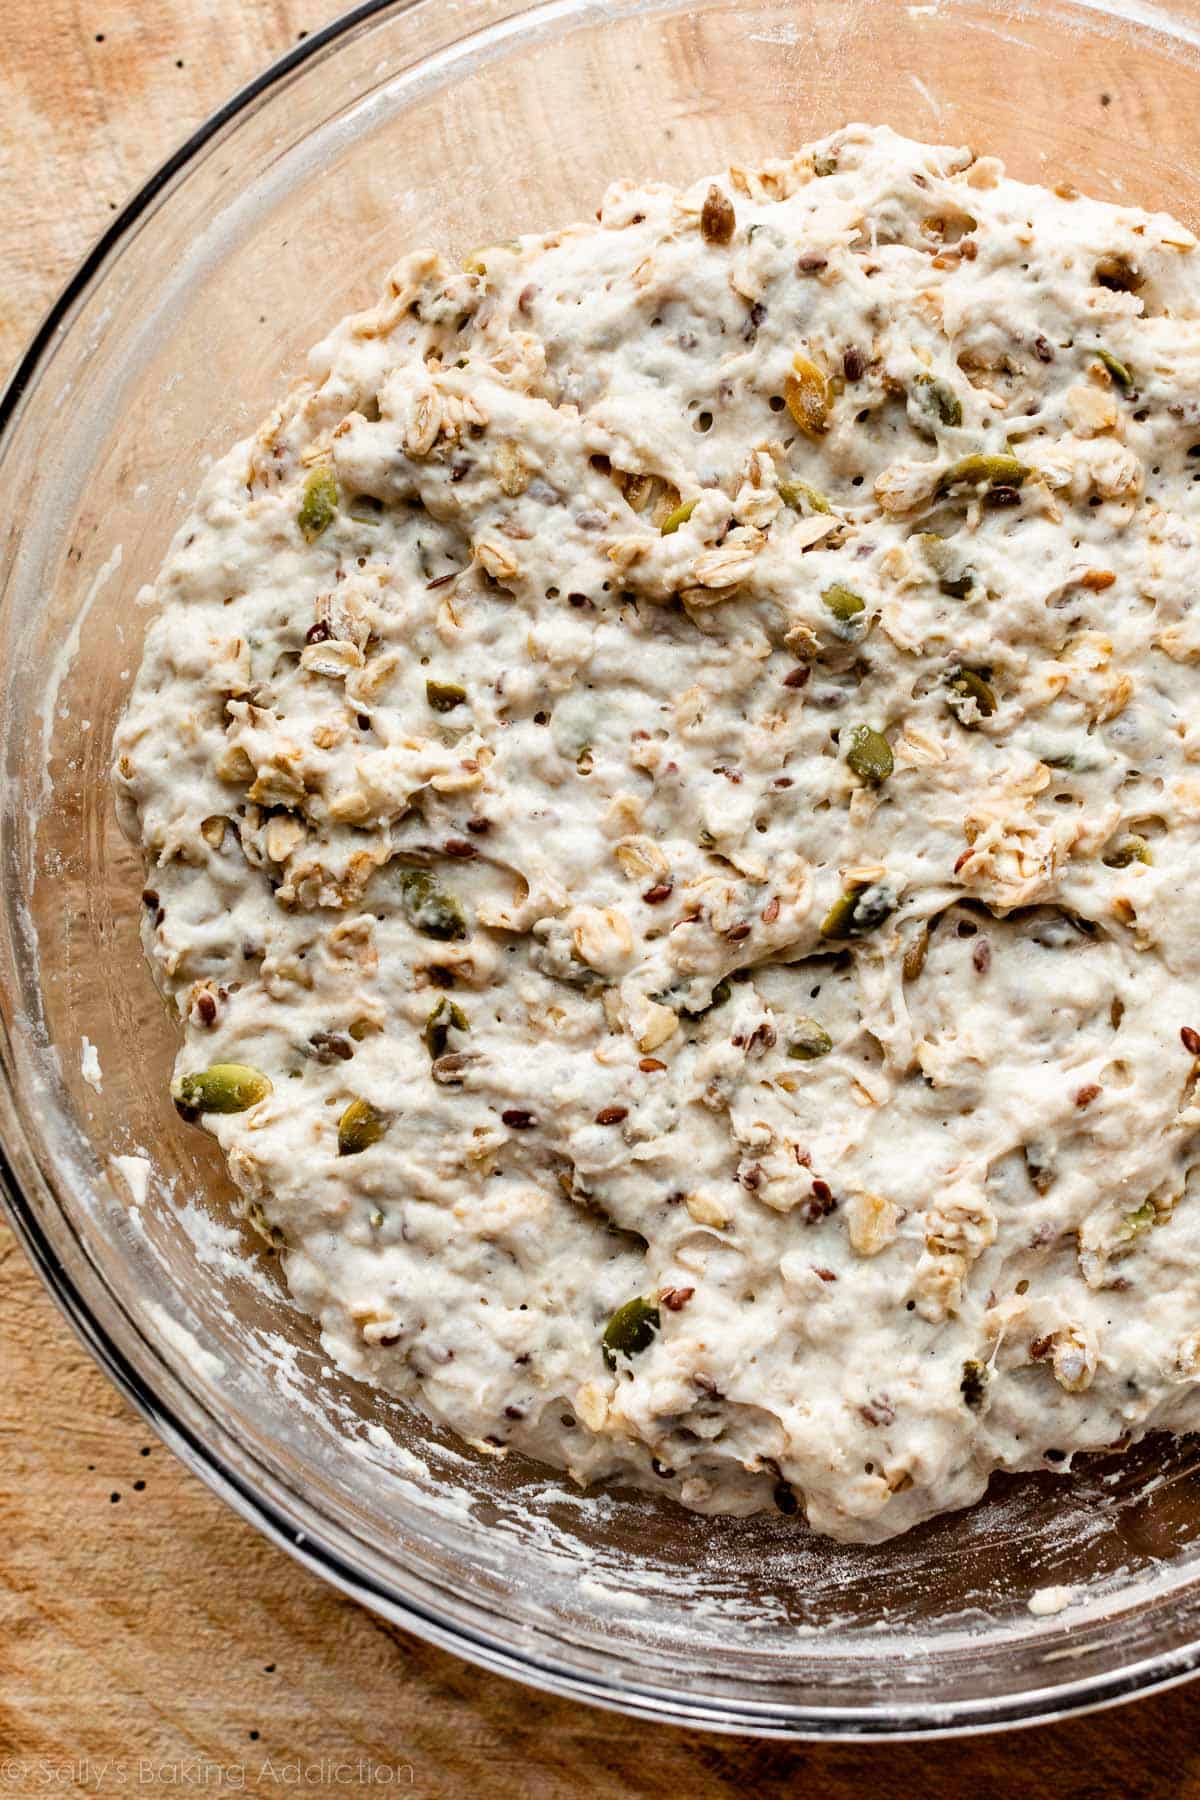
The complete written recipe is under, however use the next explanations and step photographs that will help you get began. Convey the dough components collectively as instructed within the recipe. At first the dough will appear very dry and shaggy and also you’ll query if it can even come collectively. It should. In truth, the dough is a bit sticky after it has been totally blended:
Let it rise. Cowl the dough and let it rise at room temperature for about 3 hours. Discover that the dough rises OUT greater than it rises UP. That’s okay.
You possibly can transfer on to shaping and baking the dough, however for finest taste, I strongly advocate refrigerating the risen dough, even when it’s only for a pair hours. I normally refrigerate it for 12 hours.
After the dough rises and rests within the fridge, use generously floured arms to form the dough right into a spherical boule or ball-like form.

Use a Baking Sheet or Dutch Oven
Baking the seeded oat bread in a coated dutch oven traps steam contained in the pot, creating that excellent crispy crust. For those who plan to bake lots of bread sooner or later, you received’t remorse shopping for a dutch oven. For those who don’t have a dutch oven, a nonstick baking sheet is finest. (I exploit a baking sheet within the video tutorial under. And actually have a trick for making a steamy oven!)
- Baking Sheet: For those who’re utilizing a baking sheet, mud the pan with cornmeal and/or a bit flour. Place the dough on prime, cowl it, and let it relaxation because the oven preheats. You will discover these detailed directions within the recipe under, together with my elective steamy oven trick for a crispy crust in step 10. (Including boiled water to a pan beneath the baking bread. Works nice!)
- Dutch Oven: Place the empty dutch oven with lid within the oven because it preheats. Place the ball of dough on high-heat-resistant parchment paper (I exploit this parchment paper) after which match it inside a bowl. Cowl and let the dough relaxation because the oven preheats, then place it (with the parchment) within the sizzling dutch oven earlier than baking. You will discover these detailed directions within the recipe Word under.
Whichever baking technique you utilize, don’t neglect so as to add seeds/oats to the outside of the dough (I normally simply press them on). And be sure you rating the dough with a bread lame or sharp knife earlier than baking. Scoring permits the moist, ethereal dough to “breathe” because it expands and bakes.
Baking sheet technique:
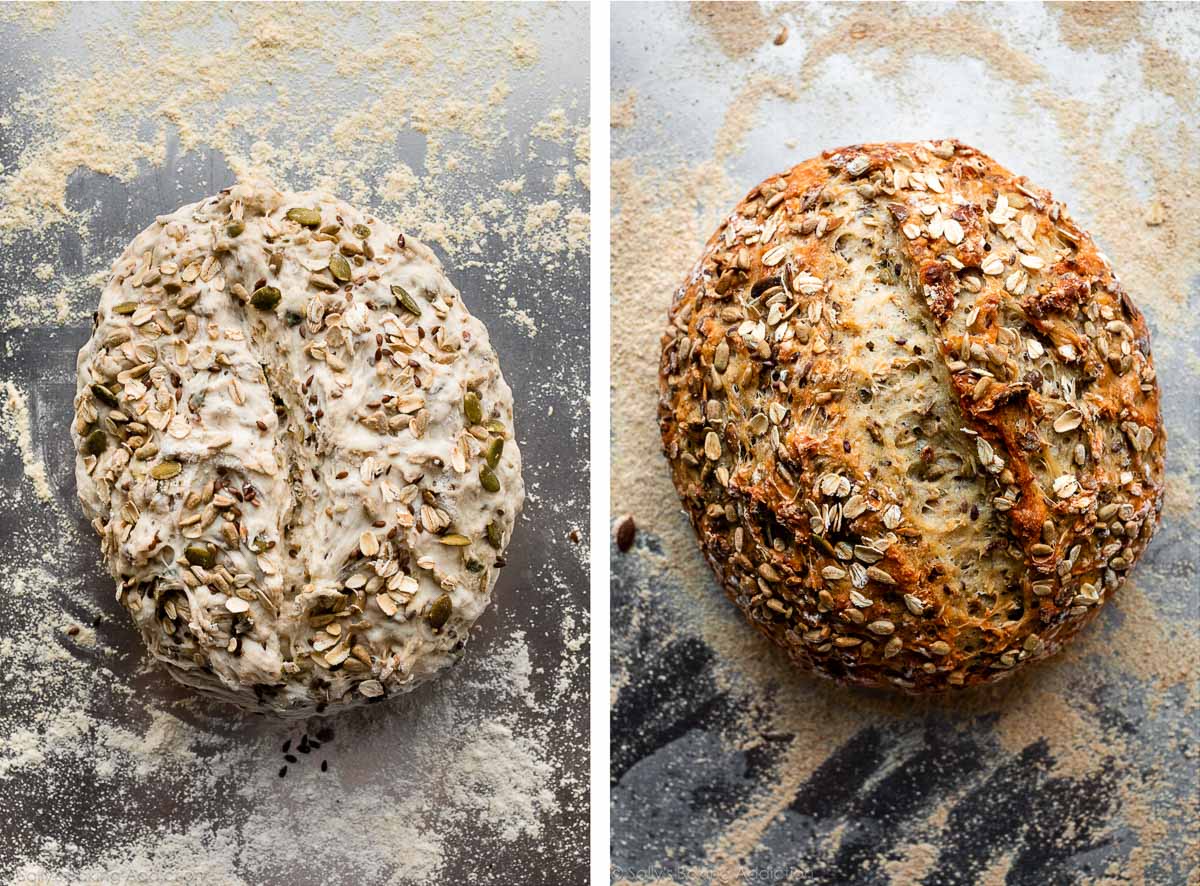
Dutch oven technique:
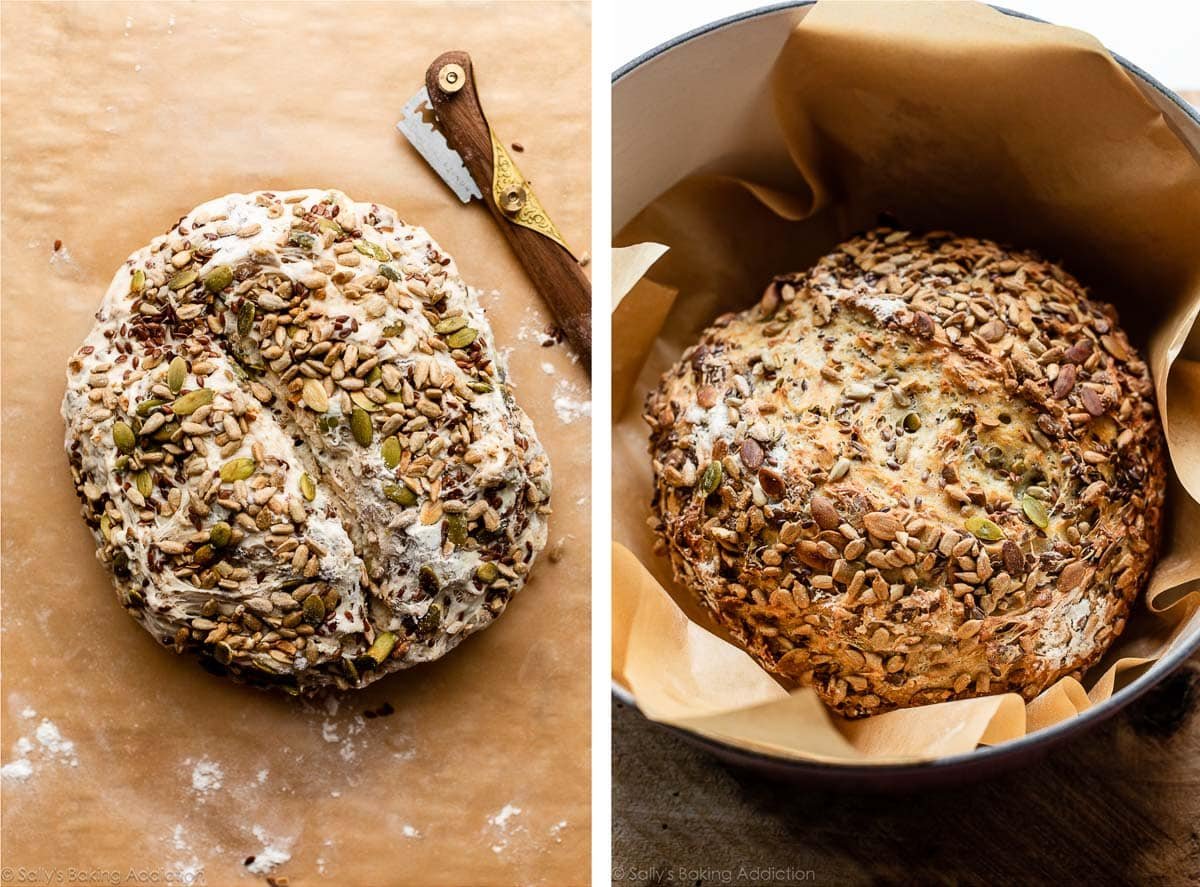
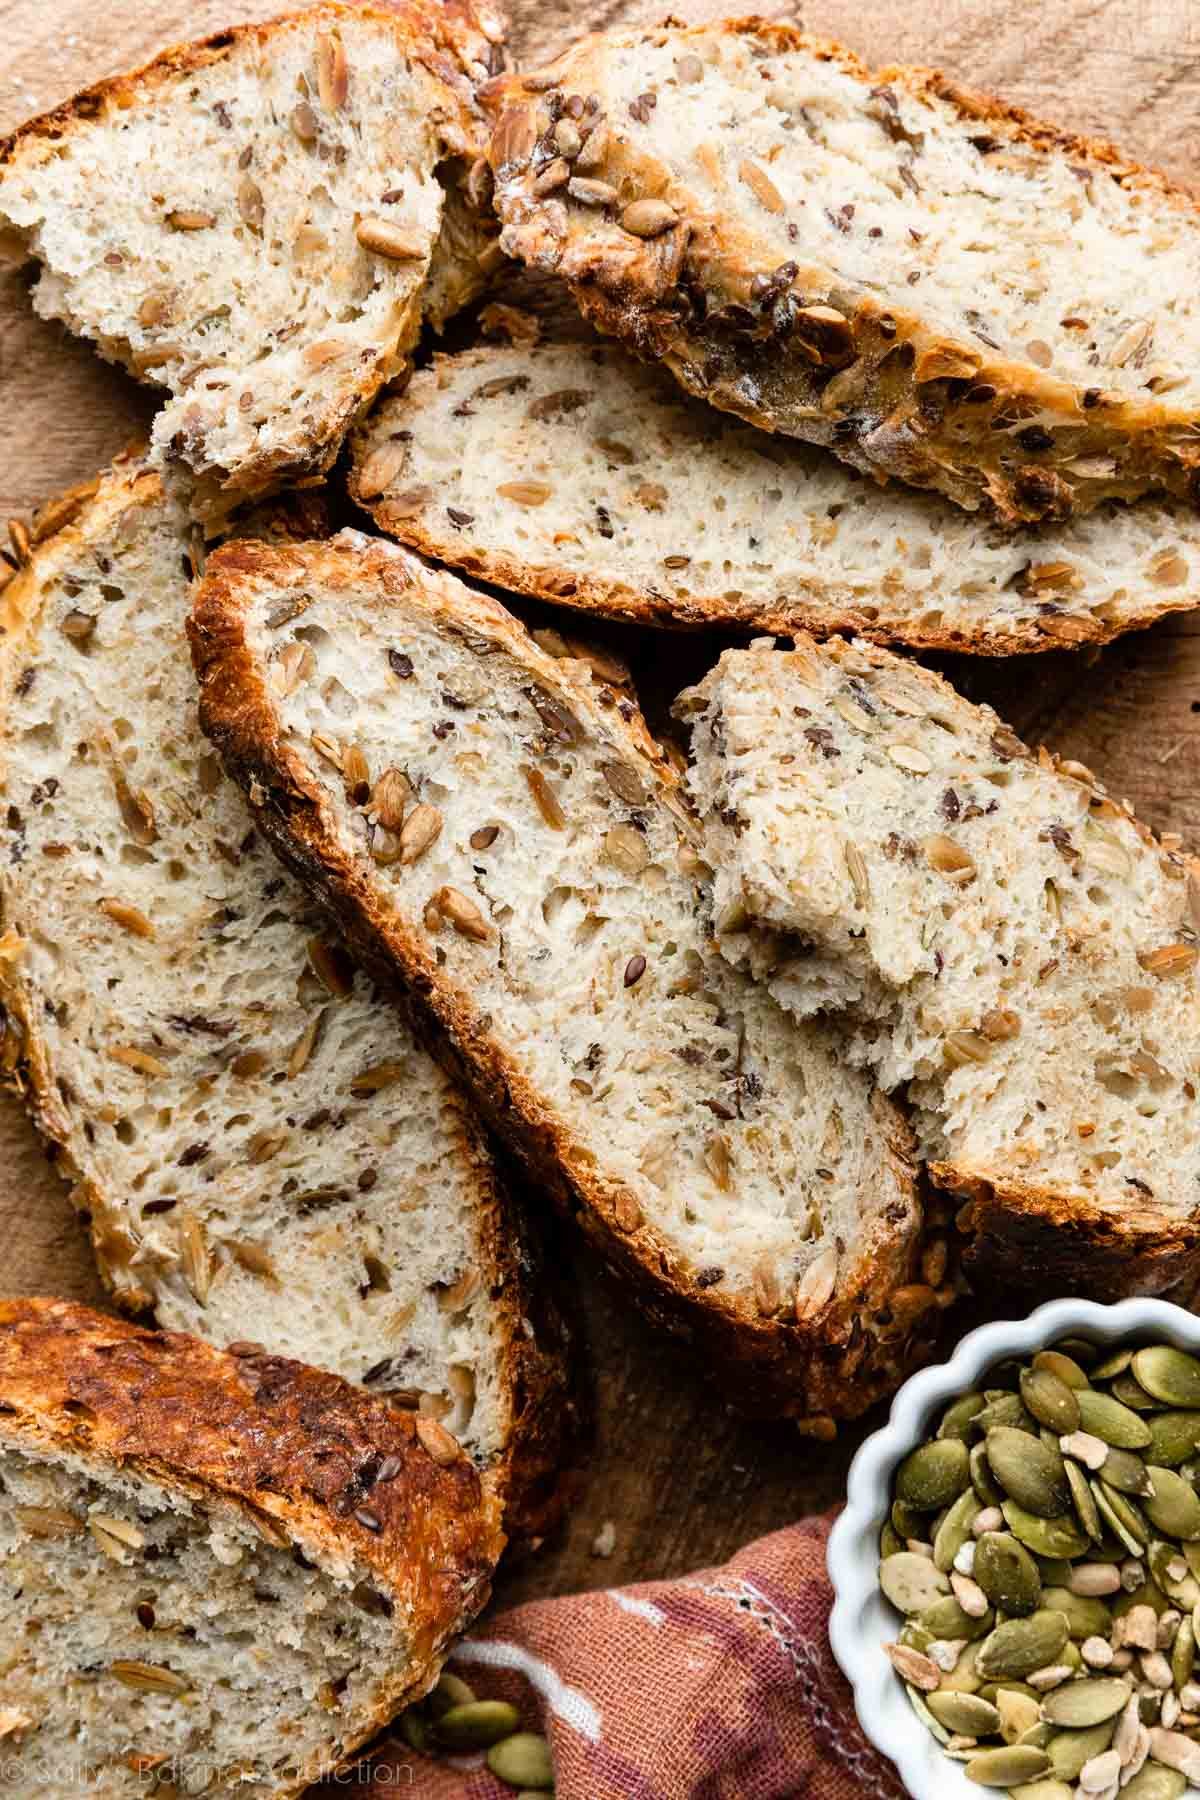
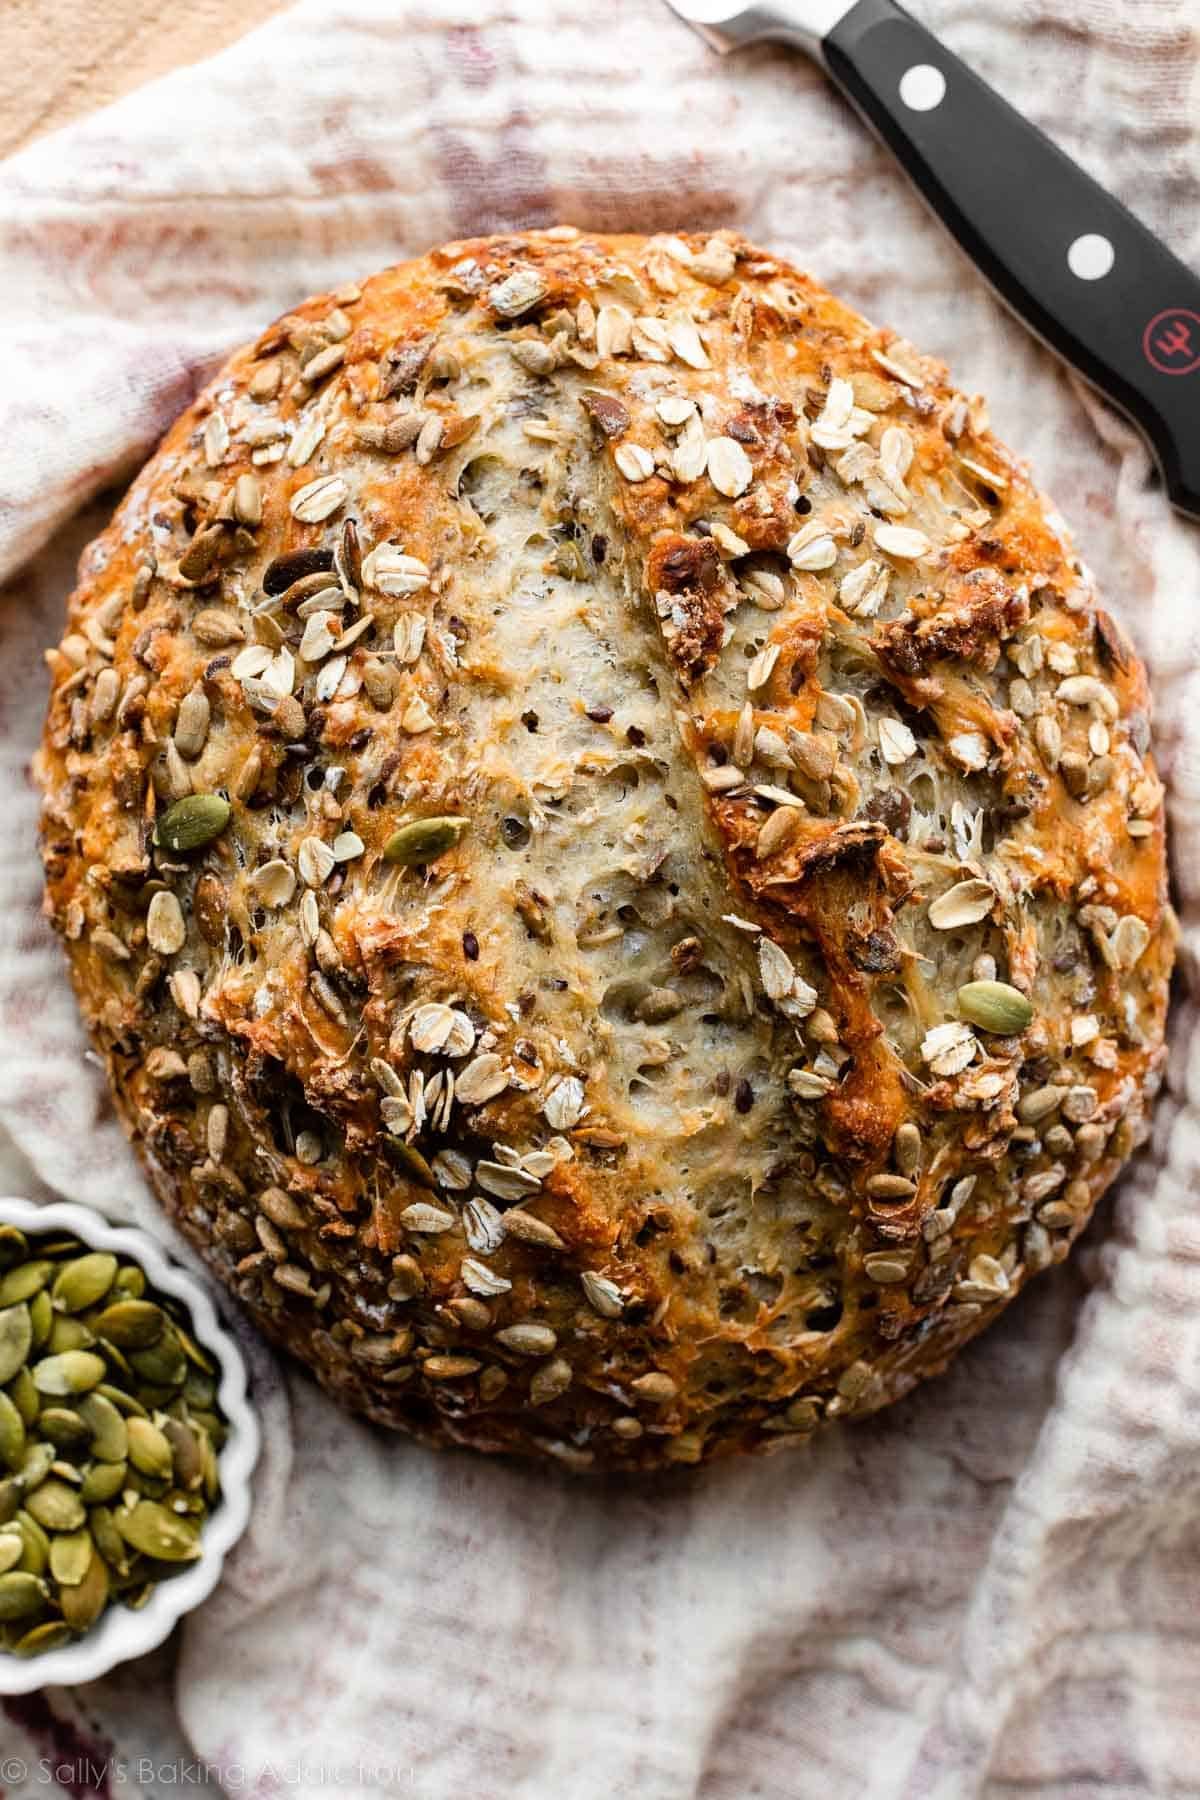
The bread is unbelievable when it’s recent from the oven—heat, crispy, crusty, mushy, and loaded with texture inside and outside!
What Do I Serve With Seeded Bread?
Actually, it’s incredible plain, with a swipe of butter or a dip-dish of olive oil. The bread would even be scrumptious paired with home made basil pesto or home made honey butter.
However I particularly love serving this seeded oat bread alongside a soup, like this creamy rooster noodle soup or home made alphabet soup. It additionally provides phenomenal texture to grilled cheese sandwiches, and makes a hearty base for creamy smashed avocado and mushy eggs.
For those who handle to have any leftover, make use of the stale bread on this straightforward breakfast casserole!
Description
Observe this straightforward no-knead recipe for a hearty loaf of home made seeded oat bread. Evaluation Notes earlier than starting. For those who’re new to working with yeast, reference my Baking with Yeast Information for solutions to frequent yeast FAQs.
- Watch the video under earlier than you start, and let that be your visible information for this recipe.
- In a big ungreased mixing bowl, whisk the flour and yeast collectively. Add the oats, pumpkin seeds, sunflower seeds, flax seeds, and salt and whisk to mix. Combine the honey and water collectively, after which pour over the dry components. Utilizing a rubber spatula or wood spoon, gently combine collectively. The dough will appear dry and shaggy, however hold working it till all of the flour is moistened. If wanted, use your arms to work the dough components collectively. The dough can be very sticky. Form right into a ball within the bowl as finest you’ll be able to. If it’s not coming collectively, add an additional 2-3 Tablespoons (16-25g) of flour.
- Conserving the dough within the bowl, cowl the dough tightly with plastic wrap or aluminum foil and set on the counter at room temperature (actually any regular room temperature is okay). Permit to rise for 3 hours. The dough will nearly double in dimension, stick with the perimeters of the bowl, and have lots of air bubbles.
- You possibly can proceed with step 5 instantly, however for best possible taste and texture, I strongly advocate letting this risen dough relaxation within the fridge for a minimum of 12 hours and as much as 3 days. (Even only a couple hours is sweet!) Place coated dough within the fridge for as much as 3 days. The dough will puff up throughout this time, however could start to deflate after 2 days. That’s regular and nothing to fret about.
- Frivolously mud a big nonstick baking sheet (with or with out rims, and ensure it’s nonstick) with a bit flour and/or cornmeal. Utilizing generously floured arms and mild strain in order to not deflate the dough an excessive amount of, form the risen dough right into a ball. (I simply do that proper contained in the bowl it’s in, or you are able to do this on a evenly floured work floor.) Dough could be very sticky.
- Switch ball to ready baking sheet. Combine topping components collectively. Sprinkle on prime of dough, and if the seeds aren’t sticking, press them into the dough as finest you’ll be able to. Loosely cowl and permit dough to relaxation for 45 minutes. You’ll bake the dough on this ready baking sheet. See recipe Word if you wish to use a dutch oven.
- Throughout this 45 minutes, preheat the oven to 425°F (218°C).
- When able to bake, utilizing a really sharp knife or bread lame (you can even use kitchen shears), rating the dough with a slash or X about 1/2 inch deep. (“Rating” = shallow lower.) If the formed loaf flattened out in the course of the 45 minutes, use floured arms to reshape.
- Place the formed and scored dough (on the flour/cornmeal-dusted pan) within the preheated oven on the middle rack.
- Elective for a barely crispier crust: Place a shallow steel or forged iron baking pan or skillet (I normally use a steel 9×13-inch baking pan) on the underside oven rack. Fastidiously and shortly pour 3–4 cups of boiling water into the shallow pan. Shortly shut the oven to lure as a lot steam inside. The steam helps create a crispier crust.
- Bake for 40 minutes or till the crust is golden brown. For those who noticing the outside browning too shortly, tent the bread with aluminum foil. How one can take a look at for doneness: Give the nice and cozy bread a light-weight faucet. If it sounds hole, it’s achieved. For a extra correct take a look at, the bread is finished when an instantaneous learn thermometer reads the middle of the loaf as 195°F (90°C).
- Take away the bread from the oven and permit to chill for a minimum of 10–20 minutes earlier than slicing and serving. Retailer leftovers loosely coated at room temperature for as much as 3 days or within the fridge for as much as 10 days.
Notes
- Make Forward & Freezing Directions: The dough can sit within the fridge for as much as 3 days (step 4), so this can be a fantastic recipe to start forward of time. You may as well bake the bread, enable it to chill, and freeze for as much as 3 months. Thaw within the fridge and permit to come back to room temperature earlier than serving. You may as well freeze the dough. Full the recipe via step 5. Wrap in plastic wrap and place in a freezer-friendly container. Freeze as much as 3 months. To bake, enable dough to thaw in a single day within the fridge, or for two–3 hours at room temperature. Proceed with step 6, together with permitting dough to relaxation for 45 minutes earlier than baking. Remember that the bread tastes a bit heavier after freezing/thawing the dough after which baking it.
- Flour: For best possible taste and chewy texture, I strongly advocate utilizing bread flour. You should utilize a 1:1 substitution of all-purpose flour in a pinch with no different modifications to the recipe. I like to recommend avoiding entire wheat flour on this dough, nevertheless if obligatory, you’ll be able to change as much as 1 cup (about 130g) of the bread flour with entire wheat flour. The bread will style a bit heavy.
- Yeast: I at all times use Platinum Yeast from Crimson Star, an instantaneous yeast. If utilizing energetic dry yeast, the rise time might be barely longer. Reference my Baking with Yeast Information for solutions to frequent yeast FAQs.
- Salt: Use a rough salt, similar to coarse sea salt, on this bread. I discover the flavour barely missing when utilizing common desk tremendous salt. For those who solely have tremendous salt, scale back to 1 and 1/2 teaspoons.
- Seeds: Be at liberty to make use of extra/much less of a specific seed you like, or skip any seeds if you want. Round 1/2 cup of bigger seeds and a couple of Tablespoons of smaller seeds is right. If you wish to add poppy seeds, change 1 Tablespoon of flax seeds with poppy seeds. Or simply use 1 Tablespoon poppy seeds and skip the flax.
- Utilizing a Dutch Oven: You want a 6-quart or bigger dutch oven or any giant oven-safe pot with a lid (lid is essential—see cranberry nut bread for extra data). Put together dough recipe above via step 4, together with refrigerating the risen dough for a minimum of 2 hours. After refrigerating, flip the dough out onto a evenly floured work floor and, utilizing evenly floured arms, form right into a ball as finest you’ll be able to. Doesn’t should be excellent. Switch dough to a big piece of parchment paper. (Giant sufficient to suit inside your pot and one that’s secure below such excessive warmth. I exploit this parchment and it’s by no means been a problem.) Raise the parchment paper and dough up and place all of it into a big mixing bowl. Cowl dough evenly with plastic wrap and go away alone for half-hour. Throughout this half-hour, preheat the oven to 425°F (218°C). Place your dutch oven (with the lid) inside for half-hour in order that it’s extraordinarily sizzling earlier than the dough is positioned inside. After half-hour, sprinkle seed topping throughout dough. And utilizing a bread lame, gently rating a 1/2 inch deep slash or X into the highest. Take away the dutch oven from the oven and thoroughly place the dough inside by lifting it up with the parchment paper and sticking all of it—parchment paper included—contained in the pot. Cowl with the lid. Bake for half-hour with the lid on. Fastidiously take away the lid and proceed baking for 10 extra minutes or till the bread is golden brown. You possibly can take a look at for doneness precisely how you’d in step 10 above. Take away pot from the oven, fastidiously take away the bread from the pot, and permit to chill on a wire rack for 10–20 minutes earlier than slicing/serving.
- No Nonstick Pan?: For those who don’t have a nonstick baking sheet, line it with parchment paper as a substitute. Coat with a dusting of flour and/or cornmeal earlier than putting the dough on prime. Parchment paper can burn, so it’s finest to test the field to see how a lot warmth yours can tolerate. Decrease your oven warmth if obligatory, and bake the bread for longer till it’s golden brown and sounds hole when tapped.
Key phrases: seeded oat bread
Subscribe
Baking Made Straightforward
Are you new to this web site? This e-mail collection is a superb place to begin. I’ll stroll you thru a number of of my hottest recipes and present you precisely why they work.